A dirty filter or a worn hose can hide a big loss of cleaning force. Many owners never check their machine until the floor looks visibly dull. You can find hidden problems early when you learn How to Test Vacuum Suction Power at home. This simple skill saves money and keeps floors truly clean every day.
Strong pull means the machine lifts dust, hair. Tiny debris from deep inside carpet fibers. Weak suction leaves behind dust and fine particles that harm indoor air.
This guide gives you clear, safe steps to measure real power with common tools. You will also learn how to spot wear, fix simple issues. Keep the machine running at full strength.
📌 AT A GLANCE
- ✓Core Concept: Strong pull lifts dust from deep carpet fibers and tight corners.
- ✓Essential Step: Use a simple manometer or a marked tube to read pressure drop.
- ✓Safety Rule: Always unplug the machine before you open the housing or touch internal parts.
- ✓Efficiency Tip: Clean the filter and empty the bin before every test for a true baseline.
In this article
Essential Foundations for How to Test Vacuum Suction Power
Testing suction power starts with knowing what the numbers actually mean. A vacuum moves air, and the speed of that air creates a pressure difference. This difference is what pulls dirt off the floor and into the dust container. When the pressure gap drops, the cleaning force weakens even if the motor still runs.
Gather required tools and clear your work area before starting.
Confirm baseline specs and maker guidelines first.
Complete each stage in order without skipping safety checks.
Run a quick test pass and wipe down key parts after use.
You do not need expensive lab gear to get useful readings. A simple water manometer or a marked clear tube works very well for home checks. These tools measure the vacuum level in inches of water lift or in pascals. Regular checks help you catch small problems before they turn into big motor strain. For our complete category overview. Core buyer criteria, explore our cornerstone guide to Why Your Vacuum Cleaner Keeps Failing and Fixes.
- Pressure Differential: The gap between inside and outside air drives the suction pull.
- Airflow Volume: Wide open paths let more air move, which boosts cleaning speed.
- Water Lift Height: A taller water column in a tube shows a stronger vacuum hold.
- Seal Integrity: Leaky joints or cracked hoses bleed off the pressure you are trying to measure.
- Motor Load: A clogged motor works harder, draws more current, and loses pull over time.
Gather the Right Tools and Safe Setup
Before you start, collect a few simple items from around the house or garage. A clear plastic tube, a ruler, and some water give you a basic manometer. You also need a clean flat floor space where the machine can roll freely. Working on a hard surface helps you see the true airflow without carpet fibers getting in the way.
Mark the water start line on your clear tube with a piece of tape before every test. This small habit saves time. Makes your readings steady from one session to the next.
Safety comes first every time you open the machine or attach test tools. Unplug the cord fully, wait for the motor to stop, and clear the dust bin. Wear gloves if you handle sharp edges or old filters that may carry fine dust. Keep water away from the motor and electrical connections during the entire setup.
- Clear Plastic Tube: A half-inch diameter tube works as a simple pressure gauge column.
- Or Tape Measure: Measure the exact height of the water lift in inches or centimeters.
- Flat Hard Floor: A smooth surface removes carpet resistance from the initial baseline test.
- Cleaning Cloth: Wipe the hose ends and connections so no dust blocks the airflow path.
- Safety Gloves: Protect your hands from sharp housing edges and trapped debris inside the bin.
The Best Way to How to Test Vacuum Suction Power Step by Step
The water lift test gives you a direct picture of the machine’s pulling strength. You fill a clear tube with water, cap one end. Connect the open end to the vacuum hose. When you switch the machine on, the water column drops on one side. Rises on the other, showing the vacuum level in inches.
For a more exact number, you can attach a digital manometer to the hose inlet. This tool reads the pressure drop in pascals or inches of water column. Compare your reading to the maker’s listed spec on the label or in the manual. A drop of more than twenty percent from the factory number usually means a part needs cleaning or replacing.
- Fill the Tube: Pour water into the clear tube until it reaches a marked starting line.
- Cap One End: Seal the top with a finger or a rubber stopper so air cannot escape.
- Connect to Hose: Attach the open bottom end firmly to the vacuum inlet port.
- Start the Machine: Run the vacuum on high and watch the water column move steadily.
- Read the Height: Measure the difference in water height between the two sides of the tube.
- Compare the Numbers: Check your reading against the spec sheet or your previous test results.
Check the Hose, Wand, and Attachments for Leaks
A leak anywhere in the airflow path steals suction power before it reaches the floor. Even a tiny crack or a loose fitting can drop your reading by half. You should check the hose, wand. Every tool for gaps, cracks, or loose connections before you trust any test result.
Start with the hose by bending it gently and looking for pinholes or worn spots. Hold the wand joints tight and twist them by hand to feel for any wobble. For a fast leak check, wrap a damp cloth around each joint while the machine runs. A hissing sound or a shift in the water column means air is escaping at that spot.
- Hose Flex Test: Bend the hose slowly to find hidden cracks or soft spots that leak air.
- Wand Joint Check: Twist each wand section by hand to spot loose fittings that reduce pull.
- Damp Cloth Method: Run the machine. Press a damp cloth along joints to feel escaping air.
- Attachment Seals: Inspect the rubber gaskets inside each tool head for wear or gaps.
- Replacement Parts: Swap in a known good hose or wand to isolate the leak source quickly.
Measure Airflow with a Simple Anemometer Check
While pressure tests show pull strength, airflow tests show how much air actually moves. A handheld anemometer or a simple wind-speed tube helps you measure the volume of air leaving the nozzle. Strong airflow means the vacuum can carry fine dust. Light debris away from the floor surface.
You can build a basic wind-speed tube from a funnel and a marked tube. Place the funnel over the nozzle and hold the tube at the other end. The speed of the air column inside the tube tells you whether the machine can handle fine dust or large crumbs. This check is most useful when you compare carpet mode versus hard floor mode.
- Handheld Anemometer: A small digital meter gives fast, repeatable airflow speed readings.
- Wind Tube Build: A funnel and marked tube create a low-cost airflow measurement tool.
- Nozzle Position: Keep the nozzle flat on the floor for the most steady airflow reading.
- Dual Mode Test: Compare carpet. Hard floor modes to see where the machine loses force.
- Filter Impact: A dirty filter slows airflow more than it affects the pressure lift number.
Read the Filter and Bin Condition From Test Results
Your suction test numbers tell a story about the internal health of the machine. A steady drop in water lift over several weeks points to a filter that is clogging up. If the reading falls fast right after you turn the machine on, the dust bin may be full or the main hose may be blocked. For broader testing and full category picks, explore our in-depth guide to Boost Suction How to Clean a Dyson Filter 2025 Easy.


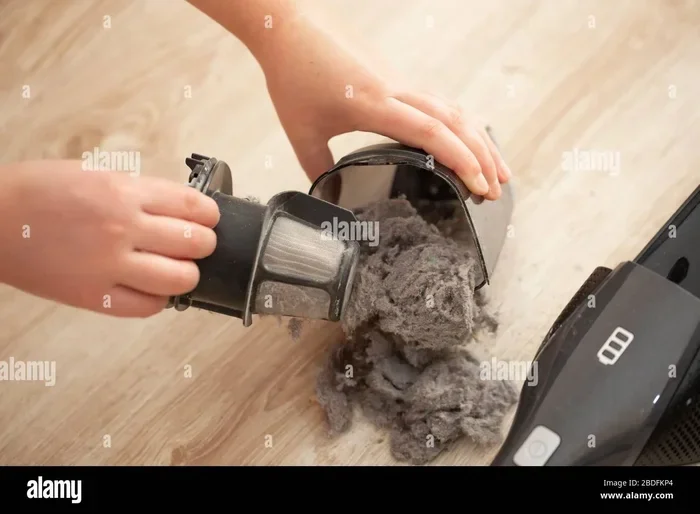
Clean the filter and empty the bin, then run the test again. A full recovery in water lift means the filter or bin was the problem. If the numbers stay low even after cleaning, the motor may be wearing out or a seal may have failed inside the machine. Tracking these readings over time helps you plan spares and avoid sudden breakdowns.
- Filter Wash Cycle: Rinse a washable filter, let it dry fully. Retest to restore airflow.
- Bin Empty Point: Mark a fill line inside the bin so you empty it before it chokes the motor.
- Seal Inspection: Look at the rubber gasket on the bin lid for cracks or dust buildup.
- Motor Strain Signs: A hot motor housing or loud grinding noise during a test means internal wear.
- Replacement Log: Write down each test date and reading to spot slow power drops early.
Build a Simple Home Testing Routine
A regular testing routine keeps your vacuum working at full strength all year long. Set a fixed day each month to run the water lift test and the airflow check. Write the results on a simple calendar or in a phone note so you can spot trends over time.
Before each test, clean the filter, empty the bin. Check the hose for tangles or leaks. Run the machine on the same floor type. At the same power setting for every test. This steadiness makes your readings meaningful. Helps you notice small changes before they become big problems.
- Monthly Calendar: Mark the test day on your calendar so it becomes a regular habit.
- Pre-Test Cleanup: Empty the bin and check the filter before you start every session.
- Same Floor Type: Test on the same hard floor or carpet section for repeatable numbers.
- Power Setting: Always use the same speed or suction mode during each test run.
- Result Log: Write down the water lift height. Airflow reading with the date and notes.
Compare Brands and Models with Real Numbers
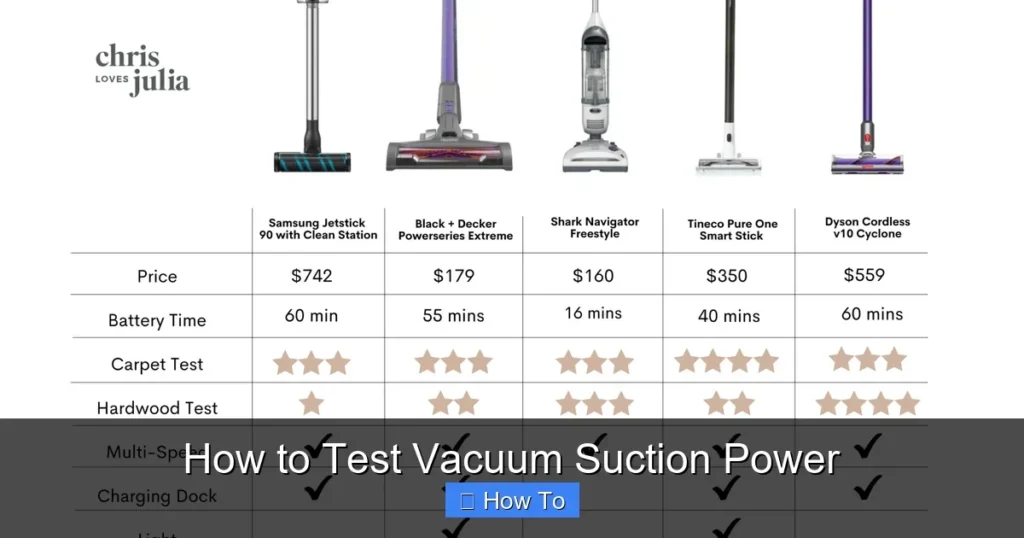
Not all vacuum cleaners pull the same amount of air or lift the same water column. Some brands focus on gentle airflow for bare floors. Others build strong pull for deep carpet cleaning. When you test multiple machines, you compare real numbers instead of marketing claims on the box.
- Run the Same: You can run the same water lift test on different models in your home or at a store demo floor.
- Record the Water: Record the water height, the airflow speed. The noise level for each machine.
These numbers help you choose the best tool for your specific floor type and cleaning needs. You can also check independent testing groups that publish detailed vacuum power data for consumers.
Summary Table: Testing Methods Compared
| Test Method | What It Measures | Typical Tools | Best For |
|---|---|---|---|
| Water Lift Test | Maximum vacuum pressure | Clear tube, water, ruler | Quick home checks of pull strength |
| Digital Manometer | Exact pressure drop in pascals | Handheld manometer | Precise tracking over time |
| Airflow Speed Test | Volume of air moving through nozzle | Anemometer or wind tube | Checking dust pickup ability |
| Leak Detection Test | Air escaping from joints or cracks | Damp cloth, listening ear | Diagnosing suction loss causes |
| Filter Recovery Test | Impact of filter cleanliness | Water lift setup | Deciding when to clean or replace |
Best Practices and Common Mistakes to Avoid
Following a few simple rules helps you get accurate readings. Avoid damage to the machine. Always test on a clean, hard floor first so you measure the true motor output.
Never insert the anemometer or any tool into a running vacuum intake that has a rotating brush roll. The spinning bristles can catch loose clothing, hair, or the sensor tip and cause injury or damage.
Never run the vacuum with no hose or tool attached for long periods. That is because the motor can overheat. Keep water away from the electrical parts. Never submerge the machine body in water during a test. For broader testing and full category picks, explore our in-depth guide to Why a Vacuum Cleaner Loses Suction Over Time and How to Fix It.
Avoid common habits that quietly ruin suction over time. Do not wait until the bin is completely full to empty it. Do not run the vacuum over large rocks or sharp debris. Replace worn filters on schedule and tighten loose hose clamps right away. These small actions keep the machine strong. Extend the life of the motor and internal parts.
- Hard Floor Baseline: Always run the first test on a smooth floor for a clean motor reading.
- No Empty Runs: Never run the machine without a dust container or filter attached for more than a few seconds.
- Debris Check: Clear the floor of coins, pins. Sharp objects before you start the vacuum.
- Filter Schedule: Replace or wash filters on the maker’s top date, not when you remember.
- Hose Clamp Tight: Check that all hose clamps. Snap fittings are fully seated after every cleaning session.
Frequently Asked Questions About How to Test Vacuum Suction Power
What Is a Good Water Lift Number for a Home Vacuum?
Most home vacuums lift between twenty. Thirty inches of water when the hose is fully sealed. A number below twenty inches usually means a clogged filter, a full bin, or a leak in the hose. You can find the exact factory number on the product label or in the user manual for your model.
Can You Test Suction Power Without a Manometer or Water Tube?
Yes, you can do a simple airflow feel test by holding your hand near the nozzle. A strong vacuum pulls your hand firmly toward the opening. This method is less exact but still helps you compare one machine to another or track a drop in power over time.
How Often Should You Test Your Vacuum Suction Power?
A monthly test works well for most homes with regular daily use. If you clean in a high-dust area or have pets, you may want to test every two weeks. Tracking the numbers over time helps you catch slow filter clogs or hose wear before they affect cleaning quality.
Does Carpet Height Affect Suction Test Results?
Yes, tall or thick carpet creates more resistance than a flat hard floor. Always test on the same surface type when you compare results. A drop in water lift on thick carpet may be normal. But a big drop on hard floor points to a real problem.
What Should You Do If Suction Drops Right After Cleaning the Filter?
A sudden drop after cleaning often means the filter is still wet or not seated correctly. Let the filter dry fully. Push it back into place until it clicks or locks. If the reading stays low, check the hose for a blockage or a loose connection that may have happened during reassembly.
Final Thoughts and Next Steps
Testing vacuum suction power at home gives you real control over your cleaning results. You no longer have to guess whether the machine is working as it should.
With a simple tube, a ruler. A few minutes each month, you can catch problems early. Keep your floors truly clean. These small checks protect your investment. Help you avoid costly repairs or early machine failure.
Use the steps and checklists in this guide to build a routine that fits your home and schedule. Write down your readings, compare them over time. Replace parts as soon as the numbers tell you to.
Strong suction means better dust removal, cleaner air. A healthier home for you and your family. Start your first test today. Feel the difference that a well-maintained vacuum makes in every room.