Dirty air filters make your home feel stuffy and your energy bills climb fast. Many people forget that a clogged filter hurts the machine and the air you breathe. Learning How to Maintain Hepa Filters keeps your system running smooth and safe. Simple habits today stop costly repairs tomorrow.
This guide gives you clear steps, real tools, and easy schedules. You will learn how to spot early wear and fix small issues fast. We also cover the right cleaning methods for each filter type. Follow these routines and your air stays fresh for years.
📌 AT A GLANCE
- ✓Core Concept: Clean filters move air faster and use less power.
- ✓Essential Step: Always check the filter once a month during heavy use.
- ✓Safety Rule: Turn off the unit and unplug it before any work.
- ✓Efficiency Tip: Keep a spare filter on hand so you never wait.
In this article
Why How to Maintain HEPA Filters Matters for Your Home
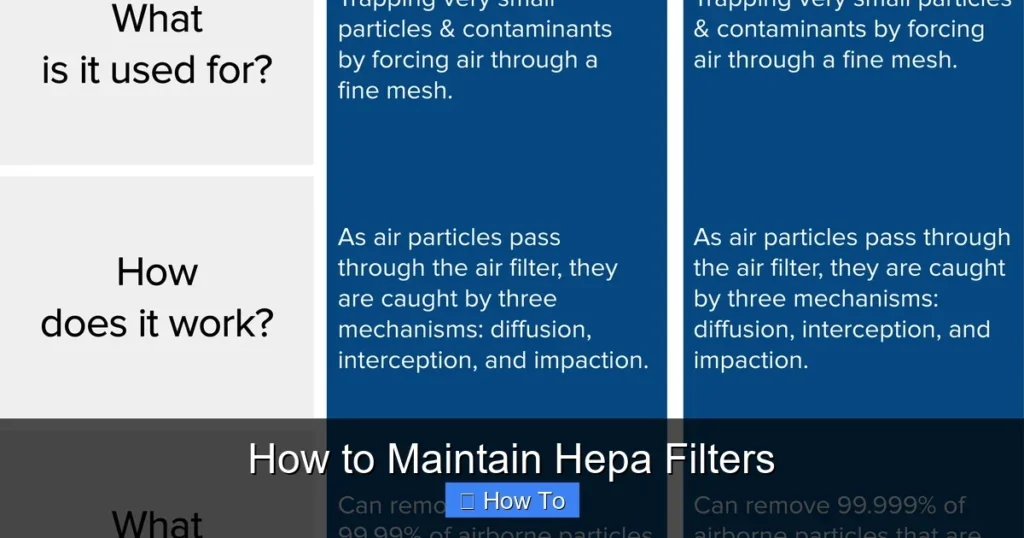
HEPA filters trap tiny particles like dust, pollen, and mold spores. Over time, those particles build up and block airflow. A blocked filter forces your system to work much harder than it should. This extra strain raises your energy use and shortens the life of the machine.
Gather required tools and clear your work area before starting.
Confirm baseline specs and maker guidelines first.
Complete each stage in order without skipping safety checks.
Run a quick test pass and wipe down key parts after use.
Regular care stops that buildup before it causes real harm. Simple checks help you catch small problems before they grow. When you follow a steady routine, your air stays clean and your bills stay low. The habit of upkeep also keeps your home healthier for everyone inside. For our complete category overview. Core buyer criteria, explore our cornerstone guide to Why Your Vacuum Cleaner Keeps Failing and Fixes.
- Airflow Resistance: Clogged fibers slow air movement and raise energy use.
- Particle Load: Trapped dust adds weight and stress to the filter frame.
- System Strain: Harder working motors wear out faster and cost more.
- Health Impact: Dirty filters let dust escape back into the room air.
- Longevity Factor: Proper care can double the useful life of a filter.
Know Your Filter Type Before You Start
Not all HEPA filters work the same way. Some are washable and others must be replaced. The right care method depends on what your unit uses. Checking the label or manual tells you exactly what to do.
Always wear a dust mask and gloves when handling very dirty filters. Old filters hold trapped dust that can irritate your skin and lungs.
Using the wrong cleaning method can ruin the filter fast. For example, washing a non-washable filter damages the fine fibers. Always match your approach to the filter type first. This small step saves time and stops expensive mistakes.
- True HEPA Type: These paper-like filters must be swapped out on schedule.
- Washable Mesh: Some pre-filters rinse clean with water and mild soap.
- Activated Carbon: Carbon layers absorb odors and cannot be washed.
- Hybrid Design: Many units use a mix of washable and replaceable parts.
- Manufacturer Guide: The manual lists the exact care method for your model.
Gather the Right Tools and Supplies
Before you clean, you need the proper tools on hand. Having everything ready keeps the job fast and safe. Skipping a tool often leads to rushed work and missed steps. A short prep list saves you time and frustration later.
Most cleaning tasks only need a few simple items. You do not need fancy or expensive gear to do the job right. The key is to use gentle materials that will not tear the filter. Gather your supplies the day before you plan to work.
- Soft Vacuum Nozzle: A brush tool lifts loose dust without tearing fibers.
- Lint-Free Cloth: A clean cloth wipes the outer frame without leaving debris.
- Mild Dish Soap: A small amount cleans washable pre-filters safely and well.
- Clean Bucket: Warm water and soap need a safe container for rinsing.
- Dry Towel: A dry towel pats the filter dry before you put it back.
Step-By-Step Cleaning Routine for Washable Pre-Filters
Washable pre-filters catch the big dust and hair before it reaches the HEPA layer. Cleaning this part often keeps the main filter working longer. You should rinse this part every two to four weeks during heavy use. A simple rinse removes the loose dirt and helps airflow stay strong.
Start by tapping the filter gently to shake off any loose debris. Then rinse it under lukewarm water until the water runs clear. Never use hot water because it can warp the mesh frame. Let it dry fully in open air before you put it back in the unit.
- Tap and Shake: Knock loose dust off the filter before you wet it.
- Rinse Thoroughly: Hold the filter under running water until it runs clear.
- Use Mild Soap: Add a small drop of dish soap for greasy or grimy buildup.
- Air Dry Fully: Set the filter flat on a towel. Wait for it to dry.
- Check for Holes: Inspect the mesh for tears before you reinstall it.
How to Maintain HEPA Filters with Vacuum and Spot Cleaning
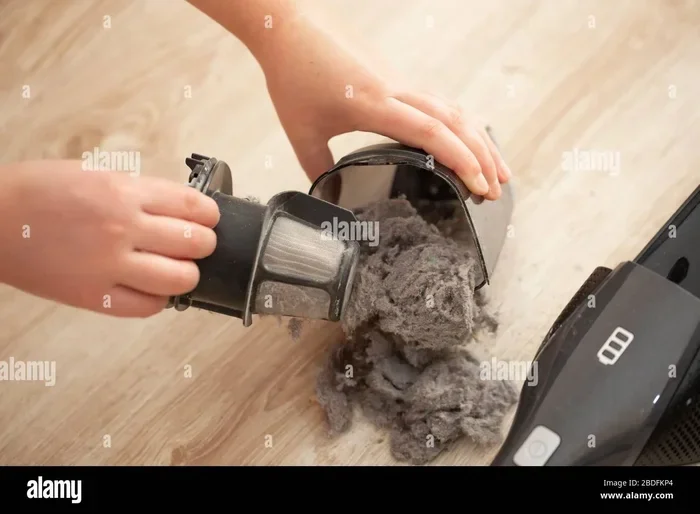
True HEPA filters should never be washed in most cases. Instead, you use a vacuum to pull out surface dust. This method protects the delicate fibers inside the filter. Spot cleaning works well for light buildup between full spares.


Use the brush tool on your vacuum and move it gently across the surface. Do not press hard because that can crush the filter material. Work in slow, even strokes from one side to the other. This removes trapped particles without bending or breaking the structure. For broader testing and full category picks, explore our in-depth guide to Boost Suction How to Clean a Dyson Filter 2025 Easy.
- Low Suction Setting: A gentle vacuum setting protects the fragile fiber layer.
- Brush Attachment: A soft brush lifts dust without scraping or tearing the surface.
- Slow Strokes: Move the nozzle slowly to give the vacuum time to pull dirt out.
- Spot Focus: Target the dirtiest spots first, then clean the rest of the surface.
- Light Pressure: Never press hard or lean your weight on the filter frame.
When to Replace Instead of Clean
Even with good care, HEPA filters reach the end of their life. A filter that looks torn, flattened, or darkened past saving must go. Trying to clean a worn-out filter does not restore its power. Replacing it on time keeps your air clean and your system safe.
Most true HEPA filters last between six and twelve months. Heavy use, pets, or smoke can shorten that time a lot. Check the filter every month and look for signs of wear. A simple swap stops bigger problems from forming inside the machine.
- Visual Darkening: A gray or brown color shows heavy particle buildup.
- Flattened Shape: A crumpled or bent filter no longer fits the frame right.
- Torn Edges: Any rips let unfiltered air skip past the fiber layer.
- Strong Odor: A musty smell means mold or bacteria has taken hold inside.
- Reduced Flow: Weak airflow even after cleaning means the filter is spent.
Set up a Monthly Care Schedule
A simple schedule keeps you from forgetting filter care. Mark the first of each month on your calendar as filter day. During busy seasons like spring or winter, check more often. A steady routine turns upkeep into a quick habit instead of a big chore.
Write down the date you cleaned or replaced the filter each time. This log helps you spot patterns and track how fast filters fill up. You can also set a phone reminder to stay on track. Over time, this small habit saves you money and keeps the air fresh.
- Monthly Check: Inspect the filter once a month for dust and damage.
- Seasonal Deep Clean: Do a full vacuum or rinse when seasons change.
- Log the Date: Write down when you cleaned or swapped the filter.
- Phone Reminder: Set a recurring alert so you never miss a check.
- Spare Filter Stock: Keep one extra filter ready for quick swaps.
Summary Table: Cleaning Methods Compared
| Filter Type | Cleaning Method | Frequency | Water Safe? |
|---|---|---|---|
| True HEPA | Vacuum with brush only | Every 2 months | No |
| Washable Pre-Filter | Rinse with lukewarm water | Every 2-4 weeks | Yes |
| Activated Carbon | Spot vacuum, replace only | Every 6 months | No |
| Hybrid Unit | Vacuum main, rinse pre-filter | Monthly checks | Pre-filter only |
Troubleshooting Common Filter Problems
Sometimes a filter gives you trouble even after regular care. A musty smell often means trapped moisture inside the fibers. Weak airflow can point to a hidden clog or a bent frame. Spotting these signs early helps you fix the problem fast.
Most issues come from simple causes that are easy to fix. For example, a dirty pre-filter can choke the main HEPA layer. Or a loose fit lets air sneak past the filter entirely. A quick check of the whole unit usually reveals the answer. For broader testing and full category picks, explore our in-depth guide to Why a Vacuum Cleaner Loses Suction Over Time and How to Fix It.
- Musty Smell: Dry the filter fully and check for mold growth on the frame.
- Weak Airflow: Remove the filter and look for blockages in the housing.
- Loose Fit: Reseat the filter and check for gaps around the edges.
- Strange Noise: A rattling sound often means a bent or broken filter part.
- Persistent Dust: Replace the filter if vacuuming does not restore clean output.
Best Practices for Long-Lasting Filter Performance
Good habits keep your filter working at its best for a long time. Place your unit away from heat sources and direct sunlight. High heat dries out the filter material and makes it brittle. A cool, dry spot helps the filter hold its shape and charge.
Never wash a true HEPA filter with water or put it in a dishwasher. Water destroys the electrostatic charge that traps tiny particles.
Also, keep the area around the unit clear of clutter and dust. Open space lets air flow in and out without extra strain. You should also vacuum the housing itself every few months. A clean unit works better and keeps the filter cleaner longer.
- Cool Storage: Keep the unit in a room with steady, moderate heat.
- Clear Space: Leave at least six inches of open space around the unit.
- Housing Clean: Wipe the inside of the housing to remove settled dust.
- Gentle Handling: Never bend, fold, or press the filter during cleaning.
- Timely Swaps: Replace the filter on the schedule the maker recommends.
Frequently Asked Questions
Can You Wash a True HEPA Filter with Water?
No, you should not wash a true HEPA filter with water. Water damages the fine fibers and washes away the electrostatic charge. This charge is what traps the smallest particles. Always check the label to see if your filter is washable first.
How Often Should You Replace a HEPA Filter?
Most true HEPA filters need spare every six to twelve months. Heavy use, pets, or smoke can shorten that time to three or four months. Check the filter once a month for darkening or strong odors. Replacing it on time keeps your air clean and your system running well.
What Happens If You Never Clean or Replace a HEPA Filter?
A neglected filter blocks airflow and forces the motor to work much harder. This extra strain raises your energy bills and can burn out the motor. Dirty filters also let trapped dust escape back into your room air. Over time, the system may fail completely and need costly repairs.
Is It Safe to Use a Vacuum on a HEPA Filter?
Yes, it is safe and actually top for most HEPA types. Use the brush tool and keep the suction on a low or medium setting. This removes surface dust without bending or tearing the fibers. Never press hard or use a bare nozzle that could damage the filter.
Final Thoughts and Next Steps
Keeping your HEPA filter clean is a simple but strong habit. It saves energy, protects your machine, and keeps your air fresh. The steps in this guide make the work fast and easy for anyone. You do not need special skills or expensive tools to do it right.
Start by checking your filter this month and following the cleaning steps above. Set a calendar reminder and keep spare filters on hand for quick swaps. Small, steady care adds up to big savings and better health. You will notice the difference in airflow, energy costs, and indoor comfort right away.