How to Empty Your Shark Navigator Vacuum Cleaner: A Complete Guide
Learning how to empty your Shark Navigator vacuum cleaner properly is a simple yet crucial maintenance task. This guide will walk you through the entire process, from detaching the dust cup to safely disposing of debris, ensuring your vacuum maintains peak performance and you avoid common cleaning hassles. Get ready to keep your home spotless with ease!
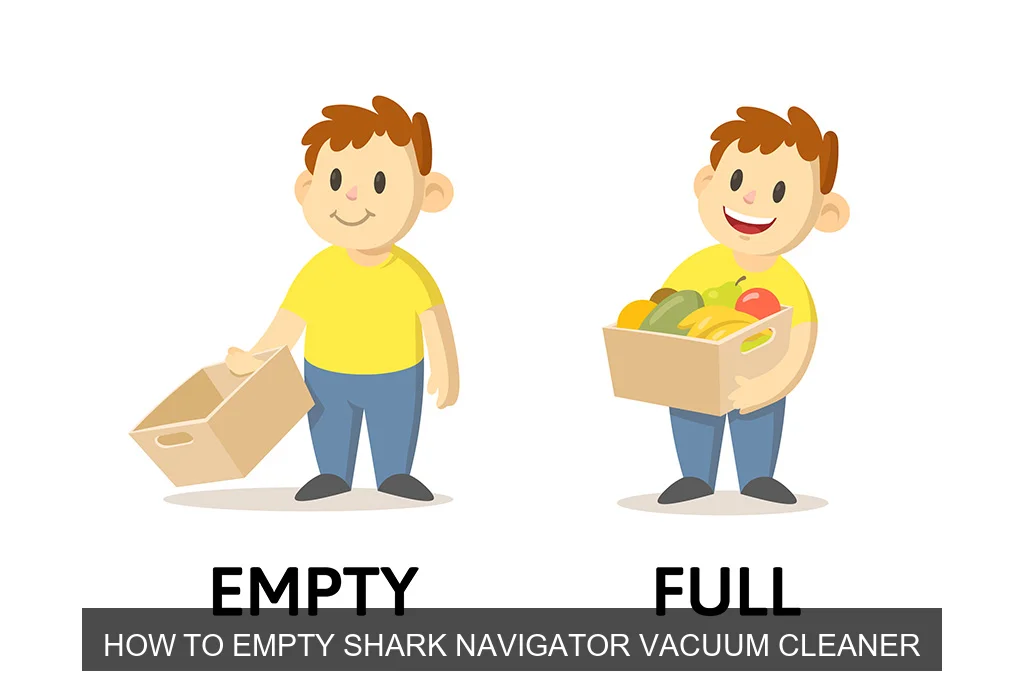
Image source: Firstcry
📋 Table of Contents
- 🔹 Introduction
- 🔹 Understanding Your Shark Navigator’s Dust Cup
- 🔹 Step-by-Step Guide: How to Empty Your Shark Navigator Vacuum Cleaner
- 🔹 Why is Emptying Your Shark Navigator Important?
- 🔹 How Often Should You Empty Your Shark Navigator?
- 🔹 Common Mistakes to Avoid When Emptying Your Vacuum
- 🔹 Practical Tips for a Cleaner Emptying Process
- 🔹 Troubleshooting Common Issues
- 🔹 Frequently Asked Questions (FAQ)
- 🔹 Conclusion
Introduction
To empty your Shark Navigator vacuum cleaner, you simply need to press a release button, typically located near the handle of the dust cup, to detach it from the main vacuum body. Then, position the dust cup over a trash can and press another button, usually on the bottom of the cup, to open the lid and release the collected debris. It’s a quick and straightforward process designed for ease of use.
Keeping your home clean often involves relying on trusty tools, and for many, the Shark Navigator vacuum cleaner is a go-to choice. It’s known for its powerful suction and versatility, but like any vacuum, it needs a little maintenance to keep it performing its best. One of the most fundamental tasks is knowing how to empty the dust cup.
This article is your friendly guide to understanding and mastering the process of emptying your Shark Navigator. We’ll cover everything from what the dust cup is, to a detailed step-by-step walkthrough, why this task is so important, and even some smart tips to make the job easier and cleaner. Think of this as your essential manual for maintaining a sparkling clean home and a happy, efficient vacuum.
Understanding Your Shark Navigator’s Dust Cup
Before we dive into the “how-to,” let’s quickly get familiar with the main component we’ll be dealing with: the dust cup. Knowing what it is and how it functions can make the emptying process much clearer.
What is the Dust Cup?
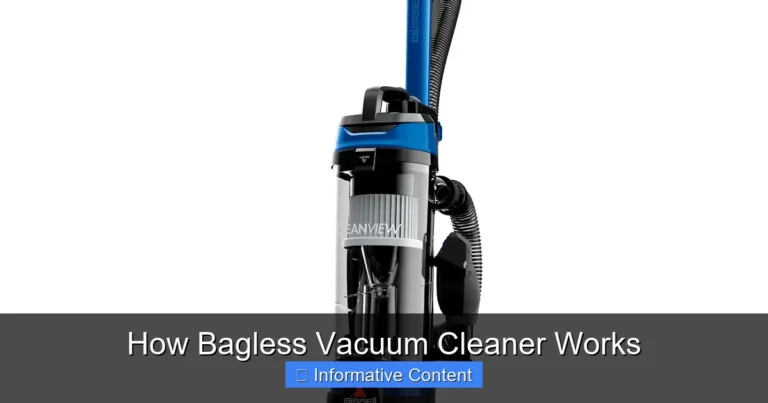
The dust cup, sometimes called a dirt canister or dirt bin, is the transparent container on your Shark Navigator vacuum where all the dirt, dust, pet hair, and debris you vacuum up gets collected. Unlike older vacuums that use disposable bags, Shark Navigator models are bagless, meaning they use this reusable dust cup. It’s designed to be easily removed and emptied, making cleanup more convenient and environmentally friendly.
Most Shark Navigator models feature a clear dust cup, allowing you to visually monitor the amount of dirt accumulated. This helps you know exactly when it’s time to empty it, preventing overfilling and maintaining optimal suction power.
Step-by-Step Guide: How to Empty Your Shark Navigator Vacuum Cleaner
Ready to get started? Emptying your Shark Navigator is pretty simple, and we’ll break it down into easy, manageable steps. Just follow along, and you’ll be a pro in no time.
Getting Ready
- Turn off and Unplug: Safety first! Always make sure your vacuum is turned off and unplugged from the wall outlet before you start any maintenance. This prevents accidental starts and potential hazards.
- Find a Good Spot: Head to a trash can, preferably a larger one, or even an outdoor bin. Emptying can sometimes be a bit dusty, so having ample space and a good target for the debris is helpful.
Detaching the Dust Cup
Your Shark Navigator’s dust cup is designed for easy removal. Here’s how:
- Locate the Release Latch: Look for a button or latch, usually on the handle of the dust cup or near where it connects to the main vacuum body. It’s often marked with an arrow or a “Press” label.
- Press and Lift: Gently press this button or latch. You’ll hear a click as the dust cup disengages. Once released, lift the dust cup straight up and away from the vacuum cleaner’s body.
- Set the Vacuum Aside: Place the main vacuum body somewhere stable while you focus on emptying the dust cup.
Emptying the Dirt
Now for the main event: getting rid of all that dirt!
- Position Over Trash Can: Hold the detached dust cup firmly over your trash can. It’s best to hold it upside down or at an angle so gravity can help.
- Locate the Bottom Release Latch: On the bottom of the dust cup, you’ll find another button or latch. This one opens the bottom flap, allowing the dirt to fall out.
- Press to Open: Press this button. The bottom door of the dust cup will swing open, and all the collected dirt, dust, and debris will fall into the trash.
- Tap and Shake (Gently): Sometimes, dust or pet hair can cling to the sides or the central filter screen inside the dust cup. Give the dust cup a few gentle taps against the rim of the trash can to loosen any stubborn bits. You can also use your hand to gently clear away any clumped debris from the central cone.
Cleaning the Filters (Brief Mention)
While you’re emptying the dust cup, it’s also a perfect time to check your filters. Many Shark Navigator models have foam and felt filters located either inside the dust cup assembly or directly beneath it.
- Pre-Motor Filters: These are usually foam and felt filters. Gently pull them out.
- Tap Clean: Tap them over the trash can to remove loose dirt.
- Rinse if Necessary: If they look very dirty, you can rinse them under cold water until the water runs clear. Make sure they are completely dry (this can take 24-48 hours) before putting them back into the vacuum. Using wet filters can severely damage your vacuum.
- Post-Motor Filter (HEPA): Some models have a HEPA filter, often located near the motor or exhaust. Check your manual for its location and cleaning instructions. These are typically tapped clean, not washed.
Reattaching the Dust Cup
Once empty and any filters are clean and dry, it’s time to put everything back together.
- Close the Bottom Flap: Push the bottom door of the dust cup firmly until it clicks securely into place. Make sure it’s latched properly to prevent dirt from spilling out during your next vacuuming session.
- Align and Push Down: Line up the dust cup with the vacuum cleaner’s main body. Gently push it down until you hear a click, indicating it’s locked into position. Give it a gentle tug to ensure it’s secure.
- Ready to Go: Plug your vacuum back in, and you’re all set to continue cleaning with renewed suction power!
Why is Emptying Your Shark Navigator Important?
You might wonder why such a simple task warrants a detailed guide. Well, regularly emptying your Shark Navigator isn’t just about getting rid of dirt; it’s fundamental to the vacuum’s performance and longevity.
- Maintains Suction Power: A full dust cup restricts airflow, causing your vacuum to lose suction. An empty cup ensures maximum airflow, so your vacuum can pick up dirt and debris effectively.
- Prevents Overheating: Reduced airflow due to a full dust cup or clogged filters forces the motor to work harder, which can lead to overheating and potential damage to the vacuum.
- Extends Vacuum Lifespan: Regular maintenance, including emptying the dust cup, reduces strain on the motor and other components, helping your Shark Navigator last longer.
- Better Air Quality: Emptying prevents fine dust and allergens from recirculating back into your home’s air, especially important for those with allergies or asthma.
- Hygienic Cleaning: A clean dust cup means a more hygienic cleaning experience. You wouldn’t want to spread old dirt around, right?
In short, proper and timely emptying is crucial for an efficient, long-lasting, and healthy cleaning appliance.
How Often Should You Empty Your Shark Navigator?
There isn’t a single answer for “how often” because it really depends on a few factors. However, a general rule of thumb is helpful.
- After Every Use: For optimal performance, it’s best to empty your Shark Navigator’s dust cup after every significant use. This ensures maximum suction for your next cleaning session.
- When It Reaches the MAX Fill Line: All Shark Navigator dust cups have a “MAX FILL” line. You absolutely must empty the dust cup before the debris reaches or exceeds this line. Overfilling severely impacts performance and can strain the motor.
- Based on Your Cleaning Habits:
- Pet Owners: If you have pets, you’ll likely need to empty it more frequently, perhaps even mid-cleaning, due to pet hair accumulation.
- High-Traffic Areas: If you’re vacuuming high-traffic areas or heavily soiled carpets, expect to empty it more often.
- Light Cleaning: For quick tidies in less dirty areas, you might get away with emptying it every few uses.
- Visual Inspection: Since the dust cup is clear, make it a habit to quickly glance at it before and after each use. If it looks half full or more, it’s probably a good time to empty it.
Think of it like checking your car’s fuel tank; you don’t want to run on empty, but you also don’t want to let it overflow!
Common Mistakes to Avoid When Emptying Your Vacuum
Even a simple task can have a few pitfalls. Knowing these common mistakes can help you maintain your vacuum better and keep your cleaning experience smooth.
- Overfilling the Dust Cup: This is probably the most common mistake. Letting the dirt level go past the “MAX FILL” line drastically reduces suction and can put unnecessary stress on the motor.
- Not Unplugging the Vacuum: Forgetting to unplug before maintenance is a safety risk. Always make sure the power is off and the plug is out.
- Emptying Indoors Without Care: If you empty the dust cup indoors, especially with fine dust, some particles can escape into the air. Use a larger trash can and consider emptying directly into a sealed bag or outdoors if possible.
- Ignoring the Filters: While emptying the dust cup is crucial, neglecting the filters that often go with it is a mistake. Clogged filters are just as detrimental to suction as a full dust cup.
- Not Cleaning the Dust Cup: Over time, fine dust can build up on the inside walls of the dust cup, especially around the central cyclone cone. This can reduce efficiency. A quick wipe-down or rinse (if your model allows) every few empties is a good idea.
- Forcing Components: If a part isn’t detaching or reattaching easily, don’t force it. There might be a latch you missed or it’s misaligned. Forcing can break plastic components.
Practical Tips for a Cleaner Emptying Process
Here are a few handy tips to make emptying your Shark Navigator even easier and less messy:
- Use a Trash Bag with Enough Space: Don’t try to empty into a small, overflowing bin. Use a larger trash can with a fresh bag that you can hold the dust cup inside of to contain the dust.
- Tap Gently: Instead of shaking vigorously, gently tap the dust cup against the inside of the trash can to dislodge stubborn debris. This minimizes dust clouds.
- Wear a Mask (Optional but Helpful): If you’re sensitive to dust or have allergies, consider wearing a simple dust mask when emptying, especially if it’s very full.
- Wipe Down the Interior: Every few empties, take a damp cloth (ensure it’s not dripping wet) and wipe down the inside of the dust cup, especially around the mesh screen or central cyclonic cone. This helps maintain airflow and prevents grime buildup. Let it air dry completely before reassembling.
- Check for Blockages: While the dust cup is off, take a moment to peek into the vacuum’s entry points and hoses. Sometimes larger debris or hair can get stuck before reaching the dust cup. Clearing these early can prevent bigger clogs.
- Consider Outdoor Emptying: If practical, emptying your dust cup outdoors can dramatically reduce the amount of dust released inside your home.
Troubleshooting Common Issues
Sometimes, things don’t go exactly as planned. Here are a couple of common issues you might encounter and how to deal with them:
- Dust Cup Won’t Detach: Double-check that you’re pressing the correct release button. It’s usually a single button on the handle or near the top of the dust cup. Don’t pull with excessive force. Ensure the vacuum isn’t locked into an upright position (some models have a recline lock).
- Bottom Flap Won’t Open or Close: Make sure there isn’t a piece of debris jammed in the hinge or latch mechanism. Clear any visible obstructions. If it’s stiff, sometimes a tiny bit of silicone spray (very sparingly, applied to the hinge, not inside where dirt collects) can help, but this is rarely needed. Ensure the cup is completely empty before trying to close it, as an overpacked cup might prevent it from latching.
- Excessive Dust Clouds When Emptying: This usually means the dust is very fine, or you’re emptying too quickly. Try emptying into a larger bag and doing it slowly. Consider emptying outdoors if this is a recurring problem.
- Persistent Odors: If your dust cup always smells, even after emptying, it’s likely due to bacterial growth from trapped organic matter or pet dander. Give the dust cup a thorough wash (if your model allows, check the manual) with warm, soapy water, or a mixture of water and a little baking soda, and let it air dry completely. Don’t forget to wash or replace your filters regularly.
Frequently Asked Questions (FAQ)
Can I wash the dust cup?
For most Shark Navigator models, yes, you can wash the dust cup. However, it’s crucial to check your specific model’s manual first, as there might be slight variations. If washing is allowed, use cool water and a mild dish soap. Make sure to let it air dry completely for at least 24 hours before putting it back on the vacuum. Any residual moisture can damage the motor or promote mold growth.
How do I know when the dust cup is full?
Your Shark Navigator’s dust cup has a “MAX FILL” line clearly marked on its side. You should empty the cup when the dirt and debris reach this line. Beyond this point, the vacuum’s suction power will significantly decrease, and you risk straining the motor or causing clogs.
What if the dust cup won’t detach?
First, ensure the vacuum is unplugged. Then, double-check that you are pressing the correct release button firmly. This button is typically located on the handle of the dust cup or near its top connection point to the main body. If it still doesn’t release, check your vacuum’s user manual for specific instructions on dust cup removal for your particular model, as there can be minor design differences between Navigator series.
Conclusion
Learning how to empty your Shark Navigator vacuum cleaner is a fundamental skill that plays a huge role in its performance and lifespan. By following the simple steps outlined in this guide – safely detaching the dust cup, emptying it over a trash can, and properly reattaching it – you ensure your vacuum always operates at its peak efficiency.
Remember, regular emptying isn’t just about disposing of dirt; it’s about maintaining powerful suction, preventing overheating, and keeping your home’s air cleaner. Make it a habit to check that “MAX FILL” line, keep your filters clean, and avoid those common emptying mistakes. With these easy practices, your Shark Navigator will remain a powerful ally in keeping your living spaces spotless and fresh for years to come!