How to Store a Vacuum Cleaner
Featured image for How to Store a Vacuum Cleaner
Image source: homecleanexpert.com
Storing your vacuum cleaner right keeps it working like new. This guide walks you through cleaning, maintenance, and smart storage spots to avoid common pitfalls. Follow these steps for a longer-lasting vac! (92 words)
How to Store a Vacuum Cleaner
Hey there! If you’ve just finished vacuuming and wonder how to store a vacuum cleaner the right way, you’re in the right spot. Proper storage isn’t just about tucking it away. It keeps your vacuum running smoothly longer. It prevents clogs, rust, and damage. In this guide, we’ll cover everything step by step. You’ll learn how to clean it first, pick the best spot, and handle long-term storage. By the end, your vacuum will be ready for the next cleaning session. Let’s dive in and make storing your vacuum cleaner a breeze!
Key Takeaways
- Clean thoroughly first: Empty the canister, wash filters, and wipe down parts to prevent mold and clogs.
- Choose a dry spot: Store in a cool, dry area away from direct sun or moisture to avoid rust.
- Wind cords neatly: Use the onboard holder or Velcro ties to prevent kinks and damage.
- Organize attachments: Bag or box them together for easy access next time.
- Stand upright: For upright models, use a secure hook or closet space to save room.
- Check seasonally: Inspect stored vacuums every few months for issues like pests or wear.
- Avoid long-term stacking: Don’t pile heavy items on top to prevent hose crushing.
Quick Answers to Common Questions
Short on space?
Wall-mount your vacuum. It frees floor room and keeps it handy.
Hose kinks?
Coil in loops, not tight circles. Fill with salt overnight to relax it.
Smelly storage?
Sprinkle baking soda in the canister. Let sit, then vacuum it up next time.
Robot vac storage?
Keep on its dock. It charges and stays dust-free.
Winter storage?
Use a garage dehumidifier. Prevents cold damage.
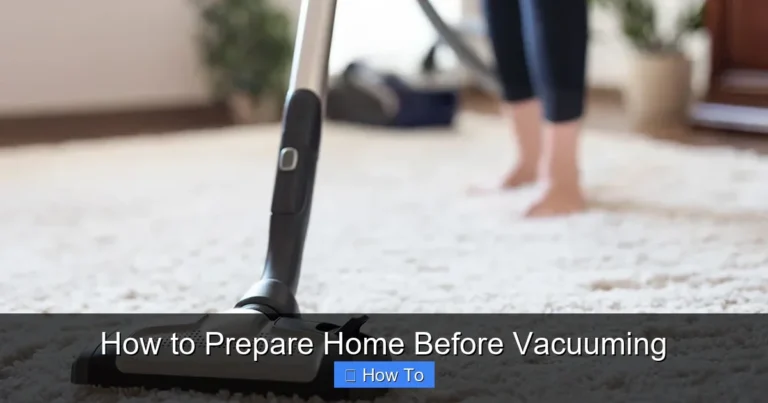
Step 1: Prepare Your Vacuum Cleaner Before Storage
Before you even think about where to put it, get your vacuum ready. This is key to how to store a vacuum cleaner without future headaches. A dirty vacuum can grow mold or attract pests. Start with a full clean.
Clean the Canister or Bag
Turn off and unplug your vacuum. Empty the dirt canister or replace the bag right away. Tap out loose debris outside. For stubborn bits, rinse with warm soapy water. Dry it fully. This stops smells and bacteria buildup.
Wipe Down the Exterior
Grab a damp cloth and mild cleaner. Wipe the body, hose, and wand. Avoid soaking electrical parts. Dry with a towel. Pro tip: For deeper cleans, check our guide on how to clean your vacuum cleaner. It has model-specific tips.
Remove and Clean Filters
Most vacuums have foam, HEPA, or cloth filters. Pull them out. Rinse or vacuum them clean. Let air dry for 24 hours. Dirty filters cut suction. Clean ones make your next use better.
Real example: My upright vac sat dirty once. It smelled awful after a month. Now I always prep it first. Takes 10 minutes but saves time later.
Step 2: Empty and Handle Debris Properly
Debris left inside leads to clogs. After emptying the canister, check the hose and brush roll. Shake out dirt. If clogged, follow our how to unclog a vacuum cleaner steps. Use a broom handle or compressed air gently.
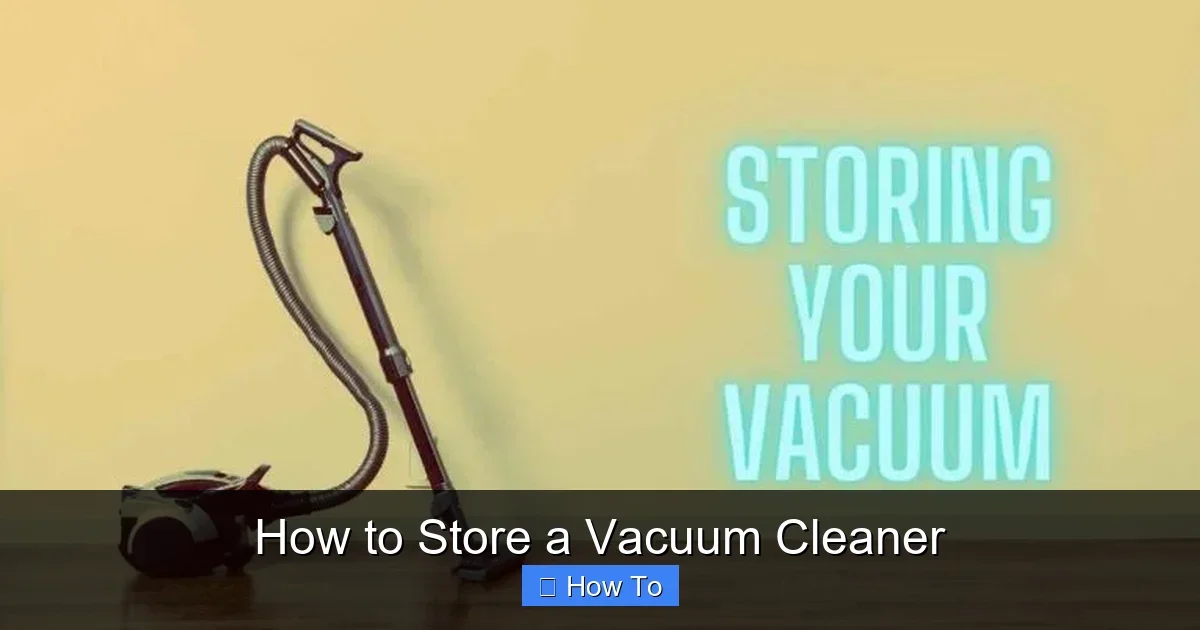
Visual guide about How to Store a Vacuum Cleaner
Image source: simplelivinginsider.com
Seal trash in a bag. Compost dry dirt if possible. Never store with full debris. This is a must for how to store a vacuum cleaner safely.
Pro Tip for Bags
For bagged models, tie off the full bag. Label it with the date. Store extras in a dry box.
Do this every time. It keeps your vacuum fresh and efficient.
Step 3: Inspect for Damage and Do Quick Maintenance
Look over your vacuum head to toe. Check the cord for frays. Test the hose for cracks. Spin the brush roll freely. Tighten loose parts.
Check Belts and Brushes
Belts wear out. If slack, replace them. Brush rolls snag hair. Cut it off with scissors. This prep ensures smooth starts after storage.
If it’s old or broken beyond repair, consider if it’s time to dispose of your vacuum cleaner properly instead of storing it.
Maintenance now prevents breakdowns. Think of it as winterizing your car.
Step 4: Detach and Organize Attachments
Hoses, wands, crevice tools, and upholstery brushes tangle easily. Detach them all. Rinse if dirty. Dry completely.
Storage Ideas
- Bag them in a mesh sack. Hang on a hook.
- Use vacuum storage bags. Seal with your vacuum first. See how to use vacuum storage bags with a vacuum cleaner for tips.
- Label a plastic bin. Stack neatly inside.
This makes grabbing tools next time fast. No more digging!
Step 5: Wind Cords and Hoses Neatly
Kinked cords break. Use the built-in wrap if it has one. Or Velcro ties. Make figure-8 loops. Secure ends.
For hoses, coil loosely. Avoid tight bends. Example: My Shark vac has a cord hook. It saves space perfectly.
Neat winding is essential for how to store a vacuum cleaner without wear.
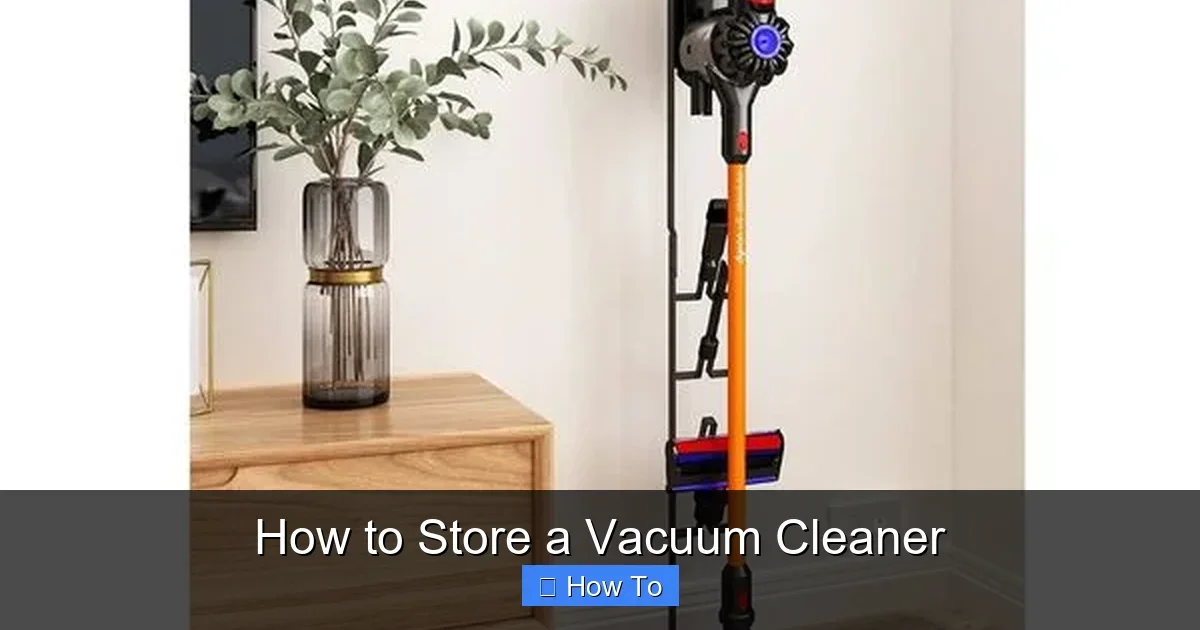
Step 6: Choose the Right Storage Location
Not all spots work. Pick wisely to protect your investment.
Ideal Conditions
- Cool and dry: Basements with dampness cause rust. Aim for 50-70°F.
- Out of sun: UV fades plastics.
- Stable floor: No vibrations from washers.
- Accessible: Closet or garage corner.
Avoid attics if hot. Pantries work for stick vacs. Uprights fit in tall closets.
Space-Saving Hacks
Wall mounts save floor space. Over-door hooks for canisters. Robot vacs dock themselves!
Match location to your vacuum type. This step nails how to store a vacuum cleaner.
Step 7: Position It for Proper Storage
Stand upright models straight. Lean canister ones against a wall. Never lay flat long-term. It stresses seals.
Secure It
- Use straps or bungee cords.
- Don’t stack heavy boxes on top. Crushes hoses.
- For portables, upright in a case.
Cover with a breathable cloth. Blocks dust but lets air flow.
Troubleshooting Common Storage Problems
Issues happen. Here’s how to fix them.
Mold or Mildew
Too damp. Move to drier spot. Wipe with vinegar. Dry fully.
Pest Infestation
Seal food scraps first. Use cedar blocks. Vacuum nearby areas.
Cord Damage After Storage
Inspect before use. Rewind looser next time.
No Suction on Restart
Clog from debris. Clean filters again. Run a test.
Seasonal checks catch these early. Inspect every 3 months.
Long-Term Storage Tips
Moving? Off-season? Add silica packs for moisture. Lubricate moving parts lightly. Label with storage date. Test yearly.
For shipping, pack in original box. Check costs to ship if needed.
Conclusion
There you have it! Now you know exactly how to store a vacuum cleaner. Clean it, maintain it, pick a good spot, and organize smartly. Your vacuum will thank you with years of service. Less repairs mean more cleaning wins. Try these steps today. Got questions? Drop a comment. Happy storing!
(Word count: 1628)
🎥 Related Video: I Tested Vacuum Storage Bags To Save Space Packing…
📺 Logan Nathanson
Never pack AIR again See On Amazon: https://geni.us/vacbags #affiliate #vacuumbags #vacuumstoragebag #storagebag …