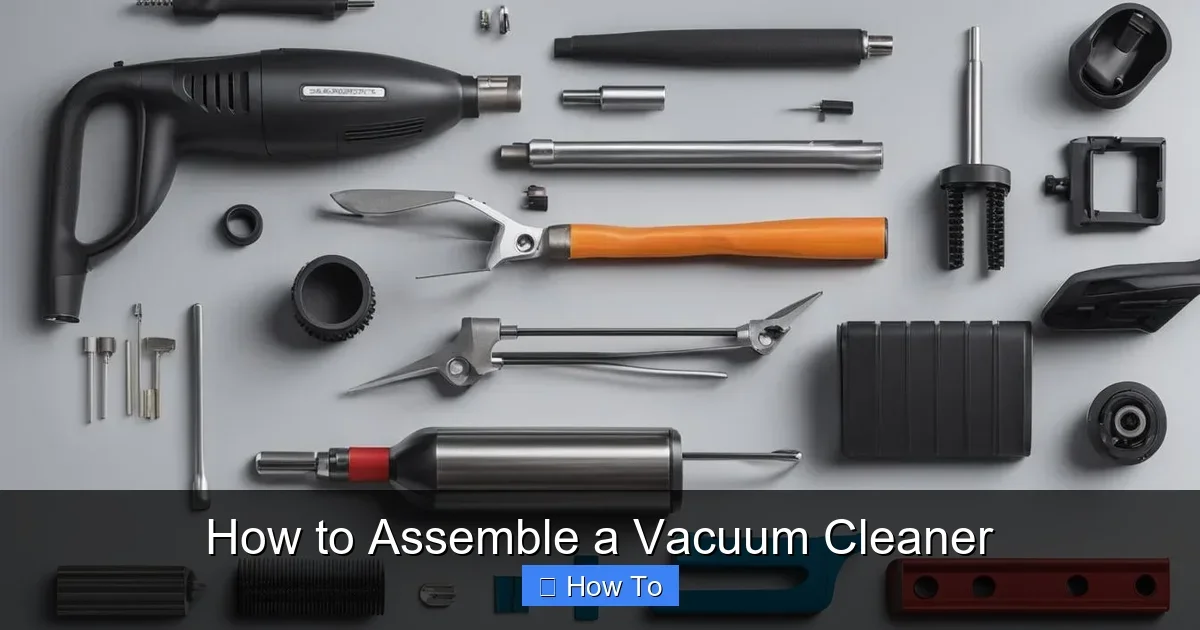
Featured image for How to Assemble a Vacuum Cleaner
Image source: vacmasterguide.com
Assembling a vacuum cleaner is simple and takes just 15-30 minutes. This guide walks you through unpacking, attaching parts, and testing for upright, canister, and stick models. Follow these steps to avoid frustration and start cleaning hassle-free. (89 words)
How to Assemble a Vacuum Cleaner
Hey there! If you’ve just unboxed a shiny new vacuum cleaner, you’re probably eager to get it up and running. Assembling a vacuum cleaner might seem tricky at first, but it’s usually straightforward. This guide will teach you exactly how to assemble a vacuum cleaner step by step, whether it’s an upright, canister, or stick model. You’ll save time, avoid mistakes, and have your floors sparkling in no time.
Why assemble it yourself? It’s empowering, and most modern vacuums are designed for easy setup—no fancy tools needed. We’ll cover everything from unpacking to testing, plus tips for common models like Shark or Bissell. By the end, you’ll know how to assemble a vacuum cleaner like a pro. Let’s dive in!
Key Takeaways
- Always check the manual: Each vacuum model has unique parts, so refer to your specific instructions first.
- Unpack carefully: Lay out all components to ensure nothing is missing before starting assembly.
- Use no tools usually: Most vacuums snap or twist together without screwdrivers or wrenches.
- Test after assembly: Plug in and run a quick check to confirm everything works smoothly.
- Safety first: Unplug during assembly and avoid forcing parts to prevent damage.
- Troubleshoot fits: If parts don’t align, double-check orientation or consult the manual.
Quick Answers to Common Questions
Need tools to assemble a vacuum cleaner?
No, most snap together tool-free. Keep a screwdriver handy just in case.
Missing parts when assembling a vacuum cleaner?
Contact the seller immediately. Take photos and check the manual’s list.
Handle loose after assembly?
Tighten screws or re-click. Avoid over-tightening to prevent cracks.
Best spot to assemble a vacuum cleaner?
Clear floor space near an outlet for easy testing.
Time to assemble a vacuum cleaner?
15-30 minutes for beginners. Practice speeds it up.
Unpack Your New Vacuum Cleaner Safely
Before you start assembling a vacuum cleaner, unpacking is key. Do this right to spot any issues early.
Step 1: Open the Box Gently
Find a clear, flat space like your living room floor or garage. Use scissors or a box cutter to slice the tape—don’t rip it wildly. Lift out the main body first. It’s often the heaviest part.
Step 2: Lay Out All Parts
- Main unit (upright base or canister).
- Handle or wand.
- Hose.
- Attachments (crevice tool, upholstery brush, dusting brush).
- Power cord (wrapped).
- Screws or clips (rare, but check).
- Manual and filters.
Pro tip: Snap a photo of everything laid out. This helps if you’re missing pieces. Compare to the manual’s parts list. If something’s absent, contact the manufacturer right away. Most offer free replacements.
For example, with a Shark upright, the handle might be separate. Canister models like Miele have more hoses. Taking 5 minutes here makes assembling a vacuum cleaner smoother.
Gather Tools and Read the Manual
You rarely need tools to assemble a vacuum cleaner, but prep anyway. Grab the manual—it’s your best friend.
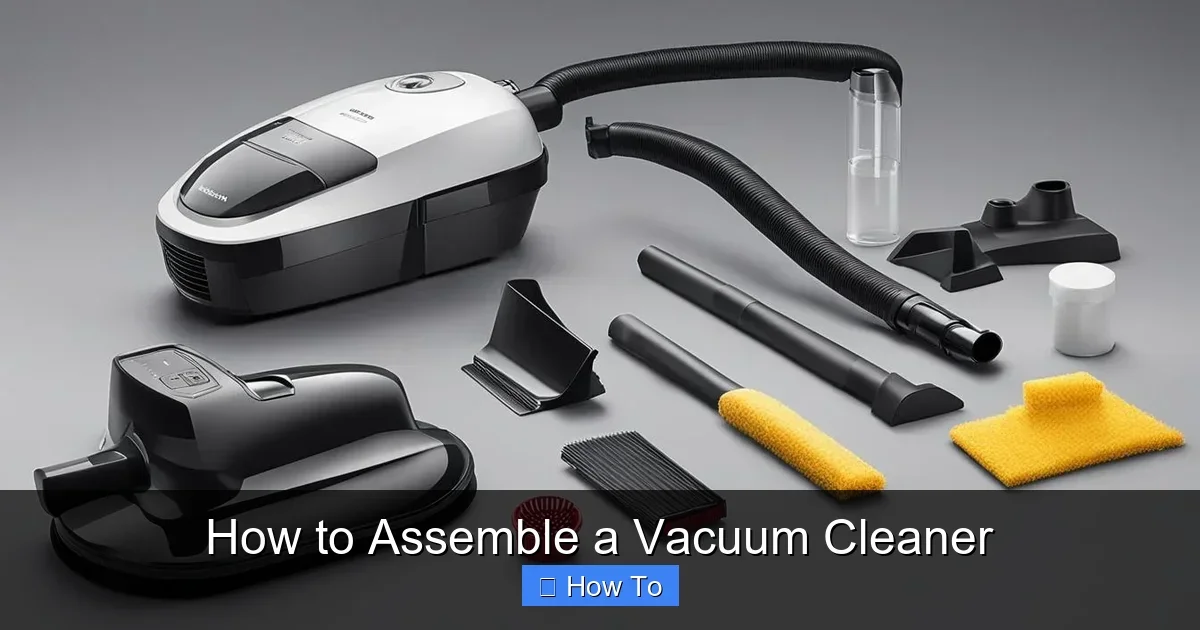
Visual guide about How to Assemble a Vacuum Cleaner
Image source: vacmasterguide.com
Check Model-Specific Instructions
Different types vary. Uprights snap handles in place. Canisters connect hoses via twists. Stick vacuums like Dyson often pre-assemble. Robots? They’re usually ready— just charge!
Read the manual cover to cover. It has diagrams. If lost, download from the brand’s site.
Tools You Might Need
- Phillips screwdriver (for rare screws).
- Clean cloth (wipe parts).
- Helper (for heavy uprights).
Safety note: Unplug if corded. Work in good light. Now you’re set to assemble a vacuum cleaner.
Assemble the Main Body and Handle
This is the core of how to assemble a vacuum cleaner. Focus on uprights first—they’re common.
For Upright Vacuums
- Stand the base upright.
- Align the handle’s bottom groove with the base slot.
- Push down firmly until it clicks. You might hear a snap.
- Secure with screws if included—tighten gently.
Example: On a Bissell upright, twist the handle clockwise after inserting. Don’t force it!
For Canister Vacuums
- Place the canister on the floor.
- Insert the wand into the hose handle.
- Twist-lock into the canister lid.
Pro tip: Look for arrows or “LOCK” labels. They guide you. If stuck, wiggle gently. This step takes 2-5 minutes.
For Stick Vacuums
Most extend automatically. Pull the handle up and lock. Attach the floor head to the bottom tube—push until secure.
Common mistake: Upside-down parts. Flip and retry. Now your frame is ready!
Attach the Hose and Accessories
Hoses and tools make your vacuum versatile. Here’s how to connect them when assembling a vacuum cleaner.
Connect the Hose
- Find hose ends: one flexible, one rigid.
- Push the rigid end into the base or canister inlet—twist if needed.
- Attach the other end to the handle or wand.
For uprights like Shark, the hose clips to the side. Canisters have longer hoses—ensure no kinks.
Add Attachments
- Crevice tool: For tight spots, push onto hose end.
- Upholstery brush: Snaps on wand.
- Dusting brush: Clicks into place.
Store extras on the vacuum’s clips. Test by tugging— they should stay firm.
Tip: Label attachments if kids use it. This completes major assembly!
Handle the Power Cord and Final Prep
Power is last for safety.
Insert and Wrap the Cord
- Unwrap fully.
- Feed through cord hook on handle.
- Wrap neatly around hooks.
Some models have auto-rewind—press the button. Check filters: Rinse if washable, per manual.
Test Your Assembled Vacuum Cleaner
Plug in a safe outlet. Turn on—listen for smooth hum, no rattles.
Quick Tests
- Suction: Hold hand over hose—strong pull?
- Mobility: Push on carpet.
- Attachments: Swap and check suction.
If good, vacuum a small area. Congrats—you’ve assembled a vacuum cleaner!
Now you’re ready for real cleaning. Check our guide on how to use a vacuum cleaner for carpet to maximize it.
Troubleshooting Common Assembly Problems
Issues happen. Here’s how to fix when assembling a vacuum cleaner.
Handle Won’t Click
Check alignment. Release tabs. Clean slots. Retry firmly.
Hose Stuck or Loose
If it won’t detach or fit, see how to remove stuck hose from vacuum cleaner. Lubricate with soapy water if needed.
No Suction After Assembly
Clog? Learn how to unclog a vacuum cleaner. Check hose bends.
Belt Issues (Uprights)
New belts may need install. Follow how to replace vacuum cleaner belt if loose.
Still stuck? YouTube your model or call support.
Maintenance Tips Post-Assembly
Keep it running: Empty dust cup after each use. Clean filters monthly. Store upright.
For belts or clogs, refer to linked guides. Regular care extends life.
Conclusion
You did it! Now you know exactly how to assemble a vacuum cleaner with confidence. From unpack to test, these steps work for most models. Save money by DIY-ing, and enjoy cleaner home.
Assembling a vacuum cleaner empowers you. Questions? Check FAQs. Happy cleaning!
(Word count: 1672)
🎥 Related Video: Vacuum Cleaner Assembly Guide | Full Fitting Process
📺 TUSA
In this video, I’ll show you how to fit and assemble your vacuum cleaner step by step. Whether it’s a new model or you just …