How to Replace Vacuum Cleaner Motor
Featured image for How to Replace Vacuum Cleaner Motor
Image source: pjmtec.com
Replacing your vacuum cleaner motor can breathe new life into your machine and save you hundreds on repairs. This guide walks you through every step, from safety prep to testing your fix. Get your vacuum sucking strong again in under an hour with basic tools.
How to Replace Vacuum Cleaner Motor
Hey there, vacuum warrior! Is your trusty vacuum cleaner losing its oomph? Weak suction, strange noises, or a burning smell? These are classic signs it’s time to replace vacuum cleaner motor. Don’t toss it out yet. You can fix it yourself and save big bucks.
In this guide, we’ll show you exactly how to replace vacuum cleaner motor step by step. No fancy skills needed. Just basic tools and a bit of patience. By the end, your vacuum will roar back to life. We’ll cover safety, tools, disassembly, install, testing, and fixes for hiccups. Let’s dive in and get that suction power pumping!
Key Takeaways
- Safety first: Always unplug the vacuum and discharge any static before starting to replace vacuum cleaner motor.
- Match the motor: Buy an exact replacement part using your model’s number for seamless fit.
- Basic tools needed: Screwdrivers, pliers, and a multimeter make the job easy and safe.
- Common issues: Weak suction or burning smells signal it’s time to replace vacuum cleaner motor.
- Test after install: Run a full cycle to ensure no rattles or power drops.
- Save money: DIY costs under $100 vs. pro service fees over $200.
Quick Answers to Common Questions
Screws lost? Use magnets.
Stick them to a tray or fridge door during disassembly to replace vacuum cleaner motor.
Wires confusing? Label them.
Tape numbered tags and snap photos for easy match when you replace vacuum cleaner motor.
Motor won’t budge? Lubricate.
Spray WD-40 lightly on mounts, wait 5 mins, then wiggle free safely.
Test before full reassembly?
Yes! Plug in loosely to confirm new motor spins before closing up.
Burning smell lingers?
Ventilate and run empty 10 mins. If persists, check wiring insulation.
Gather Your Tools and Parts
Before you start to replace vacuum cleaner motor, round up your gear. This keeps things smooth and safe.
What Tools You’ll Need
- Phillips and flathead screwdrivers.
- Needle-nose pliers.
- Wire cutters and strippers.
- Multimeter for testing.
- Replacement motor (exact model match).
- Work gloves and safety glasses.
- Clean workspace with good light.
Pro tip: Check your vacuum’s manual or model number online for the right motor. Sites like manufacturer pages or parts stores make it easy. For example, if you’re dealing with belt issues too, peek at our how to replace vacuum cleaner belt guide first. It often goes hand-in-hand with motor work.
Where to Buy a Replacement Motor
Grab your new motor from Amazon, eBay, or brand sites like Hoover or Dyson. Expect $30-$100. Always verify compatibility. Snap a photo of the old motor’s label. This avoids mismatches when you replace vacuum cleaner motor.
Prioritize Safety Before Disassembly
Safety isn’t optional when learning how to replace vacuum cleaner motor. One zap or cut ruins the day.
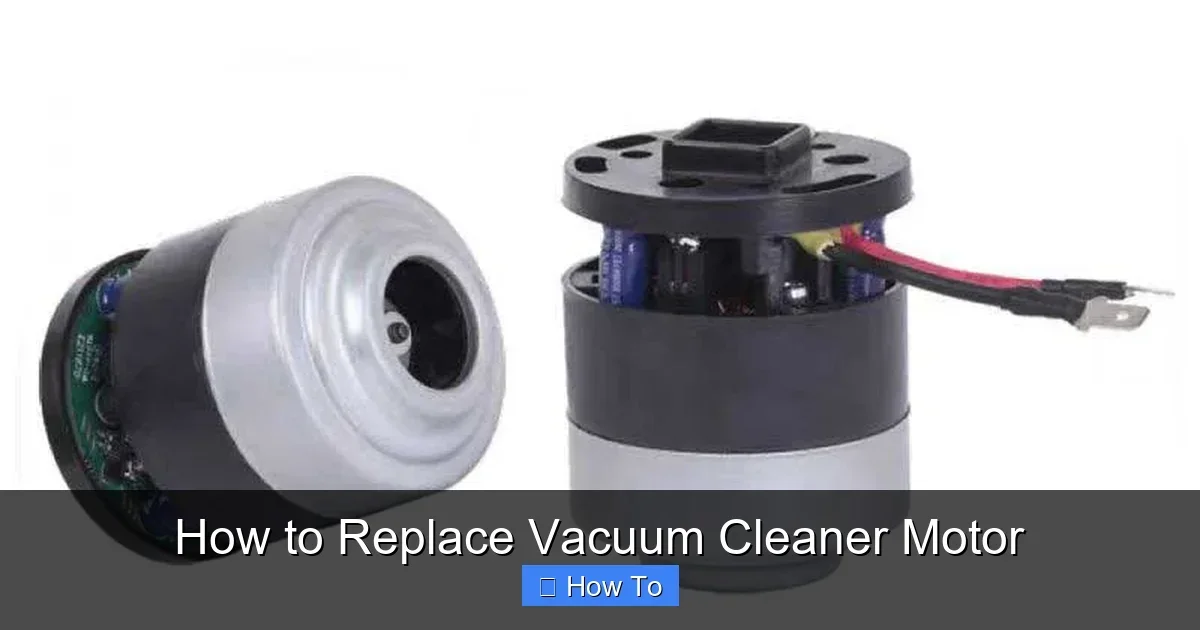
Visual guide about How to Replace Vacuum Cleaner Motor
Image source: shopcdnpro.grainajz.com
Key Safety Steps
- Unplug the vacuum from the wall. Wait 10 minutes for capacitors to discharge.
- Remove the bag or empty the canister. No dust clouds!
- Work in a ventilated area. Motors can smell funky.
- Wear gloves to grip greasy parts.
Got a clogged unit? Clear it first. See our how to unclog a vacuum cleaner article for quick fixes. Clogs strain motors and mimic failure.
Disassemble Your Vacuum Cleaner
Now, the fun part: taking it apart to access the motor. Models vary, but uprights and canisters follow similar paths. We’ll use a generic upright as example.
Step-by-Step Disassembly
1. Remove the Top Cover
Flip the vacuum upside down. Unscrew 4-6 Phillips screws on the base. Lift the hood gently. Note wire positions with photos.
2. Detach the Handle and Hose
Loosen handle screws. Pull the hose off clips. Set aside. This exposes the motor housing.
3. Access the Motor Compartment
Remove 2-4 screws holding the motor cover. Fan blades might spin free—hold steady. Dust bunnies everywhere? Vacuum them up safely.
Stay patient. Label screws in bags by section. This makes reassembly a breeze when you replace vacuum cleaner motor.
Remove the Old Vacuum Cleaner Motor
Here’s the heart of how to replace vacuum cleaner motor. Handle with care—these pack power.
Disconnect Wires and Fan
- Photo all wires. Colors matter: black (hot), white (neutral), green (ground).
- Use pliers to unplug connectors. No cutting unless corroded.
- Unscrew fan nut (usually reverse thread—turn clockwise to loosen).
- Lift motor out. It might stick—wiggle gently.
Inspect for damage. Burnt windings? Yep, time to replace vacuum cleaner motor. If it’s just dirty, clean contacts first.
Thinking pro help? Compare costs in our how much does it cost to service a vacuum cleaner guide. DIY often wins.
Install the New Vacuum Cleaner Motor
Fresh motor in hand? Let’s mount it right.
Precise Installation Steps
1. Prep the New Motor
Test it briefly with multimeter: continuity on coils, no shorts. Align mounting holes.
2. Reattach Fan and Wires
Slide fan on shaft. Tighten nut counterclockwise. Reconnect wires per photos. Tug gently to secure.
3. Secure in Housing
Lower into place. Screw down firmly but not overtight. Avoid pinching wires.
Example: On Shark models, extra clips hold it. Check your manual. Perfect fit means smooth runs post-replace vacuum cleaner motor.
Reassemble and Test the Vacuum
Put her back together. Reverse disassembly steps.
Reassembly Checklist
- Replace all screws snugly.
- Reattach hose and handle.
- Secure top cover.
- Plug in and flip on.
Post-Install Testing
Run in short bursts. Listen for smooth hum—no rattles. Test suction on carpet. Check how to check power of vacuum cleaner for airflow metrics.
Full clean cycle next. If it pulls like new, victory!
Troubleshooting Common Issues
Not perfect? Here’s fixes after you replace vacuum cleaner motor.
No Power After Install
Check wiring polarity. Verify switch continuity with multimeter. Loose ground? Tighten.
Weak Suction Still
Inspect fan for damage. Clean filters anew. Belt slipped? Adjust.
Overheating or Noise
Misaligned shaft. Re-seat motor. Bad bearings? Return part.
Overloaded circuit? Test outlet. Persistent woes? Motor mismatch likely.
Brand-Specific Tips
Dyson ball models: Twist base carefully. Kirby: Release beater bar first. Uprights like Bissell need cord reel unplug.
Maintenance to Prolong Your New Motor
Don’t stop at how to replace vacuum cleaner motor. Prevent repeats.
- Empty bag/canister often.
- Clean filters monthly.
- Check belts yearly—see our belt guide linked earlier.
- Avoid wet pickups on dry motors.
Regular care doubles lifespan. Your vacuum thanks you!
Conclusion
Congrats! You nailed how to replace vacuum cleaner motor. From tools to test, you’re now a pro. Saved cash, dodged landfills. Next time suction dips, you’ll crush it.
Share your wins below. Happy cleaning, friends!
(Word count: 1628)
🎥 Related Video: How to disassemble a vacuum cleaner motor Repair electric motor Fix engine
📺 SKILL
How to disassemble a vacuum cleaner motor Don’t forget Subscribe and click the bell Like and share!