Featured image for How to Use Vacuum Attachments
Image source: m.media-amazon.com
Vacuum attachments make cleaning faster and more thorough. This guide shows you how to attach, use, and maintain them for any surface. Say goodbye to dust bunnies with these simple steps!
How to Use Vacuum Attachments
Ever stared at your vacuum attachments wondering what to do next? You’re not alone. Many folks own these handy tools but don’t use them right. This guide changes that. You’ll learn how to use vacuum attachments like a pro. We’ll cover types, attaching them, using them on different spots, tips, troubleshooting, and care. By the end, your home will sparkle. Let’s dive in and make cleaning easy.
Key Takeaways
- Match the right attachment: Use crevice tools for tight spaces, brushes for delicate items, and floor heads for carpets.
- Check compatibility: Ensure attachments fit your vacuum model before starting.
- Secure firmly: Twist or click attachments until they lock to avoid detachment during use.
- Empty bin often: Prevent clogs by checking the dust bin midway through big jobs.
- Clean attachments: Rinse tools after use to extend their life and performance.
- Use slow strokes: Move attachments deliberately for better suction and pickup.
- Troubleshoot clogs: Unplug first, then clear hoses and attachments if suction weakens.
Quick Answers to Common Questions
Crevice tool stuck?
Twist gently while pulling. Clean the end first.
Best for pet hair?
Turbo brush. Go slow over rugs.
No suction suddenly?
Empty bin and check hose for clogs.
Clean brushes how?
Soak in soapy water. Rinse and dry.
High shelves?
Use extension wand with dusting brush.
Understanding Your Vacuum Attachments
First things first. Know your tools. Vacuum attachments are add-ons that fit on your hose or wand. They target specific messes. Common ones include the crevice tool, upholstery brush, dusting brush, turbo brush, and floor nozzle.
The crevice tool is narrow. Great for corners and edges. The upholstery tool has soft bristles. Perfect for sofas and cushions. Dusting brushes handle shelves and blinds gently. Turbo brushes spin for pet hair on rugs. Floor nozzles glide over carpets and hard floors.
Not all vacuums have the same set. Check your manual. Brands vary. For example, if you have a Dyson, see our detailed Dyson vacuum cleaner attachments how to use guide. Shark or Bissell users? Their tools work similarly but have unique clicks.
Quick Attachment Guide
- Crevice Tool: Tight spots like baseboards.
- Upholstery Tool: Furniture and car seats.
- Dusting Brush: Fragile surfaces.
- Turbo Brush: Area rugs and stairs.
- Floor Nozzle: Large areas.
Pick the right one for the job. It boosts suction and saves time.
Preparing Your Vacuum for Attachments
Before attaching anything, prep your vacuum. A clean machine works best.
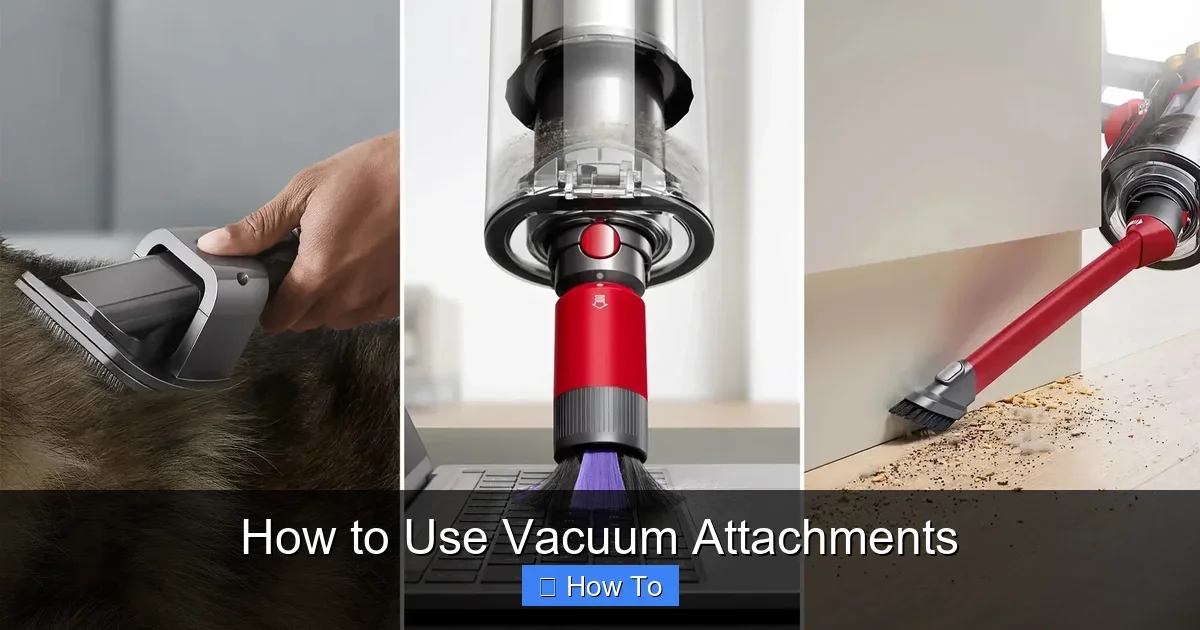
Visual guide about How to Use Vacuum Attachments
Image source: nypost.com
Step 1: Unplug and Empty
Unplug the vacuum. Safety first. Empty the dust bin or bag. Full bins kill suction. Tap out dirt outside.
Step 2: Check the Hose and Wand
Inspect the hose. Look for clogs. Run your hand inside. Feel blockages? Clear them. If stuck, learn how to unclog a vacuum cleaner.
Step 3: Clean the Connection Points
Wipe the hose end and wand. Dust here blocks fits. Use a dry cloth. No water needed.
Pro tip: Test suction without attachments. Hold hand over hose end. Strong pull? Good to go.
Attaching Vacuum Attachments Step-by-Step
Attaching is simple. Follow these steps for most models.
Step 1: Identify the Connection Type
Most use twist-lock or push-click. Check your vacuum. Some have buttons.
Step 2: Align and Insert
Line up the attachment with the hose or wand. Push firmly. For twist-lock, turn clockwise until snug.
Step 3: Tug to Secure
Give a gentle pull. It shouldn’t pop off. If loose, twist more.
Step 4: Test the Fit
Plug in. Turn on low power. Feel suction at the tip. Adjust if weak.
Example: On a Bissell, push the button and slide on. For Shark, it clicks audibly. See how to use Shark vacuum cleaner for model tips.
Detach by reversing. Twist counter-clockwise or press release.
Using Specific Vacuum Attachments
Now the fun part. Using them right matters.
Crevice Tool for Tight Spaces
Slide into corners. Hold at 45 degrees. Slow, steady strokes. Great for behind appliances. Vacuum attachments like this reach where wands can’t.
Tip: Pair with extension wand for high spots.
Upholstery Tool for Furniture
Glide over cushions. Use back-and-forth motions. Lift cushions first. Shake out crumbs. This tool’s slots suck up deep dirt.
Example: Clean car seats. Vacuum crevices then surfaces.
Dusting Brush for Delicates
Soft bristles protect lampshades and bookshelves. Light pressure. Dust first with a cloth, then vacuum.
Caution: Don’t press hard on fragile items.
Turbo Brush for Rugs and Pet Hair
Let it spin. Move slowly forward and back. Ideal for stairs. The rotating brush agitates dirt loose.
Floor Nozzle for Large Areas
For hard floors, use bare floor setting. Angle slightly. Overlap strokes. Switch to carpet mode for rugs.
Pro example: In living rooms, start edges with crevice, then floor nozzle.
Cleaning Different Surfaces with Vacuum Attachments
Surfaces need specific techniques.
Carpets: Use floor nozzle or turbo. Go with the nap. Twice over heavy traffic spots.
Hard Floors: Bare floor tool. No beater bar. Watch edges.
Sofas and Chairs: Upholstery tool. Vacuum zippers too.
Curtains and Blinds: Dusting brush. Top to bottom.
Cars: Crevice for seats, brush for dash. Work in sections.
Always use vacuum attachments suited to the surface. It prevents damage.
Practical Tips for Best Results
Want pro-level cleaning? Try these.
- Declutter first. Pick up toys and cords.
- Vacuum top to bottom. Dust falls down.
- Slow is better. Fast passes miss dirt.
- Use headlights if your vacuum has them.
- Overlap strokes by 2 inches.
- For pet hair, go over twice.
- Empty bin every 10 minutes on big jobs.
Bonus: Vacuum weekly. It cuts deep cleans in half.
Troubleshooting Common Vacuum Attachment Issues
Problems happen. Fix them quick.
No Suction
Check attachments. Remove and test hose alone. Clog? Clear it. Full bin? Empty.
Attachment Won’t Stay On
Clean connections. Dirt jams locks. Lubricate lightly with silicone spray if needed.
Weak Pull on Brush
Hair wraps brushes. Unplug. Cut off with scissors. Spin by hand to check.
Hose Kinks
Straighten gently. Avoid sharp bends.
For belt issues on powered heads, see how to replace vacuum cleaner belt. Persistent clogs? Deep clean hose.
Maintaining Your Vacuum Attachments
Keep them lasting. After each use:
- Rinse removable parts. Air dry.
- Brush off hair from bristles.
- Store upright. Avoid crushing.
- Inspect for cracks. Replace worn ones.
Monthly, wash all. Hang to dry. Good care means better vacuum attachments performance.
Conclusion
You now know how to use vacuum attachments fully. From attaching to troubleshooting, you’re set. Practice on small areas first. Soon, cleaning feels effortless. Your vacuum is powerful. Attachments unlock it. Happy vacuuming! Got a specific model? Check brand guides like Bissell tips for extras.
(Word count: 1624)
🎥 Related Video: How to use your vacuum attachments the right way
📺 Reviewed
Read the in-depth article at Reviewed: http://rvwd.co/2jgXkwk If you’re not using your extra vacuum attachments, then you’re not …