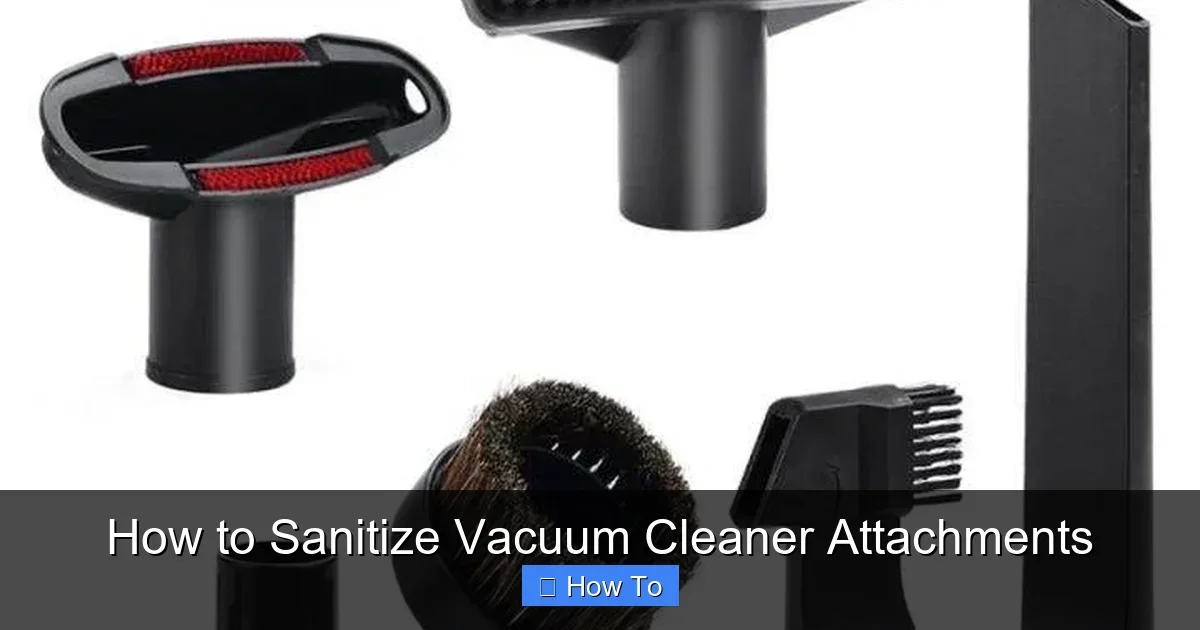
Featured image for How to Sanitize Vacuum Cleaner Attachments
Image source: lzd-img-global.slatic.net
Sanitizing vacuum cleaner attachments removes dirt, allergens, and germs for a healthier home. This guide walks you through simple steps using safe, everyday items. Follow along to keep your vacuum tools spotless and ready for action. (78 words)
How to Sanitize Vacuum Cleaner Attachments
Hey there, vacuum lover! Do you know your vacuum cleaner attachments pick up more than just dust? They trap dirt, pet hair, allergens, and even germs from floors, upholstery, and carpets. Over time, these tools can become breeding grounds for bacteria if you don’t sanitize vacuum cleaner attachments regularly. Gross, right?
That’s where this guide comes in. You’ll learn a simple, step-by-step process to sanitize vacuum cleaner attachments at home. No fancy equipment needed—just household items and a bit of elbow grease. By the end, your attachments will sparkle, smell fresh, and keep your home truly clean. Let’s dive in and make sanitizing easy!
Key Takeaways
- Sanitize regularly: Clean attachments every 1-2 months or after heavy use to prevent germ buildup.
- Use safe cleaners: Opt for mild soap, vinegar, or disinfectants to avoid damaging plastic or fabric parts.
- Dry completely: Air-dry attachments fully before storing to stop mold growth.
- Brand-specific tips: Check your model’s manual, as Dyson or Bissell attachments may need gentle handling.
- Prevent clogs: Regular sanitizing helps maintain suction power and extends vacuum life.
- Go natural: White vinegar solutions work great for eco-friendly sanitizing without harsh chemicals.
Quick Answers to Common Questions
How often to sanitize?
Every 1-2 months, or weekly if you have pets or kids.
Can I use bleach?
No— it damages plastic. Stick to vinegar or mild soap.
What about HEPA filters?
Replace or tap clean them separately; don’t soak.
Steam safe?
Yes for most, but check manual to avoid melting parts.
Odor gone?
Baking soda scrub works wonders on smelly tools.
Why You Need to Sanitize Vacuum Cleaner Attachments
Think about it. Every time you vacuum, attachments like the crevice tool, brush, or upholstery nozzle suck up crumbs, skin cells, and microbes. Without proper care, they spread germs back into your space. Regular sanitizing boosts your vacuum’s performance, prevents odors, and protects your family’s health.
Pro tip: If you have pets or allergies, sanitizing vacuum cleaner attachments is a must. It cuts down on dander and dust mites. Plus, clean tools mean better suction—no more weak cleaning power from clogged parts.
Gather Your Supplies First
Before you start, grab these basics. They’ll make sanitizing vacuum cleaner attachments a breeze:
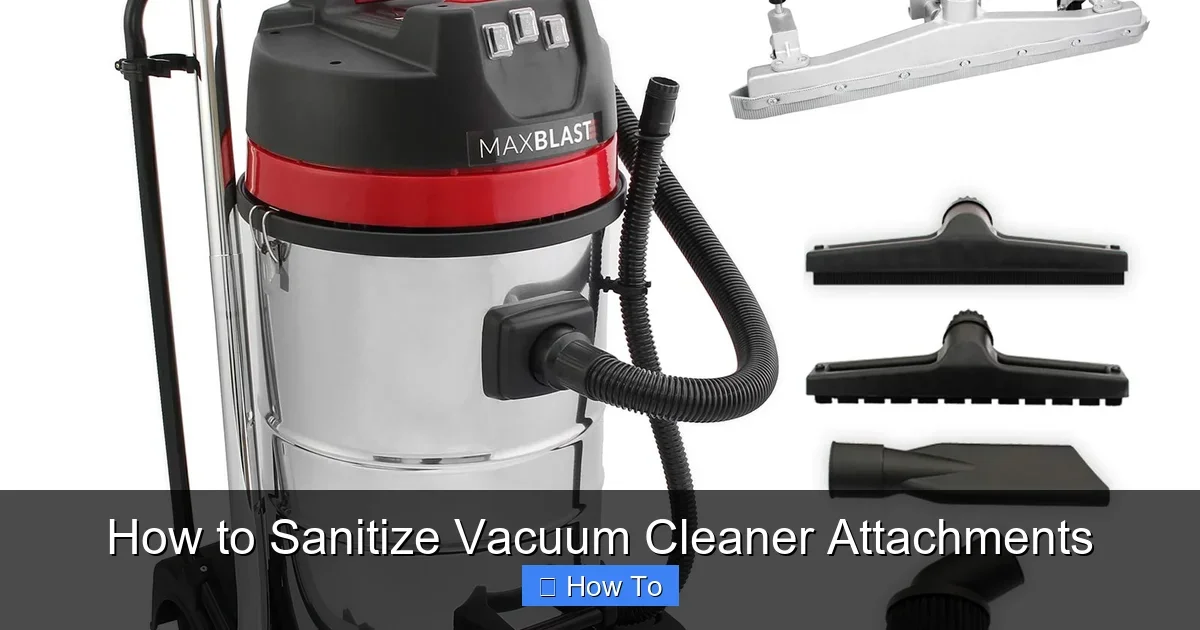
Visual guide about How to Sanitize Vacuum Cleaner Attachments
Image source: m.media-amazon.com
- Mild dish soap or laundry detergent
- White vinegar or rubbing alcohol (for disinfection)
- Warm water
- Soft brushes or old toothbrushes
- Clean microfiber cloths or paper towels
- Buckets or sink space
- Optional: Baking soda for tough odors, UV sanitizer wand for extra germ-killing
Check your vacuum manual too. Some brands like Dyson have special care tips. For example, learn more about Dyson vacuum cleaner attachments to handle them right.
Step 1: Disconnect and Inspect Attachments
Safety first! Unplug your vacuum. Remove all attachments from the hose or wand. Lay them out on a clean surface outdoors or in your garage if possible.
Quick Inspection
Look for damage, clogs, or heavy buildup. Shake off loose debris. If something’s stuck, wiggle it gently. For unclogging tips, see our guide on how to unclog a vacuum cleaner.
This step preps everything for deep cleaning and spots issues early.
Step 2: Dry Clean to Remove Loose Dirt
Don’t skip this! Use a dry cloth or soft brush to wipe away dust and hair. For brushes, run them under tap water briefly to loosen fibers—no soap yet.
Pro Trick for Brushes
Hold the brush over a trash bin and tap firmly. Most hair falls right out. Repeat until clean. This makes wet sanitizing faster.
Dry cleaning cuts down on water use and prevents mushy messes.
Step 3: Choose Your Cleaning Method by Attachment Type
Not all attachments are the same. Tailor your approach to avoid damage. Here’s how to sanitize vacuum cleaner attachments based on material.
For Plastic Crevice Tools and Wands
These are tough. Fill a bucket with warm water, a squirt of dish soap, and 1 cup white vinegar. Soak for 10-15 minutes. Scrub crevices with a toothbrush. Rinse well.
For Fabric Upholstery Tools
Spot clean first with a damp cloth and soap. Avoid soaking. Use a vinegar spray (1:1 water-vinegar mix) and blot dry. Great for pet hair spots.
For Brush Rolls and Pet Tools
Remove any detachable brushes. Soak in soapy water 20 minutes. Scrub bristles gently. For Dyson or Bissell users, check brand guides like Bissell vacuum cleaner how to use for specifics.
Always test cleaners on a small area first.
Step 4: Disinfect for Germs
Now the magic part—killing bacteria! After washing, spray or soak in a disinfectant solution:
- 1 part vinegar to 3 parts water
- Or 70% rubbing alcohol diluted
- Let sit 5 minutes
Wipe with a clean cloth. For extra power, sprinkle baking soda, let fizz, then vacuum it up with another attachment. This neutralizes odors too.
Bonus: If you own a Miele, our how to clean Miele vacuum cleaner guide pairs perfectly here.
Step 5: Rinse Thoroughly and Dry
Rinse every piece under running water until suds are gone. Shake off excess water. Pat dry with microfiber cloths.
Air-Dry Smartly
Lay flat in a sunny spot or hang up. Use a fan to speed it up. Full dry takes 1-2 hours—never store damp!
Wet attachments breed mold. Patience pays off.
Step 6: Reassemble and Test
Once bone-dry, snap attachments back on. Plug in and run a quick test vacuum on a clean floor. Check for rattles or weak suction.
Store upright in a dry spot. Label if needed for quick grabs.
Practical Tips for Long-Lasting Results
Make sanitizing vacuum cleaner attachments a habit:
- Do it monthly for high-traffic homes.
- Use steam cleaners for heat sanitizing (if attachments allow).
- Add essential oils to rinse water for fresh scent.
- For sofas, vacuum first then sanitize—see how to clean sofa at home with vacuum cleaner.
Example: Sarah sanitized her Dyson tools weekly. Her allergies vanished!
Troubleshooting Common Sanitizing Snags
Issue: Attachments smell musty?
Fix: Soak in vinegar overnight, then bake at low oven heat (200°F, 10 mins—plastic only).
Issue: Brittle plastic?
Fix: Wrong cleaner. Switch to soap only next time.
Issue: Won’t reconnect?
Fix: Dry fully; lube with silicone spray if sticky.
Still stuck? Refer to your manual or brand forums.
Final Thoughts: Keep Your Vacuum Sparkling
Congrats! You’ve mastered how to sanitize vacuum cleaner attachments. It’s quick, cheap, and makes a huge difference. Your floors will thank you with deeper cleans and fewer germs. Set a reminder—do it every few weeks. Happy vacuuming, friends!
(Word count: 1624)
🎥 Related Video: How to use your vacuum attachments the right way
📺 Reviewed
Read the in-depth article at Reviewed: http://rvwd.co/2jgXkwk If you’re not using your extra vacuum attachments, then you’re not …