Essential Vacuum Cleaner Maintenance and Care Routine
Keeping your floors spotless starts with a machine that actually works. A clogged filter or a full bag can turn a powerful vacuum into a useless hunk of plastic. That is why a solid Essential Vacuum Cleaner Maintenance and Care Routine is the secret weapon of every clean home.
Many people ignore their vacuum until it dies. However, a few simple habits can double its lifespan. In fact, basic care takes less than ten minutes a week.
This guide will show you exactly how to pamper your machine. You will learn the right steps to keep suction strong and air clean. Let’s dive into the best ways to care for your vacuum in 2026.
- Core Concept: Regular maintenance protects your motor and keeps suction power strong for years.
- Essential Step: Empty the dust bin or replace the bag after every single use to prevent clogs.
- Safety Rule: Always unplug the vacuum before you clean the brush roll or change the belt.
- Efficiency Tip: Wash foam filters monthly, but let them dry for 24 hours before putting them back.
- Long-Term Value: A well-cared-for vacuum lasts twice as long, saving you hundreds of dollars.
Why Essential Vacuum Cleaner Maintenance and Care Routine Matters: Key Fundamentals
Your vacuum is a hardworking machine. It pulls in dust, hair, and tiny rocks every day. Without care, these bits wear down the motor and block airflow. A good Essential Vacuum Cleaner Maintenance and Care Routine stops this wear and tear.
When airflow drops, your vacuum works harder. This extra effort heats up the motor. Eventually, the machine overheats and dies. Also, a dirty vacuum blows dust back into your air. That hurts your allergies and makes your home feel gritty. For complementary recommendations and expert testing advice, see our guide on Top Rated Vacuum Cleaner Models Tested Reviewed.
Think of maintenance as health care for your vacuum. A few minutes of care each week prevents big problems later. It keeps your home cleaner and your wallet happier.
- Motor Protection: Clean filters stop dust from entering the motor and causing friction.
- Suction Power: Clear airways mean strong airflow for deep carpet cleaning.
- Air Quality: A clean system traps allergens instead of blowing them around the room.
- Cost Savings: Proper care delays replacements and avoids expensive repair bills.
- Lifespan Boost: A cared-for vacuum can last 8 to 10 years instead of 4 or 5.
These fundamentals apply to every vacuum type. Whether you own a bagged upright or a cordless stick, the rules stay the same. Next, we will look at the specific tools you need for the job.
Gathering Your Maintenance Toolkit Before You Start
You do not need a garage full of gadgets. A few simple items will handle almost every cleaning task. First, check your vacuum manual for specific tool needs. Some brands require special brushes or belts.
Establish baseline measurements before implementing changes so you can accurately quantify progress and spot irregularities immediately.
Next, gather your supplies in one place. A small caddy or bucket keeps things tidy. This way, you will actually do the work instead of hunting for tools. Also, wear old clothes because this job can get messy.
Finally, set up a bright workspace. Good lighting helps you spot cracks or wear on parts. A clean, flat surface protects your floor from scratches. Now you are ready to begin.
- Soft Brush: Use a dry paintbrush or toothbrush to sweep dust off filters and crevices.
- Microfiber Cloth: Wipe down the exterior and cord with a slightly damp cloth.
- Scissors or Seam Ripper: Cut tangled hair and string from the brush roll safely.
- Replacement Parts: Keep spare belts, bags, and filters on hand for quick swaps.
- Trash Bag: Use a large bag to contain debris when you empty the bin or change bags.
With your toolkit ready, you can tackle the first big task: the dust bin. This step is the most frequent and most important part of your routine.
Daily and Weekly Habits for a Cleaner Dust Bin
The dust bin is your vacuum’s stomach. If it gets too full, the machine cannot swallow more dirt. Therefore, you must empty it often. For heavy use, empty it after every room. For light use, once a week is fine.
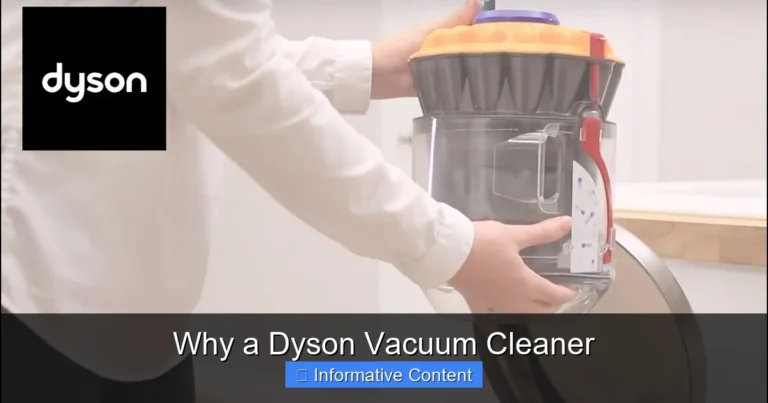
When you empty the bin, go outside or over a large trash can. Pull the release latch and let the debris fall out.
Do not shake the bin violently because that can damage the seals. Also, never wash the bin with water unless the manual says it is safe.
After emptying, check the bin for stuck debris. A quick wipe with a dry cloth keeps it clean. This simple habit takes 30 seconds but saves hours of frustration.
- Empty Often: Do not let debris reach the “max fill” line on the bin.
- Check Seals: Look at the rubber gasket on the bin lid for cracks or dust buildup.
- Wipe Interior: Use a dry microfiber cloth to remove fine dust film inside the bin.
- Inspect for Clogs: Shine a flashlight into the bin inlet to spot hidden blockages.
- Dry Completely: If you rinse the bin, let it air dry for 24 hours before use.
Once the bin is clean, your next focus should be the filters. They are the lungs of your vacuum and need gentle care.
Filter Care: The Heart of Your Vacuum’s Performance
Filters trap tiny particles that you cannot see. Over time, these particles clog the filter pores. When that happens, airflow drops and the motor strains. Therefore, filter cleaning is non-negotiable.
There are three main filter types: foam, felt, and HEPA. Foam and felt filters are usually washable. HEPA filters are often not washable and need replacement. Always check your manual to know which type you have.
For washable filters, rinse them under lukewarm water. Do not use soap because residue can damage the filter. Squeeze gently to remove excess water. Then, let them air dry for at least 24 hours. Never put a wet filter back into the vacuum.
- Tap First: Gently tap the filter against a trash can to remove loose dust.
- Rinse Gently: Run lukewarm water through the filter until the water runs clear.
- Air Dry Only: Place the filter on a drying rack away from direct heat or sunlight.
- No Soap: Avoid detergents because they leave behind sticky residue.
- Replace Yearly: Even washable filters wear out; swap them every 6 to 12 months.
After the filters, the brush roll needs your attention. This part grabs hair and carpet fibers, so it gets tangled fast.
Cleaning and Maintaining the Brush Roll and Belt
The brush roll spins fast to beat dirt out of carpets. Hair, string, and threads wrap around it. This wrapping slows the roll and strains the motor. Also, a tangled roll leaves streaks on your floor.
First, unplug the vacuum. Use scissors to cut through the tangled hair. Pull the debris away from the bristles. Be careful not to cut the bristles themselves. Next, check the belt that drives the brush roll.
The belt is a rubber loop that connects the motor to the brush. Over time, it stretches or cracks. A loose belt slips and smells like burning rubber. Therefore, replace the belt every 6 to 12 months, or sooner if it looks worn.
- Unplug First: Always disconnect power before touching the brush roll or belt.
- Cut Tangles: Use scissors to snip hair lengthwise along the roll, then pull it off.
- Check Bearings: Spin the brush roll by hand; it should turn freely without grinding.
- Inspect Belt: Look for cracks, glazing, or stretched spots on the rubber belt.
- Replace Belt: Follow the manual to install a new belt if the old one is loose.
Once the brush roll is clean, you should also check the hose and attachments. Clogs there can kill suction just as fast as a dirty filter.
Unclogging Hoses, Wands, and Attachments
Hoses and wands carry dirt to the bin. A clog in the hose stops everything. You will notice weak suction or no suction at all. Also, the vacuum might make a straining sound.
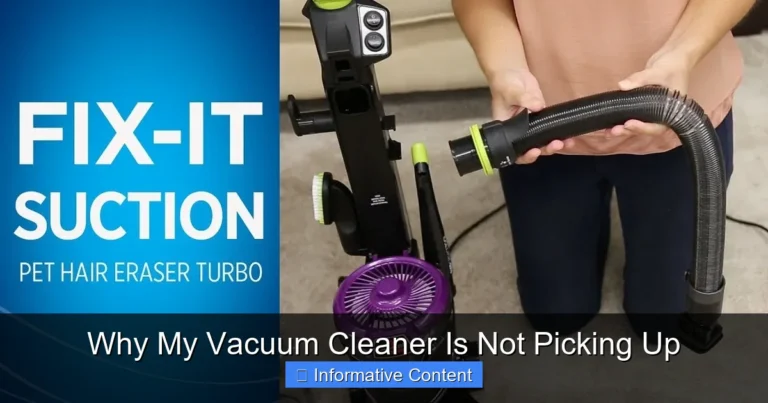
To check for clogs, disconnect the hose from the vacuum. Look through it toward a light. If you see a blockage, use a broom handle or a plumber’s snake to push it out. Never use a wire coat hanger because it can tear the hose.
For attachments, remove them and check the openings. A toothbrush works well to scrub away caked dust. Also, check the wand for hidden debris. A quick rinse and dry can fix most clogs.
- Disconnect Hose: Remove the hose from both the vacuum base and the wand.
- Look Through: Hold the hose up to a light to spot the clog location.
- Push Gently: Use a long, blunt object like a broom handle to dislodge the clog.
- Scrub Attachments: Use an old toothbrush to clean crevice tools and brush heads.
- Check Wand: Shine a flashlight down the wand tube to ensure it is clear.
Now that the air paths are clear, you need to care for the power source. The cord and battery need attention too.
Power Cord, Battery, and Motor Care Tips
The power cord and battery are the lifeline of your vacuum. A frayed cord is a safety hazard. A poorly charged battery loses run time. Therefore, inspect these parts every month.
For cords, look for cuts, exposed wires, or bent prongs. If you see damage, replace the cord or the vacuum. Do not tape a frayed cord because it can spark.
Also, wrap the cord loosely when storing it. Tight wrapping can break the internal wires.
For cordless vacuums, follow the battery rules. Do not leave the battery on the charger all the time. Also, do not drain it to zero percent often. Instead, charge it to about 80 percent for daily use. This habit extends battery life.
- Inspect Cord: Check for cuts, cracks, or exposed wires along the entire length.
- Wrap Loosely: Use a figure-eight pattern to store the cord without kinking.
- Battery Storage: Store cordless batteries in a cool, dry place at 50% charge.
- Avoid Full Drain: Recharge the battery before it hits zero percent.
- Clean Vents: Wipe the motor vents with a dry cloth to prevent overheating.
Your vacuum is now clean and safe. But how do you know if you are doing it right? Let’s look at a summary table for quick reference.
Best Practices: Dos and Don’ts for Long-Lasting Performance
Good habits make maintenance easy. Bad habits break your vacuum fast. Therefore, follow these simple dos and don’ts. They will keep your machine running like new.
Always cross-reference industry guidelines and safety protocols before modifying operational workflows or high-stakes parameters.
First, always read your owner’s manual. Every vacuum is a little different. What works for one brand might ruin another. Also, keep a maintenance log to track filter changes and belt swaps.
Finally, listen to your vacuum. If it sounds different, something is wrong. A high-pitched whine means a clog. A grinding noise means a brush roll problem. Fix small issues before they become big ones.
- Do Read the Manual: Follow the maker’s specific care instructions for your model.
- Do Empty Often: Never let the bin or bag get more than two-thirds full.
- Don’t Wash HEPA Filters: Unless the manual says “washable,” water ruins them.
- Don’t Use Soap: Soap residue clogs filters and attracts more dust.
- Do Replace Worn Parts: Change belts, filters, and brushes on a set schedule.
These best practices form the core of your routine. Next, let’s answer some common questions about vacuum care. For complementary recommendations and expert testing advice, see our guide on Shark Navigator Lift-Away Upright Vacuum Cleaner Review.
Frequently Asked Questions About Vacuum Maintenance
How Often Should I Replace My Vacuum Filter?
Replace HEPA filters every 6 to 12 months. Washable foam filters last about a year with monthly cleaning. However, if you have pets or allergies, replace them more often. Also, replace any filter that looks discolored or smells bad.
Can I Wash My Vacuum’s Dust Bin with Water?
Some dust bins are washable, but many are not. Water can damage the seals or the motor if it seeps in. Therefore, always check your manual first.
If it is washable, use only water and let it dry for 24 hours. If not, wipe it with a dry cloth.
Why Does My Vacuum Smell Bad When I Use It?
A bad smell usually means trapped debris or a dirty filter. First, empty the bin and clean the filters. Next, check the brush roll for hidden hair.
Also, inspect the hose for mold or damp dirt. A sprinkle of baking soda in the bin can help absorb odors.
How Do I Know If My Vacuum Belt Needs Replacing?
Look for cracks, glazing, or a stretched shape. Also, listen for a burning rubber smell or a slipping sound. If the brush roll stops spinning but the motor runs, the belt is likely broken. Replace it immediately to avoid motor damage.
Is It Okay to Vacuum up Wet Spills?
No, unless you have a wet-dry vacuum. Standard vacuums are for dry debris only. Water can short the motor and cause electric shock. Also, wet debris can clog the filter and breed mold. Always use a mop or a wet-dry vac for liquids.
How Can I Make My Vacuum Last Longer?
Follow a simple Essential Vacuum Cleaner Maintenance and Care Routine every week. Empty the bin, check the filter, and clear the brush roll. Also, store the vacuum in a cool, dry place.
Avoid wrapping the cord tightly. Finally, replace worn parts before they fail.
Conclusion: Final Summary & Next Steps
Your vacuum is an investment in a clean, healthy home. With a solid Essential Vacuum Cleaner Maintenance and Care Routine, you protect that investment for years.
Remember to empty the bin, clean the filters, and untangle the brush roll. These small steps make a huge difference.
Start today by checking your vacuum’s filter. If it is dirty, clean or replace it. Next, grab your scissors and clear the brush roll. You will instantly notice stronger suction and better cleaning.
Finally, set a monthly reminder on your phone. This keeps your routine on track. A little care each week saves you money and frustration. Your floors, your air, and your wallet will thank you.
So, go ahead and give your vacuum the love it deserves. You will be amazed at how well it performs. A clean vacuum means a clean home, and that is a wonderful feeling.