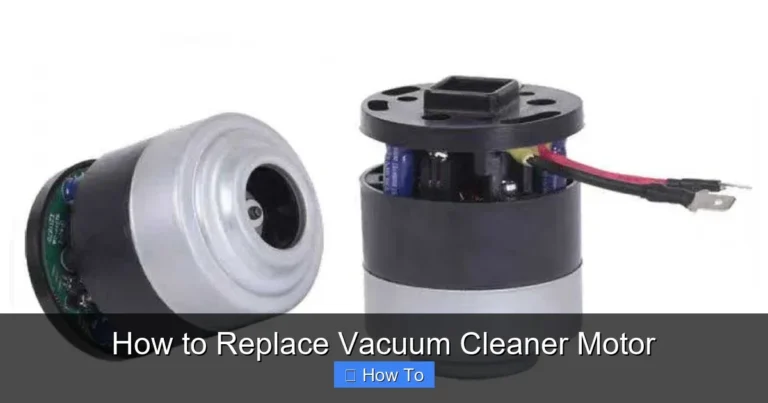
How to Clean Vacuum Cleaner Sensors
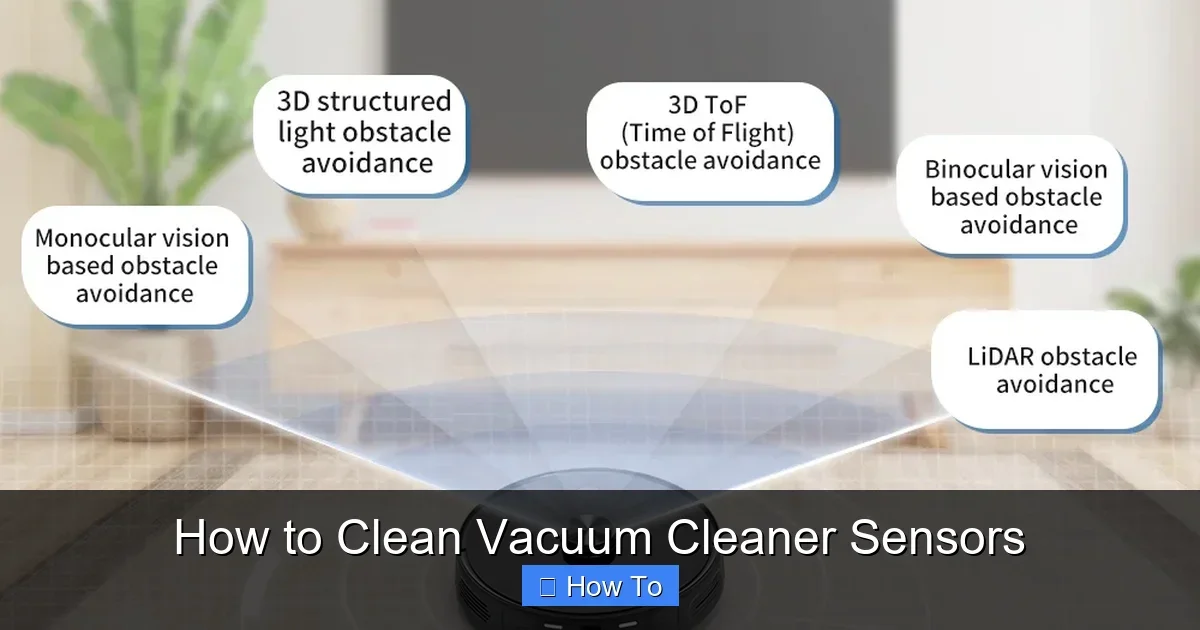
Featured image for How to Clean Vacuum Cleaner Sensors
Image source: cdn.shopifycdn.net
Cleaning vacuum cleaner sensors restores your device’s performance and prevents erratic behavior. This guide walks you through identifying, accessing, and safely cleaning sensors on robot, upright, and stick models. Follow these steps to keep your floors spotless and extend your vacuum’s life. (78 words)
Key Takeaways
- Unplug first: Always power off and unplug your vacuum before cleaning sensors to avoid shocks or damage.
- Use soft tools: Microfiber cloths, compressed air, and isopropyl alcohol work best without scratching delicate sensors.
- Target common types: Focus on cliff, dirt, and optical sensors, which get dusty fastest.
- Test after cleaning: Run a short cycle to ensure sensors detect edges, dirt, and obstacles properly.
- Prevent buildup: Vacuum less dusty areas first and wipe sensors weekly for robot models.
- Brand specifics matter: Check your manual for Dyson, Shark, or Roomba sensor locations.
Quick Answers to Common Questions
Water safe for sensors?
No! Water shorts electronics. Stick to isopropyl alcohol and dry wipes only.
How often clean robot sensors?
Weekly for busy homes. Bi-weekly otherwise. Prevents navigation fails.
Compressed air enough?
Often yes for light dust. Follow with wipes for shine and accuracy.
Sensors scratched—now what?
Use polishing cloth gently. If damaged, replace via manufacturer.
Test clean sensors how?
Place near stairs or spill flour. Vacuum should react properly.
Introduction
Hey there! Is your vacuum cleaner bumping into walls, missing dirt spots, or falling off stairs? Those could be signs of dirty sensors. Vacuum cleaner sensors help your device navigate, detect cliffs, and spot filth. Over time, dust and hair clog them up.
In this guide, you’ll learn how to clean vacuum cleaner sensors step by step. We’ll cover robot vacuums, uprights, and stick models. No fancy tools needed. Just simple steps to get your vacuum running like new. Let’s dive in and make cleaning easy!
Why Clean Vacuum Cleaner Sensors?
Sensors are the eyes and brain of modern vacuums. Cliff sensors stop falls. Dirt sensors boost suction on messes. Optical sensors dodge furniture. When dirty, your vacuum acts lost.
Visual guide about How to Clean Vacuum Cleaner Sensors
Image source: techpp.com
Cleaning them boosts suction power. It saves energy too. Dirty sensors make vacuums work harder. Clean ones extend battery life in robots. Plus, you’ll avoid costly repairs.
Pro tip: Clean every 1-2 weeks for heavy use. Links to our full vacuum cleaner cleaning guide for more maintenance ideas.
Tools and Materials You’ll Need
Gather these before starting. They’re cheap and easy to find.
- Microfiber cloth or soft brush
- Compressed air canister
- Isopropyl alcohol (70% or higher)
- Cotton swabs
- Screwdriver (if needed for access)
- Soft toothbrush
- Dry towel
Avoid water or harsh cleaners. They damage electronics. Now, let’s get to the steps on how to clean vacuum cleaner sensors.
Step 1: Prepare Your Vacuum Safely
Safety first! Always unplug your vacuum. For cordless models, remove the battery if possible.
Turn It Off Completely
Switch off the power button. Press it a few times to drain residual power. Wait 5 minutes.
Work in a Well-Lit Area
Place on a table with good light. Cover the surface with a towel to catch dust.
This step prevents accidents. Now you’re ready to find those sensors.
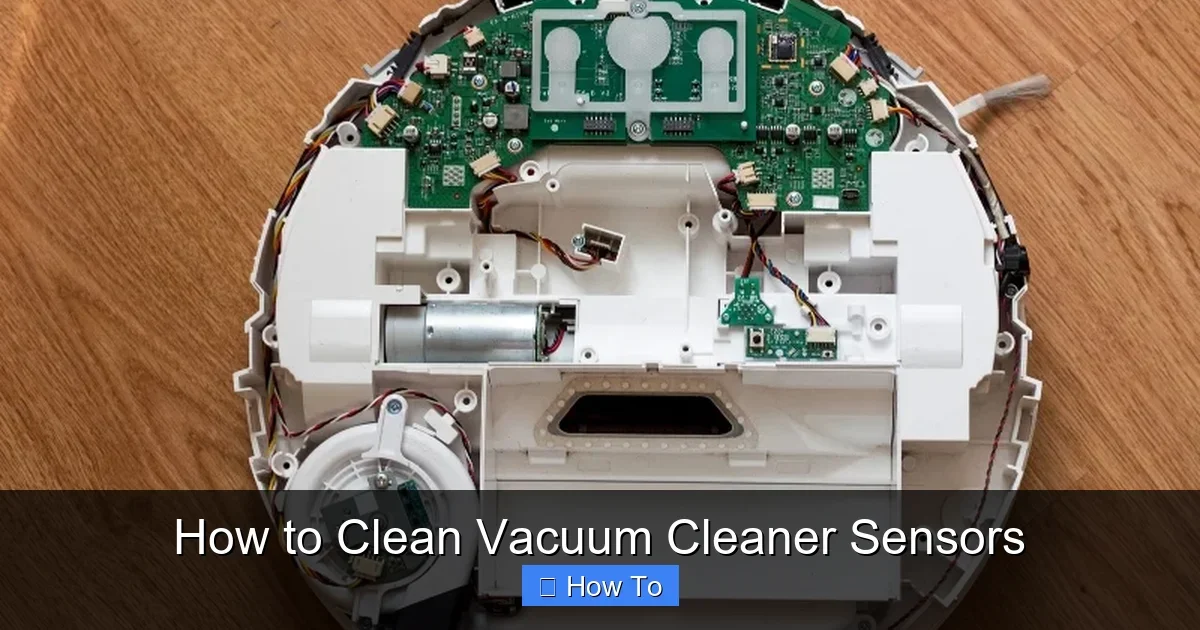
Step 2: Identify the Sensors on Your Vacuum
Not all vacuums have the same sensors. Know yours first.
Common Sensor Types
- Cliff sensors: Under the robot vacuum. Small black or clear dots. Detect floor drops.
- Dirt sensors: Near the brush roll. LED lights that shine on debris.
- Wall or bumper sensors: On the front or sides. Help with navigation.
- Optical sensors: In premium models like Dyson. Track movement.
Check your manual. Robot vacuums like Roomba have them on the bottom. Uprights hide them near the head.
Example: On a Shark robot, cliff sensors are four black squares underneath.
Step 3: Clean Robot Vacuum Cleaner Sensors
Robots collect dust fastest. Flip it upside down gently.
Remove Debris First
Use compressed air to blow off loose dust. Hold the can upright. Short bursts only.
Wipe Cliff Sensors
Dampen a microfiber cloth with isopropyl alcohol. Wipe each sensor in circles. Dry immediately with a clean cloth.
Tip: For stubborn grime, use a cotton swab. Twist gently. No soaking!
Clean Dirt and Optical Sensors
Brush lightly with a soft toothbrush. Blow air again. Shine a light to check for residue.
Time: 5-10 minutes. Test by placing near a step. It should pause.
Step 4: Clean Upright and Stick Vacuum Cleaner Sensors
These are trickier. Sensors are often in the powerhead.
Detach the Wand or Head
Most models click off. See our Dyson vacuum cleaner cleaning guide for brand tips.
Access Dirt Sensors
Locate LED near the brush. Blow air first. Wipe with alcohol-damp cloth.
Check Bumper Sensors
Front strips. Peel back covers if possible. Clean with swabs.
Example: On a Bissell upright, sensors are under a plastic cover. Unscrew carefully.
Step 5: Advanced Cleaning for Hard-to-Reach Sensors
Some vacuums need disassembly. Proceed with care.
For Dyson Models
Refer to how to take apart the Dyson vacuum for cleaning. Twist the cyclone to expose sensors. Use air and swabs.
Deep Clean with Vacuum
Ironically, use another vacuum’s hose on low suction to suck dust from crevices.
Warning: Don’t force parts. If stuck, check for clogs first via our how to unclog a vacuum cleaner article.
Practical Tips and Examples
Make cleaning vacuum cleaner sensors a habit.
- Vacuum high-dust rooms last to protect sensors.
- For pet owners, clean weekly. Hair loves sensors.
- Example: My Roomba stopped charging. Dirty dock sensor! A quick wipe fixed it.
- Use lens cleaner spray for optical types. Safe and effective.
- After cleaning, run empty room test. Note improvements.
Bonus: Clean while doing sofa cleaning with your vacuum. Multi-task!
Troubleshooting Common Issues
Sensors still glitchy? Here’s help.
Symptom: Vacuum Falls Off Edges
Cause: Dirty cliff sensors. Re-clean and calibrate per manual.
Symptom: Misses Dirt Piles
Dirt sensor clogged. Check LED light. If dim, replace if old.
Symptom: Bumps Everything
Bumper sensors blocked. Inspect for hair wraps.
Won’t Start or Erratic Path
Battery or main board issue. Clean all sensors again. Reset device.
If persists, professional service. Costs $50-100 usually.
Prevention: Keep Sensors Clean Long-Term
Don’t wait for problems.
- Wipe after each use.
- Use HEPA filters to trap more dust.
- Store upright, sensors up.
- Schedule monthly deep cleans.
Healthy sensors mean a happy vacuum. Your home stays cleaner too.
Conclusion
Congrats! You now know how to clean vacuum cleaner sensors like a pro. It’s quick, cheap, and revives performance. Regular care prevents headaches. Your vacuum will thank you with better suction and smarter paths.
Try these steps today. Share your results in comments. Happy cleaning!
(Word count: 1628)
🎥 Related Video: How To Clean Sensors | Roomba® 800 series | iRobot®
📺 iRobot
Watch this video to learn how to clean the sensors on your Roomba® 800 series robot. We recommend Regularly wiping the …