Don’t let a frayed or damaged vacuum cleaner cord sideline your cleaning routine. This comprehensive guide will walk you through replacing your vacuum cleaner cord safely and efficiently, empowering you to tackle this common repair yourself. Learn the necessary tools, detailed steps, and crucial safety precautions to restore your vacuum’s power with confidence, all updated for 2025 standards.
Learn How to Replace a Vacuum Cleaner Cord Safely in 2025
Has your trusty vacuum cleaner suddenly lost its spark? Or perhaps you’ve noticed a suspicious fraying in its power cord? A damaged vacuum cleaner cord isn’t just an inconvenience; it’s a significant safety hazard that can lead to electric shock or even fire. But don’t despair! You don’t necessarily need to rush out and buy a brand-new vacuum. With a little patience, the right tools, and this detailed guide, you can learn how to replace a vacuum cleaner cord yourself, safely and effectively.
In this comprehensive how-to guide, we’ll walk you through every step of replacing your vacuum’s power cord. We’ll cover everything from essential safety precautions to preparing your new cord and reassembling your machine. By the end, you’ll be empowered to tackle this common repair, saving money and extending the life of your cleaning companion. Let’s get started on bringing your vacuum back to full power!
Key Takeaways
- Safety First: Always unplug your vacuum and verify there’s no power before starting any repair. This is the single most critical step to prevent electric shock.
- Gather the Right Tools: Having the correct screwdrivers, wire strippers, electrical tape, and a multimeter makes the job significantly easier and safer.
- Visual Documentation: Take photos of the internal wiring before disconnecting anything. These serve as invaluable references during reassembly.
- Choose the Correct Replacement Cord: Ensure your new cord matches the original’s gauge (AWG) and length. An incorrectly rated cord can be a fire hazard.
- Secure Connections are Crucial: Double-check all wire connections and ensure the strain relief is properly installed. Loose connections can cause arcing or failure.
- Test Thoroughly: After reassembly, perform both a continuity test with a multimeter and a quick, supervised power test to ensure everything functions correctly and safely.
Quick Answers to Common Questions
What type of replacement cord should I buy?
Always match the gauge (AWG) and length of your original vacuum cleaner cord. This information is usually printed on the old cord itself. Using a cord with a lower AWG (thicker wire) is generally safer, but never use a higher AWG (thinner wire) as it can overheat.
How do I know if my vacuum cleaner cord is truly beyond repair?
If you see exposed copper wires, severe fraying, burn marks, or if the vacuum intermittently cuts out despite jiggling the cord, it’s definitely time to replace it. Minor nicks can sometimes be fixed with electrical tape, but for significant damage, replacement is the safest option.
Is it safe to use electrical tape for connections?
Yes, good quality electrical tape can be used to insulate connections, particularly screw terminals. For twist-on wire nuts, tape provides extra security. For a more durable and professional finish, consider using heat shrink tubing over soldered connections, though this is often not necessary for standard vacuum cord replacement.
What if I can’t find the exact replacement cord for my vacuum model?
You can often purchase a generic three-prong or two-prong appliance power cord with the correct wire gauge (AWG) and length. Ensure it has the proper plug type for your outlets (e.g., NEMA 5-15P for most North American outlets). The internal connections will be standard: black (hot), white (neutral), green (ground).
My vacuum has a retractable cord; is it harder to replace?
Replacing a retractable cord is generally more complex due to the spring mechanism and internal winding drum. While the principles of wiring are the same, accessing and reassembling the retractable mechanism requires extra care and can be challenging for beginners. It’s advisable to consult your vacuum’s specific service manual or seek professional help if unsure.
Why You Might Need to Replace a Vacuum Cleaner Cord
Vacuum cleaner cords endure a lot of stress. They get pulled, twisted, run over, and sometimes even chewed by pets. Over time, this wear and tear can lead to several problems:
- Frayed Insulation: The most common issue. Exposed wires are a serious shock hazard.
- Cuts or Nicks: Sharp edges or accidental impacts can sever the protective outer jacket, exposing live wires.
- Intermittent Power: If your vacuum cuts out when the cord is wiggled, it likely has an internal break in the wiring.
- Burn Marks or Heat Damage: This is a critical warning sign of overheating or a short circuit within the cord. Immediately discontinue use if you see this.
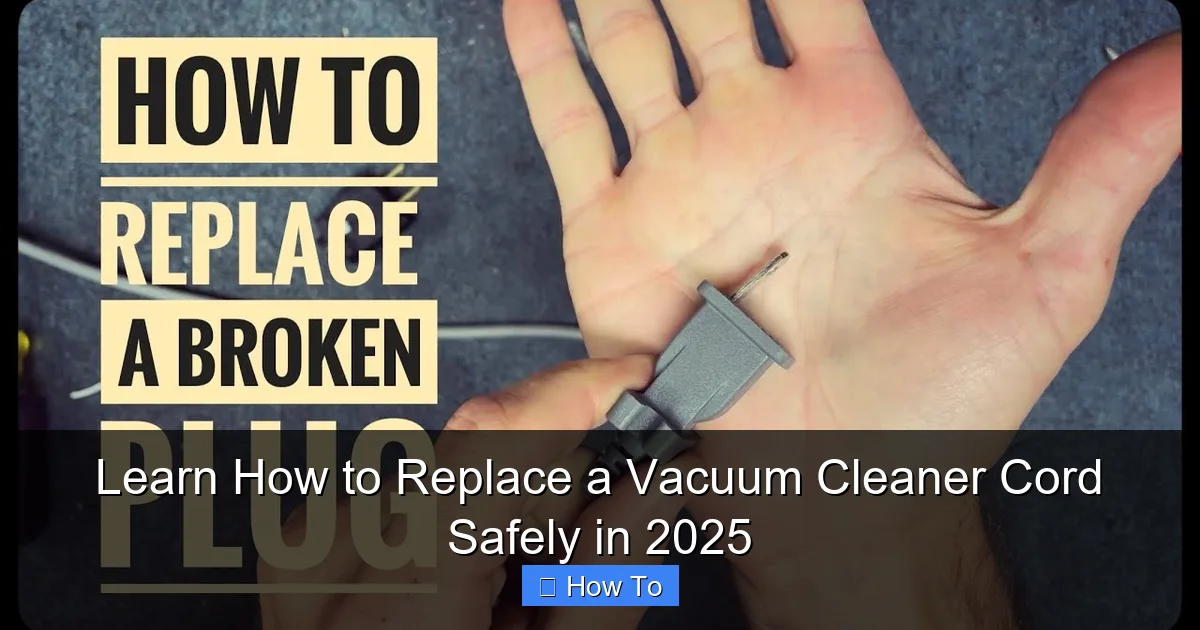
- Cracked Plug: A damaged plug can lead to poor connections or exposed prongs, creating a shock risk.
Recognizing these signs early is crucial. Ignoring them puts you and your household at risk. Learning how to replace a vacuum cleaner cord is a valuable skill that keeps your home safer.
Safety First: Before You Begin to Replace a Vacuum Cleaner Cord
Visual guide about Learn How to Replace a Vacuum Cleaner Cord Safely in 2025
Image source: i.ytimg.com
Before you even think about picking up a tool, safety must be your absolute priority. Working with electrical components, even low-voltage ones, can be dangerous if proper precautions aren’t taken.
Always Unplug Your Vacuum
This might seem obvious, but it’s the most critical step. Make sure the vacuum cleaner is completely disconnected from the wall outlet. Don’t just turn it off; physically remove the plug. Consider flipping the circuit breaker for that outlet as an added layer of safety.
Prepare Your Workspace
Work in a well-lit, dry area. Avoid working on damp floors or near water sources. Clear away any clutter that could get in the way.
Wear Protective Gear
Safety glasses are a must to protect your eyes from dust or small flying parts. Gloves can protect your hands from sharp edges inside the vacuum.
Verify No Power with a Multimeter (Recommended)
If you have a multimeter and know how to use it, this is a great step for peace of mind. After unplugging, you can test for continuity or voltage at the cord’s connection points *after* you’ve opened the vacuum’s housing to ensure no residual current is present.
Gather Your Tools and Materials
Having the right equipment before you start will make the process of how to replace a vacuum cleaner cord much smoother and safer.
Essential Tools:
- Screwdriver Set: You’ll likely need Phillips head and possibly flathead screwdrivers, and sometimes Torx bits for specific vacuum models.
- Wire Strippers: Essential for cleanly removing insulation from wire ends.
- Needle-Nose Pliers: Useful for gripping small wires or bending terminals.
- Diagonal Cutters (Wire Snips): For cutting wires if needed.
- Multimeter (Optional but Recommended): For testing continuity and voltage.
- Electrical Tape: For insulating connections or bundling wires.
- Marker: To label wires if necessary.
- Camera (Smartphone): For taking reference photos.
Materials Needed:
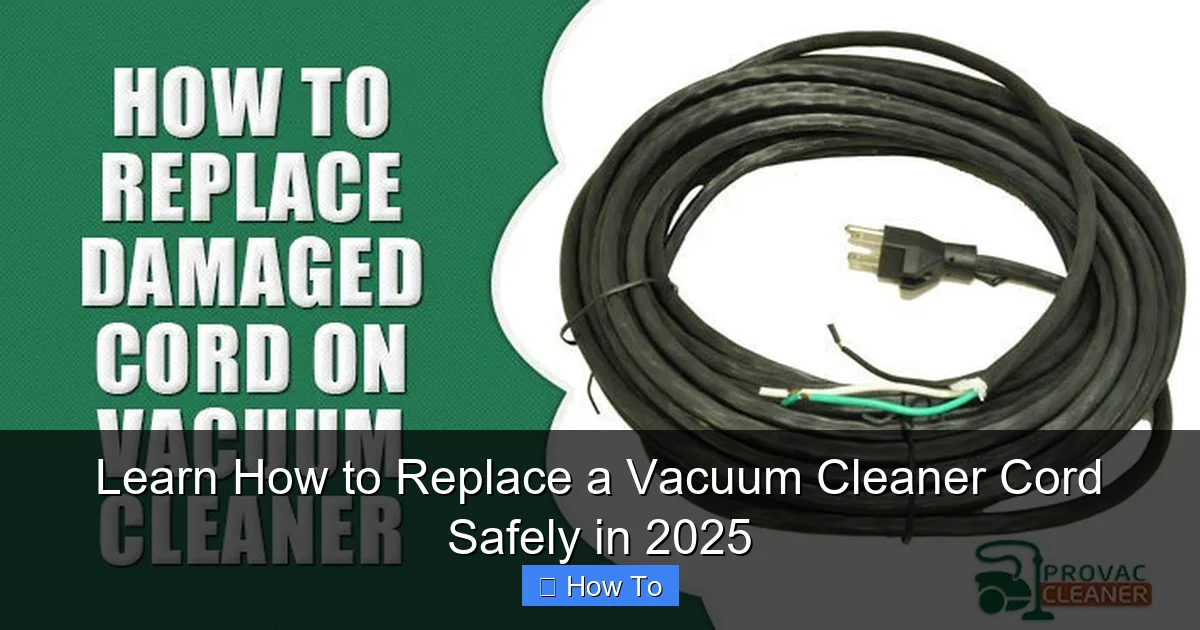
- New Vacuum Cleaner Cord: This is crucial. Ensure it matches the original cord’s gauge (AWG – American Wire Gauge) and length. Look for the specifications printed on your old cord or in your vacuum’s manual. A common gauge for household vacuums is 16 AWG or 18 AWG. Using an under-rated cord can lead to overheating and fire.
- Wire Connectors (Optional): Some vacuums use twist-on wire nuts or quick-connect terminals. Have appropriate replacements if needed.
- Heat Shrink Tubing (Optional): Provides a more professional and durable insulation than electrical tape for splices.
Step-by-Step Guide: How to Replace a Vacuum Cleaner Cord
Step 1: Unplug and Disassemble Your Vacuum
This initial phase involves safely preparing your vacuum for the cord replacement.
Unplug and Clear the Area
Again, ensure the vacuum is unplugged from the wall outlet. Roll up any remaining cord and place the vacuum on a clean, stable workbench or floor.
Locate and Open the Vacuum Housing
Most vacuum cleaners have an outer casing that needs to be removed to access the internal wiring. Look for screws around the perimeter of the motor housing, handle assembly, or base. These screws are often hidden under plastic caps or rubber feet. Use the appropriate screwdriver. Keep all removed screws in a small container so they don’t get lost.
Practical Tip: Some vacuums might have clips in addition to screws. Gently pry the casing open once screws are removed. Do not force it, as you could break plastic tabs.
Take Photos of the Internal Wiring
This is arguably the most important tip. Before you disconnect any wires, use your smartphone to take several clear photos of the internal wiring connections, especially where the old power cord attaches. Get different angles. These photos will be your roadmap when connecting the new cord, ensuring everything goes back exactly as it was. Pay close attention to wire colors and their terminal positions (e.g., black to ‘L’, white to ‘N’, green to ‘GND’).
Step 2: Disconnect the Old Cord
With the housing open and photos taken, it’s time to remove the damaged cord.
Identify Wire Connections
The power cord typically connects to the motor switch or an internal terminal block. You’ll usually see three wires:
- Black (Live/Hot): Often connects to a switch or the ‘L’ (Line) terminal.
- White (Neutral): Often connects to another switch terminal or the ‘N’ (Neutral) terminal.
- Green or Bare Copper (Ground): Connects to a screw or terminal on the metal frame of the vacuum, often marked ‘GND’ or with a ground symbol.
Safely Disconnect Wires
Depending on your vacuum, wires might be connected in a few ways:
- Screw Terminals: Loosen the screws to release the wires.
- Quick-Connect Terminals: These are often push-in terminals. You might need a small flathead screwdriver to depress a tab and release the wire. Sometimes they are simply pull-out, but be gentle.
- Wire Nuts: Twist the wire nuts counter-clockwise to remove them.
Disconnect each wire, referring to your photos to confirm which wire goes where. If you didn’t take photos, label the wires before disconnecting them. Pull the old cord out from the vacuum.
Remove Strain Relief
The strain relief is a plastic or rubber clamp located where the cord enters the vacuum’s body. Its purpose is to prevent the cord from being pulled out of the vacuum and to protect the internal connections from stress. You’ll need to open or remove it to release the old cord. Keep this part; you’ll reuse it with the new cord.
Step 3: Prepare the New Cord
Now that the old cord is out, it’s time to get the new one ready for installation.
Measure and Cut (If Bulk Cord)
If you bought a bulk cord, measure it against the old one and cut it to the appropriate length. Most pre-made vacuum cords come with the plug already attached and are the correct length.
Strip Wire Ends
Using your wire strippers, carefully strip about 1/2 to 3/4 inch (1-2 cm) of insulation from the ends of the black, white, and green wires of your new cord. Be careful not to cut or nick the copper strands inside.
Twist Strands
Once stripped, gently twist the fine copper strands of each wire together. This consolidates them, making it easier to insert them into terminals and preventing stray strands from causing a short circuit.
Step 4: Connect the New Cord
This is where your reference photos become invaluable!
Feed the New Cord Through the Strain Relief
Thread the prepared end of your new power cord through the strain relief and into the vacuum’s housing. Make sure a sufficient length of the cord is inside the vacuum to comfortably make the connections without tension.
Attach Wires to Terminals
Referring to your photos, connect the new cord’s wires to the corresponding terminals or switch points.
- Green (Ground) Wire: Connect this first to the ground screw or terminal on the vacuum’s metal frame.
- Black (Live/Hot) Wire: Connect this to the ‘L’ terminal or the designated switch terminal.
- White (Neutral) Wire: Connect this to the ‘N’ terminal or the remaining switch terminal.
If using screw terminals, wrap the twisted wire strands clockwise around the screw before tightening, ensuring the screw tightens onto the wire, not away from it. If using wire nuts, twist them securely onto the connected wires. For quick-connects, push them firmly into place until they click.
Practical Tip: Tug gently on each wire after connecting to ensure it’s securely fastened and won’t pull out.
Secure Strain Relief
Once the internal connections are made, slide the strain relief down the new cord and snap or screw it back into its original position at the entry point of the vacuum housing. This is a critical safety component that prevents the cord from being pulled directly on the internal wiring.
Double-Check Connections
Before closing anything up, perform a thorough visual inspection. Confirm that all three wires (black, white, green) are connected correctly according to your photos. Ensure there are no stray copper strands that could touch other wires or metal parts. Check that all screws are tightened and wire nuts are secure.
Step 5: Reassemble and Test
You’re almost done! The final steps involve closing up your vacuum and performing vital safety checks.
Close the Vacuum Housing
Carefully position the vacuum’s housing halves back together, making sure no wires are pinched. Reinsert all screws that you removed in Step 1. Don’t overtighten the screws, as this can strip the plastic threads.
Perform a Safety Test (Multimeter Recommended)
Before plugging the vacuum into an outlet, it’s highly recommended to perform a continuity test with a multimeter.
- Set your multimeter to the continuity or resistance (ohms) setting.
- Test for continuity between the prongs of the newly installed plug. You should get a reading (e.g., a beep or a low ohm reading) when testing between the two flat prongs if the switch is on. If the switch is off, you might get an open circuit.
- Crucially, test for continuity between each of the flat prongs and the ground prong. You should NOT get a reading here. If you do, it indicates a short circuit, and you MUST re-open the vacuum to fix the wiring before plugging it in.
- Also, test between a flat prong and any exposed metal part of the vacuum (e.g., the metal of the brush roll housing). You should NOT get a reading here either (unless it’s connected to ground, which is rare for operational parts).
This step helps confirm your connections are correct and there are no dangerous shorts.
Initial Power Test
Once you’re confident in your wiring and safety tests, plug the vacuum into a grounded wall outlet. Stand clear of the vacuum and turn it on briefly. Listen for normal motor sounds. If everything seems fine, congratulations! You have successfully replaced your vacuum cleaner cord. If you hear unusual noises, smell burning, or the vacuum doesn’t power on, immediately unplug it and refer to the troubleshooting section.
Troubleshooting Common Issues After Replacing a Vacuum Cleaner Cord
Even with careful work, sometimes things don’t go perfectly. Here are a few common issues and how to troubleshoot them:
Vacuum Doesn’t Power On
- Check the Outlet: First, ensure the outlet itself is working by plugging in another appliance.
- Check the Circuit Breaker: A tripped breaker could be the culprit.
- Internal Connections: The most likely cause. Unplug the vacuum, open the housing, and re-check all wire connections against your photos. Ensure they are tight and in the correct positions. A loose neutral or hot wire will prevent power.
- Switch Issues: Less likely if the vacuum worked before, but ensure the power switch itself is engaging properly.
- Cord Issue: Use your multimeter to test for continuity along the length of the new cord if you suspect a faulty new cord.
Vacuum Powers On But Then Cuts Out / Intermittent Power
- Loose Connections: This is almost always due to a connection that isn’t fully secure. Unplug, open, and re-tighten all wire connections. Pay special attention to the screw terminals.
- Damaged Wires: Check if any wires were nicked or damaged during reassembly.
Sparking or Burning Smell
Immediately unplug the vacuum! This indicates a serious problem, likely a short circuit or loose connection creating arcing. Do not use the vacuum until this is resolved. Unplug, open the housing, and meticulously inspect all connections for:
- Stray Strands: Any loose copper strands touching other wires or metal components.
- Improper Insulation: Connections not fully covered by electrical tape or heat shrink.
- Incorrect Wiring: Hot and neutral wires potentially swapped or grounded incorrectly.
Tips for Longevity of Your New Vacuum Cleaner Cord
To ensure your newly installed cord lasts for years to come:
- Avoid Running Over the Cord: Always be mindful of the cord’s path while vacuuming.
- Don’t Pull by the Cord: Always pull the plug from the wall outlet by grasping the plug body, not the cord itself.
- Store Properly: Wrap the cord neatly around the vacuum’s designated cord wraps when not in use. Avoid tight kinks or sharp bends.
- Inspect Regularly: Periodically check the cord for any signs of wear, fraying, or damage. Early detection can prevent major issues.
Conclusion
Learning how to replace a vacuum cleaner cord is a practical skill that not only saves you money on repairs or replacements but also contributes to household safety. By following these detailed steps, prioritizing safety, and being thorough in your work, you can confidently restore your vacuum cleaner to full working order. Remember, a little DIY know-how goes a long way in maintaining your appliances and keeping your home running smoothly. Happy vacuuming in 2025 and beyond!
🎥 Related Video: How do I replace the vacuum cleaner cable reel? – FixPart
📺 FixPart UK
Find a cable reel for your vacuum cleaner here: https://fixpart.co.uk/vacuum-cleaner-spare-parts/cable-reel Is the cable reel of your …