Don’t let a damaged vacuum cleaner hose derail your cleaning routine! This comprehensive guide provides simple, step-by-step instructions for a quick and effective DIY repair in 2025. You’ll learn how to diagnose common issues, gather essential tools, and apply various repair methods, ensuring your vacuum is back to full suction power in no time.
Quick Fix How To Repair Vacuum Cleaner Hose in 2025
There’s nothing quite as frustrating as firing up your vacuum cleaner, ready to tackle dirt and dust, only to hear that tell-tale whistling sound or feel a sudden drop in suction. More often than not, the culprit is a damaged vacuum cleaner hose. A rip, a tear, or even a small hole in the hose can drastically reduce your vacuum’s effectiveness, turning a simple cleaning task into a chore.
The good news? You don’t always need to rush out and buy a brand-new vacuum cleaner or even a costly replacement hose in 2025. Many common hose problems can be fixed right at home with a few simple tools and a bit of DIY know-how. Repairing your vacuum cleaner hose yourself saves money, reduces waste, and gets you back to a spotless home much faster.
This comprehensive guide will walk you through everything you need to know to perform a successful vacuum cleaner hose repair. You’ll learn how to accurately diagnose the damage, gather the right materials, and apply various effective repair techniques. By the end, you’ll be able to mend your broken vacuum hose with confidence, restoring your vacuum’s power and efficiency.
Key Takeaways
- Diagnose Before You Repair: Always thoroughly inspect your vacuum cleaner hose to pinpoint the exact location and type of damage before starting any repair work.
- Safety First: Prioritize safety by unplugging your vacuum cleaner and wearing appropriate protective gear, like gloves, to prevent accidents.
- Multiple Repair Methods: Understand that different types of damage (small punctures, large tears, broken cuffs) require different repair approaches, from simple tape fixes to more advanced splicing.
- Gather the Right Tools: Having the correct tools and materials on hand, such as strong tape, heat shrink tubing, or connectors, is crucial for a durable and lasting vacuum cleaner hose repair.
- Test Your Work Thoroughly: After any repair, always test the hose for airtightness and restored suction to ensure the fix is successful and no air leaks remain.
- Prevention is Key: Implement simple habits like proper storage and careful handling to extend the life of your vacuum cleaner hose and prevent future damage.
Quick Answers to Common Questions
What’s the best tape for vacuum hose repair?
For a quick fix, high-quality duct tape or electrical tape can work. However, self-fusing silicone repair tape is superior as it creates an airtight, waterproof, and flexible seal that bonds to itself, offering a much more durable repair.
Can I use super glue to fix a vacuum hose?
Super glue (cyanoacrylate) is generally not ideal for flexible vacuum cleaner hoses. It tends to create a rigid bond that can easily crack again when the hose flexes. A flexible adhesive like PVC cement or a specialized plastic/rubber glue is a much better choice for lasting results.
How do I prevent my vacuum hose from breaking again?
Avoid overstretching the hose, don’t pull the vacuum by the hose, and prevent it from getting kinked or bent sharply during storage. Regularly inspect for wear and tear, and keep it away from pets who might chew on it.
Is it worth repairing an old hose, or should I just buy a new one?
For minor to moderate damage, repairing is almost always worth it. It’s cost-effective and environmentally friendly. If the hose is severely brittle, crumbling in multiple places, or extensively damaged, then a full replacement might be the more practical long-term solution.
Where can I find replacement parts for older vacuum hoses in 2025?
In 2025, online retailers (like Amazon, eBay), specialized appliance parts websites, and even manufacturer websites are your best bet. Some local vacuum repair shops may also stock parts. For specific or older models, online forums and even 3D printing services can sometimes help with custom connectors or cuffs.
Understanding Your Vacuum Cleaner Hose and Common Damage
Before diving into repairs, it helps to understand what you’re working with. Most vacuum cleaner hoses are made from flexible, corrugated plastic or rubber. Some heavy-duty models might have wire reinforcement inside. This design allows for flexibility but also makes them susceptible to damage over time.
Common Types of Damage You Might Find:
- Small Punctures or Pinholes: Often caused by sharp objects picked up accidentally or abrasive surfaces.
- Cracks or Splits: These can develop from general wear and tear, repeated bending in the same spot, or extreme temperature changes.
- Large Tears or Rips: Usually the result of the hose getting caught on furniture, stepped on, or even chewed by a curious pet.
- Disconnected or Broken Cuffs/Ends: The rigid plastic pieces that connect the hose to the vacuum or attachments can crack, loosen, or completely break off.
Knowing the type of damage will guide you towards the most appropriate and durable repair method for your vacuum cleaner hose.
Safety First: Essential Precautions Before You Repair
Your safety is paramount when undertaking any DIY project. Working with electrical appliances, even unplugged ones, requires caution.
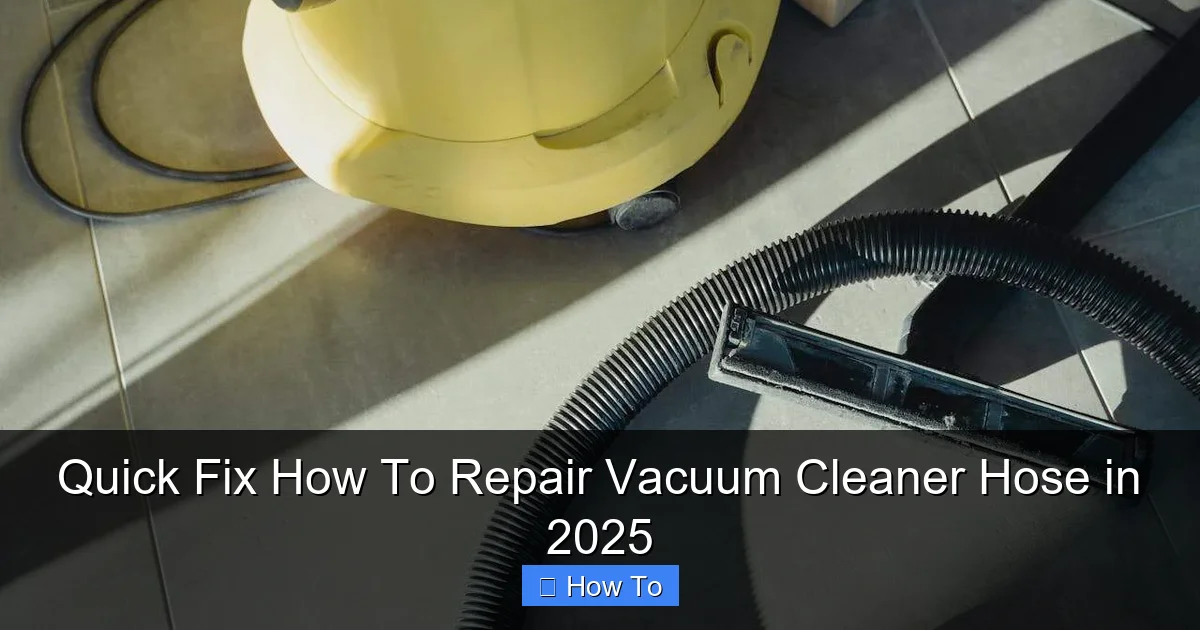
Visual guide about Quick Fix How To Repair Vacuum Cleaner Hose in 2025
Image source: i.ytimg.com
Always Follow These Safety Steps:
- Unplug the Vacuum: This is the most crucial step. Always disconnect your vacuum cleaner from the power outlet before you start any inspection or repair work. This eliminates the risk of electric shock.
- Wear Protective Gloves: If the hose has a sharp tear or you’re using a utility knife, a pair of work gloves can protect your hands from cuts and scrapes.
- Work in a Well-Lit Area: Good lighting helps you see the damage clearly and work more precisely, reducing the chance of error.
Diagnosing the Damage to Your Vacuum Cleaner Hose
A successful repair starts with accurate diagnosis. You need to find all the damaged spots on your vacuum cleaner hose. Sometimes, the problem is obvious; other times, it’s a tiny, sneaky hole.
Step-by-Step Diagnosis:
1. Visual Inspection
Start by carefully examining the entire length of your vacuum cleaner hose. Look for obvious cracks, tears, holes, or areas where the material looks stressed or thin. Pay close attention to the ends where the hose connects to the vacuum body and the attachments, as these areas often experience significant stress and wear.
2. Listen for Hissing Sounds
If your vacuum still has some suction but sounds like it’s struggling, connect the hose to the vacuum (but don’t attach any accessories to the other end) and briefly turn it on. Move your hand along the hose, listening for any distinct hissing sounds. This indicates air escaping from a small leak in the vacuum cleaner hose.
3. Perform a Suction Test
With the vacuum unplugged, hold one end of the hose firmly against a flat, smooth surface (like a countertop or wall). Place your other hand over the open end of the hose and try to compress the hose along its length. If you feel air escaping or the hose doesn’t hold firm pressure, there’s a leak. Slowly move your hand along the hose while applying pressure to help pinpoint the general area of the leak.
4. The “Soapy Water” Method (For Stubborn Leaks)
For very tiny holes that are hard to find, the soapy water method is excellent.
- Fill a spray bottle with water and a few drops of dish soap.
- Unplug the vacuum.
- Spray the entire length of the vacuum cleaner hose with the soapy solution.
- Briefly turn on the vacuum (if safe to do so for a very short period, or if you can block one end and use a shop vac to blow air into the other end, *without* the vacuum cleaner running).
- Look for bubbles forming anywhere on the hose. Bubbles indicate escaping air and pinpoint the exact location of the leak. Wipe the hose clean immediately afterward.
Always ensure the vacuum is unplugged before handling the hose with water. If you can’t safely pressurize the hose without the vacuum running, skip this step.
Gathering Your Tools and Materials for Vacuum Cleaner Hose Repair
Once you’ve diagnosed the issue, it’s time to gather your toolkit. Having the right supplies on hand will make the repair process smooth and efficient. The specific items will depend on the type of damage.
Basic Tools You Might Need:
- Scissors or Utility Knife: For cutting tape or trimming frayed hose edges. A sharp blade is essential for clean cuts.
- Screwdriver (various types): If you need to disassemble any part of the vacuum or its attachments to access the hose ends.
- Heat Gun or Hair Dryer: Essential for heat shrink tubing repairs.
- Cleaning Cloth: To wipe down the hose before applying any repair materials.
- Sandpaper (fine-grit): To rough up surfaces for better adhesive bonding.
Repair Materials for Your Vacuum Cleaner Hose:
- Strong Duct Tape or Electrical Tape: For small, quick fixes. Look for reinforced or heavy-duty versions for better durability.
- Specialized Hose Repair Tape: Some brands offer self-fusing silicone tape that creates a waterproof, airtight seal. This is a fantastic option for a durable vacuum cleaner hose repair.
- Heat Shrink Tubing: Ideal for covering larger cracks or splits. Choose a diameter slightly larger than your hose.
- PVC Cement or Strong Adhesive: For bonding plastic parts, especially if splicing or attaching new cuffs. Ensure it’s suitable for flexible plastics.
- Hose Clamps (worm-drive or spring clips): To secure connectors or cuffs, providing a strong, lasting hold.
- Hose Menders/Connectors: Plastic or metal sleeves designed to join two sections of hose. Available in various diameters.
- Replacement Cuffs/Ends: If the rigid end piece of your hose is broken, you might need a specific replacement part. Check your vacuum cleaner’s manufacturer or third-party suppliers online in 2025; many offer these parts, or even 3D printing services can create custom ones.
- Bicycle Inner Tube (optional): A creative solution for reinforcing repairs or creating durable patches.
Step-by-Step Vacuum Cleaner Hose Repair Methods
Now, let’s get to the actual repair. Choose the method that best suits the damage to your vacuum cleaner hose.
Method 1: Simple Tape Repair (Small Punctures/Tears)
This is the quickest fix for minor damage like pinholes or small, superficial tears. It’s often a temporary solution but can last for a long time if done well with quality tape.
1. Clean the Area
Wipe down the damaged section of the vacuum cleaner hose with a clean cloth. Ensure it’s free of dust, dirt, and grease. A clean surface allows the tape to adhere properly.
2. Apply the Tape
Cut a piece of strong duct tape, electrical tape, or specialized hose repair tape that is long enough to wrap around the damaged area several times and extend about an inch beyond the damage on all sides. Start wrapping the tape tightly around the hose, overlapping each turn by at least half the tape’s width. For optimal results, wrap in multiple layers, ensuring it’s smooth and without air bubbles. For a pinhole, you can also place a small patch directly over it before wrapping.
3. Test the Repair
Once the tape is securely applied, plug in your vacuum and test for suction. Listen carefully for any remaining hissing sounds. If the suction is restored and no air escapes, your vacuum cleaner hose repair is complete!
Method 2: Heat Shrink Tubing Repair (Mid-sized Tears/Splits)
Heat shrink tubing provides a more robust and permanent solution for longer cracks or splits that tape alone might not fully seal. It creates a tight, protective sleeve.
1. Prepare the Hose
Clean the damaged section of the vacuum cleaner hose thoroughly. If there are any jagged edges or loose bits, trim them carefully with a utility knife to ensure a relatively smooth surface for the tubing.
2. Position the Tubing
Measure the length of the damaged area and cut a piece of heat shrink tubing that is about 2-3 inches longer on each side than the damage. Slide the tubing over one end of the hose and center it over the damaged section. Ensure the tubing’s diameter is appropriate – it should fit snugly but not be impossible to slide on.
3. Apply Heat
Using a heat gun (on a low to medium setting) or a hair dryer (on its highest setting), evenly apply heat to the tubing. Move the heat source back and forth, rotating the hose, to ensure the tubing shrinks consistently. Watch as the tubing contracts and tightens around the vacuum cleaner hose, forming a secure seal. Be careful not to overheat one spot, which could damage the original hose material.
4. Cool and Test
Allow the heat shrink tubing to cool completely. It will become rigid and form a very tight bond. Once cool, plug in and test your vacuum cleaner for restored suction and no air leaks.
Method 3: Splice and Connect Repair (Large Tears/Full Breaks)
For extensive damage, like a completely broken hose or a large section that’s irreparable, splicing might be the best approach. This involves cutting out the damaged part and joining the two good ends with a connector.
1. Cut Out the Damaged Section
Using a sharp utility knife or heavy-duty scissors, carefully cut out the entire damaged section of the vacuum cleaner hose. Aim for clean, straight cuts on both remaining ends of the hose.
2. Prepare the Ends
Ensure the newly cut ends are clean and smooth. If necessary, use fine-grit sandpaper to slightly rough up the inside edges of the hose ends. This helps adhesives grip better. You might also need to slightly bevel the outer edges if your connector requires it.
3. Insert a Connector
Obtain a hose mender or connector with an outer diameter that matches the inner diameter of your vacuum cleaner hose. Apply a strong, flexible adhesive (like PVC cement or a specialized plastic adhesive) to the outside of the connector and the inside of one hose end. Twist and push the hose end onto the connector until it’s fully seated. Repeat with the other hose end.
4. Secure with Clamps/Glue
For added security and an airtight seal, use hose clamps (worm-drive or spring clips) on both ends where the hose meets the connector. Tighten them firmly but avoid over-tightening, which could damage the hose. If using adhesive, allow it ample time to cure according to the manufacturer’s instructions.
5. Test for Air Leaks
After the adhesive has cured and clamps are secured, test the vacuum cleaner hose for suction. Listen and feel for any air leaks at the connection points.
Method 4: Replacing the End Cuff/Connector
Sometimes, the hose itself is fine, but the rigid plastic cuff that attaches to the vacuum or an accessory breaks. This can often be replaced.
1. Detach the Old Cuff
Carefully examine how the old cuff is attached. It might be screwed on, glued, or secured with a clamp. Use a screwdriver to remove screws or pliers to remove clamps. You may need to cut the very end of the hose if the cuff is glued on or molded directly to the hose.
2. Prepare the Hose End
Ensure the end of the vacuum cleaner hose is clean and free of any debris from the old cuff. If you had to cut the hose, make sure the cut is clean and straight.
3. Attach the New Cuff
Obtain a replacement cuff specifically designed for your vacuum cleaner model. Apply a suitable plastic adhesive to the inside of the new cuff and the outside of the hose end. Twist and push the hose firmly into the new cuff. If your cuff has a threaded design, twist the hose onto the threads until it’s secure.
4. Secure and Test
If the new cuff includes a securing ring or clamp, install it as per the instructions. Allow any adhesive to cure fully before using the vacuum. Then, plug in your vacuum and test the new connection for a tight seal and full suction.
Advanced Tips for a Durable Vacuum Cleaner Hose Repair
For a truly professional and long-lasting repair, consider these advanced tips:
- Reinforce with Bicycle Inner Tube: For very high-wear areas or larger patches, cut a section of an old bicycle inner tube. Clean the hose, apply strong rubber cement to both the hose and the inner tube patch, and firmly press it over the damaged area. Wrap tightly with electrical tape while it cures. This adds incredible durability to your vacuum cleaner hose repair.
- Use UV-Curing Repair Compounds: In 2025, advanced UV-curing liquid plastic or rubber compounds are more accessible. These can be painted over small cracks or punctures and then cured almost instantly with a UV light, creating a very strong, flexible, and often transparent seal.
- Preventative Maintenance: Once your vacuum cleaner hose is repaired, handle it with care. Avoid sharp bends, don’t yank it from under furniture, and store it without excessive coiling or kinking. This will extend the life of your repair and the entire hose.
Troubleshooting Common Repair Issues
Even with the best intentions, sometimes a repair doesn’t go perfectly. Here are a few common issues and how to address them:
My Repair Doesn’t Hold
If your tape comes undone or a splice separates, it’s likely due to inadequate surface preparation (not clean enough), insufficient adhesive, or not enough wrapping/clamping. Clean the area again, use a stronger adhesive or tape, and ensure multiple layers or tighter clamps. For tape, roughing up the hose surface with fine sandpaper can also help adhesion.
Still Losing Suction After Repair
This means there’s still an air leak. Perform the diagnostic steps again (visual, listening, soapy water test). The leak might be in another section of the vacuum cleaner hose you missed, or the original repair isn’t as airtight as you thought. Sometimes, the leak might not be in the hose at all, but in a connection point to the vacuum body or an attachment, or even a crack in the vacuum casing itself.
The Hose Feels Stiff After Repair
Heat shrink tubing, while effective, can make a section of the vacuum cleaner hose a bit stiffer. This is usually unavoidable. If it’s overly stiff and impeding use, you might have used too thick a tubing or applied too much heat, causing the original hose material to harden. If the stiffness is in a critical bend point, you might consider replacing that section of the hose entirely rather than repairing it, or finding a more flexible repair solution.
Conclusion
Repairing a damaged vacuum cleaner hose doesn’t have to be a daunting task. With this guide, you now have the knowledge and step-by-step instructions to tackle various types of hose damage. Whether it’s a simple tape-up job or a more involved splice, you can restore your vacuum’s performance, save money on costly replacements, and contribute to a more sustainable lifestyle by extending the life of your appliances.
Don’t let a minor hose issue sideline your cleaning efforts. Embrace the DIY spirit of 2025, grab your tools, and get your vacuum cleaner hose working like new again. Happy cleaning!
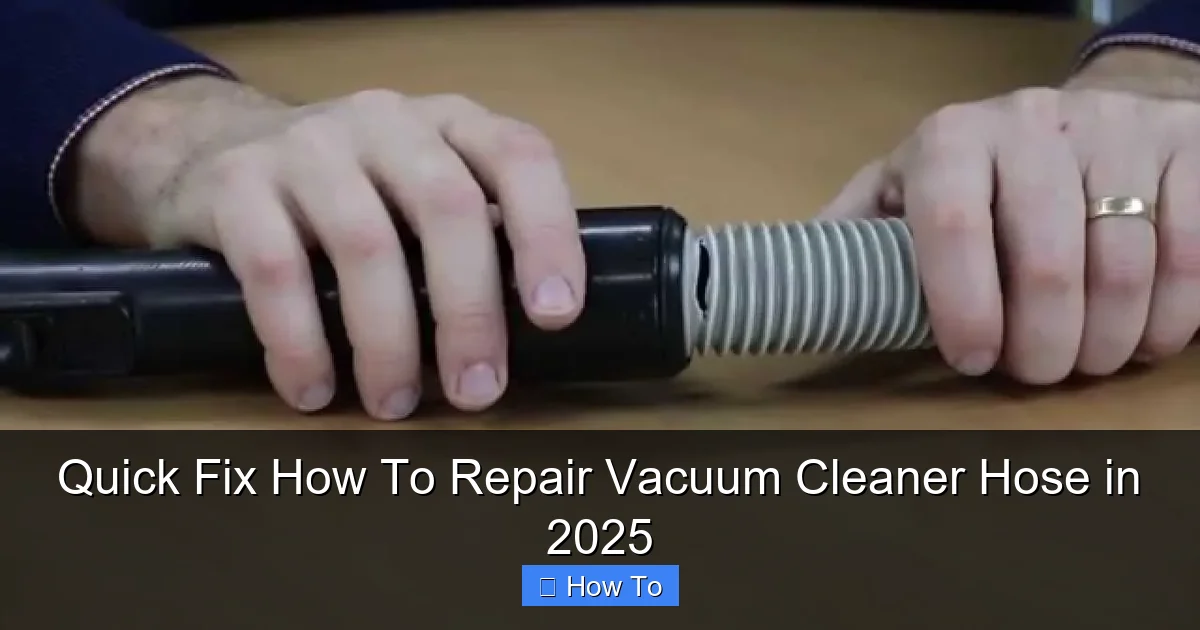
🎥 Related Video: Henry Vacuum Hose fix
📺 Darrens DIY