
Don’t let a malfunctioning vacuum cleaner disrupt your clean home! This ultimate guide empowers you with the knowledge and confidence to diagnose and fix common vacuum problems like suction loss, power issues, and brush roll stoppages. You’ll learn essential troubleshooting steps, gather the right tools, and perform effective DIY repairs, potentially saving significant money and extending your appliance’s life well into 2025 and beyond.
Ultimate Guide How to Fix Your Vacuum Cleaner 2025
Welcome to 2025, where smart homes and advanced appliances make life easier – until one of them decides to stop working! There’s nothing more frustrating than pulling out your vacuum cleaner, ready to tackle dust and dirt, only for it to sputter, lose suction, or refuse to turn on at all. Before you panic and rush to buy a new one or spend a fortune on professional repairs, consider this: many common vacuum cleaner problems are surprisingly simple to fix yourself.
In this ultimate guide, we’re going to walk you through everything you need to know to diagnose and fix vacuum cleaner issues. Whether you’re dealing with a powerful upright, a nimble canister, or a convenient stick vacuum, the principles of troubleshooting and repair remain largely the same. We’ll cover safety, essential tools, step-by-step fixes for the most common problems, and even some proactive maintenance tips. By the end of this guide, you’ll feel confident tackling most vacuum ailments, saving you time, money, and the hassle of a dirty home. Let’s get started and learn how to fix your vacuum cleaner like a pro!
Key Takeaways
- Safety First: Always unplug your vacuum cleaner before attempting any inspection or repair to prevent electrical shock or injury.
- Start Simple: Many common vacuum problems, like loss of suction or no power, can be resolved by checking basic things first, such as the power cord, dustbin, or filters.
- Clear Clogs Regularly: Clogged hoses, brush rolls, and filters are primary culprits for poor performance. Regular inspection and clearing can dramatically improve your vacuum’s effectiveness.
- The Right Tools Make It Easier: A basic toolkit including screwdrivers, scissors, and a flashlight will be invaluable for most DIY vacuum cleaner repairs.
- Understand Your Vacuum’s Components: Familiarize yourself with key parts like the brush roll, drive belt, filters, and hoses, as these are frequently involved in performance issues.
- Maintenance Prevents Breakdowns: Proactive care, such as regular filter cleaning, emptying the dustbin, and checking the brush roll for tangles, is crucial for extending your vacuum’s lifespan.
- Know When to Call a Pro: While many issues are DIY-friendly, complex electrical problems or motor failures often warrant professional repair or replacement for safety and efficacy.
Quick Answers to Common Questions
What’s the first thing I should do if my vacuum cleaner isn’t working?
Always unplug it immediately for safety. Then, check the power source (outlet and cord) and empty the dustbin or replace the bag, as these are often the simplest fixes.
How often should I clean or replace my vacuum’s filters?
For washable filters, clean them every 1-3 months. Non-washable filters (like HEPA filters) should typically be replaced annually or as recommended by your vacuum’s manufacturer to maintain optimal performance. For detailed instructions, check out our guide on how to clean vacuum cleaner filters.
My vacuum smells like burning rubber. What does that mean?
A burning rubber smell almost always indicates a problem with the drive belt, which connects the motor to the brush roll. It’s likely broken, stretched, or slipping. Unplug the vacuum and inspect or replace the belt.
Can I use water to clean my vacuum’s brush roll?
No, it’s best to avoid water on the brush roll as it can damage the bearings or electrical components. Use scissors or a utility knife to cut away tangled hair and debris, and a stiff brush for general cleaning.
When should I consider buying a new vacuum instead of fixing it?
Consider a new vacuum if the cost of repairs (especially for a main motor or complex electrical issue) approaches the price of a new, comparable model, or if your current vacuum is very old and frequently breaking down.
1. Safety First! Your Pre-Repair Checklist
Before you even think about opening up your vacuum or poking around its internals, safety is paramount. Electricity and moving parts can be dangerous.
1.1 Always Unplug Your Vacuum Cleaner
This is the golden rule! Ensure the vacuum is completely disconnected from the power outlet. This prevents accidental startup and eliminates the risk of electrical shock. Just turning it off isn isn’t enough; you need to physically pull the plug.
1.2 Consult Your Owner’s Manual
While this guide offers general advice, your specific vacuum cleaner model might have unique features or troubleshooting tips. A quick scan of your manual can provide valuable insights, especially regarding component locations or special disassembly instructions.
1.3 Prepare Your Workspace
Find a clean, well-lit area where you have enough space to lay out tools and vacuum parts. A drop cloth or old towel can protect your flooring and catch any loose debris.
1.4 Consider Protective Gear
Gloves can protect your hands from dust, sharp edges, and grime. Safety glasses are also a good idea, especially if you anticipate dislodging stubborn debris.
2. Gathering Your Toolkit
You don’t need a fancy workshop to fix your vacuum cleaner. A few basic tools will cover most common repairs.
2.1 Essential Hand Tools
- Screwdriver Set: Phillips and flathead screwdrivers are crucial for opening casings and removing components.
- Scissors or Utility Knife: Indispensable for cutting tangled hair, string, or fabric from the brush roll.
- Pliers: Needle-nose pliers can help grip small parts or pull out stubborn clogs.
- Flashlight: A bright light source is invaluable for peering into dark hoses and internal compartments.
- Stiff Wire or Coat Hanger: Excellent for dislodging deep clogs in hoses.
2.2 Cleaning Supplies
- Microfiber Cloth: For wiping down dusty surfaces.
- Compressed Air or Soft Brush: For cleaning filters and hard-to-reach areas.
- Trash Can: To dispose of all the lovely dirt, hair, and debris you’ll be removing.
2.3 Potential Replacement Parts
Keep these in mind, though you might only purchase them after diagnosing the problem:
- New Filters: Essential for maintaining suction and air quality.
- Replacement Belts: If your brush roll isn’t spinning, a broken belt is a likely culprit. Learn more in our guide on how to replace a vacuum cleaner belt.
- Vacuum Bags: If your model uses bags, ensure you have spares.
3. Common Vacuum Cleaner Problems & How to Fix Them
Now, let’s dive into the most frequent issues and how you can fix your vacuum cleaner effectively.
3.1 Problem 1: No Power or Intermittent Power
Your vacuum won’t turn on, or it keeps cutting out mid-clean. This is one of the most disheartening issues, but often an easy fix.
3.1.1 Check the Power Cord and Plug
First, visually inspect the entire length of the power cord for any cuts, fraying, or visible damage. Look closely at where the cord enters the vacuum and the plug itself. A damaged cord is a serious safety hazard and requires professional repair or replacement.
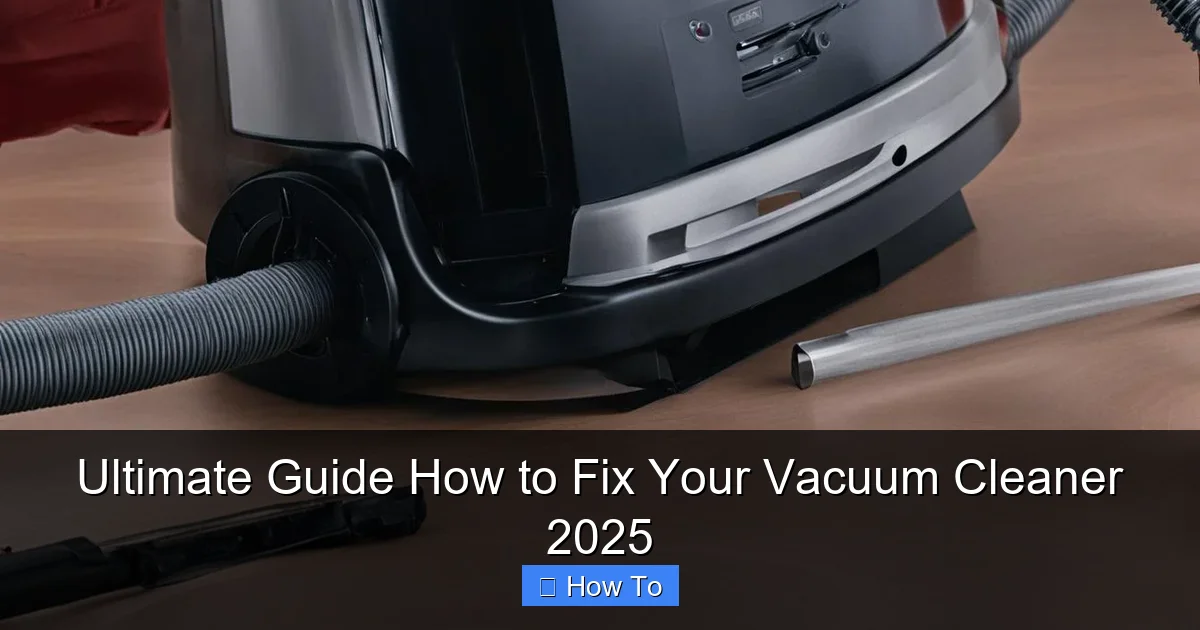
Visual guide about Ultimate Guide How to Fix Your Vacuum Cleaner 2025
Image source: vacmasterguide.com
Next, ensure the plug is fully inserted into the wall outlet. Sometimes a loose connection is all it takes to prevent power.
3.1.2 Test the Wall Outlet
Plug another appliance (like a lamp or phone charger) into the same outlet to confirm it’s working. If the other appliance also doesn’t work, the problem is with your household electricity (e.g., a tripped circuit breaker or GFCI outlet), not the vacuum. Reset your breaker or GFCI if necessary.
3.1.3 Examine the Thermal Cut-Out
Many modern vacuums have a thermal cut-out safety feature that automatically shuts off the motor if it overheats. This often happens if the vacuum is working too hard due to a clog, a full dustbin, or a dirty filter. Allow the vacuum to cool down for at least 30 minutes. While it’s cooling, check for and clear any potential clogs or empty the dustbin. Once cooled, try plugging it back in.
3.2 Problem 2: Loss of Suction
This is arguably the most common and frustrating problem. Your vacuum is on, but it just isn’t picking up dirt effectively. Learning how to fix vacuum cleaner suction issues is a major money saver.
3.2.1 Inspect and Empty the Dustbin/Bag
This sounds obvious, but a full dustbin or bag is the number one cause of reduced suction. If your vacuum uses a bag, ensure it’s not overfilled. For bagless models, empty the dustbin thoroughly. Also, check for any blockages at the opening where debris enters the bin.
3.2.2 Clean or Replace Filters
Vacuum filters (pre-motor and HEPA post-motor) trap dust and allergens. When they become clogged with fine particles, airflow is restricted, leading to a significant loss of suction. Refer to your manual for filter locations and cleaning instructions. Many are washable; others need to be replaced periodically (typically every 3-6 months for washable filters, annually for non-washable HEPA filters). Clean them thoroughly, allow them to air dry completely if washable, or install new ones.
3.2.3 Clear Clogs from Hoses and Attachments
Hoses are notorious for collecting stubborn clogs. Disconnect the main hose from the vacuum body and any attachments. Visually inspect the hose for blockages. If you can’t see anything, carefully straighten the hose and try to push a stiff wire or broom handle through it (NEVER use anything that could puncture or scratch the hose). Repeat this for any extension wands or smaller attachment hoses. Be prepared for a burst of compacted dirt and debris! For more details, see our guide on how to clean a vacuum cleaner hose.
3.2.4 Check the Brush Roll
Even if it’s spinning, a brush roll heavily tangled with hair, threads, or carpet fibers can lift dirt inefficiently. We’ll cover brush roll specifics in the next section, but ensure it’s clean and spinning freely.
3.2.5 Inspect the Belt
For upright and some canister models, a rubber drive belt connects the motor to the brush roll. If this belt is broken, stretched, or slipped, the brush roll won’t spin effectively (or at all), directly impacting dirt pickup. See section 3.3.2 for more details.
3.3 Problem 3: Brush Roll Not Spinning
If your vacuum is on but the brush roll (also called the beater bar) isn’t rotating, it won’t pick up debris from carpets effectively.
3.3.1 Clear Tangles from the Brush Roll
This is probably the most common reason for a non-spinning brush roll. Flip your vacuum over (after unplugging it!) and locate the brush roll. Using scissors or a utility knife, carefully cut away any tangled hair, string, or fabric wrapped around the brush. Be gentle not to cut the bristles or the belt. Once cleared, manually spin the brush roll to ensure it moves freely.
3.3.2 Inspect and Replace the Drive Belt
After clearing tangles, if the brush roll still doesn’t spin, the drive belt is the next suspect. On most models, you’ll need to remove a bottom plate (usually held by screws) to access the belt and brush roll assembly. Once exposed, check the rubber belt. Is it broken? Is it stretched and loose? Has it slipped off the motor shaft or brush roll pulley? If it’s broken or significantly stretched, you’ll need to replace it. Take note of the belt’s size or part number. Installation usually involves looping the new belt around the motor shaft and then stretching it over the brush roll pulley before reattaching the brush roll.
3.3.3 Check for Brush Roll Motor Issues (Advanced)
Some advanced vacuums have a separate motor for the brush roll. If you’ve cleaned the brush and replaced the belt, and it still doesn’t spin, there might be an electrical issue with this motor or its connection. This often requires professional diagnosis or replacement of the motor assembly, which can be costly. At this point, you might weigh the cost of repair against buying a new vacuum. This is a complex area to fix vacuum cleaner components.
3.4 Problem 4: Strange Noises or Burning Smell
A sudden change in sound or a foul odor can indicate a more serious problem, but sometimes it’s an easy fix.
3.4.1 Investigate for Obstructions
Loud grinding, rattling, or squealing noises often point to something stuck in the brush roll, motor fan, or hose. Follow the steps for clearing clogs (Section 3.2.3 and 3.3.1). A small coin, toy, or hard piece of debris caught in the fan or brush roll can make a terrible racket. A high-pitched squeal from the brush roll area might also indicate worn bearings on the brush roll itself.
3.4.2 Check the Motor (Professional Help Often Needed)
If you hear a loud, abnormal hum or whine coming directly from the main motor housing, and especially if accompanied by a burning smell, it could indicate a failing motor. The burning smell is typically the motor overheating or a damaged electrical component. Continuing to run the vacuum in this condition can be dangerous and cause further damage. Unplug it immediately. Motor issues are complex and generally require professional repair or replacement.
3.4.3 Replace Worn Belts
A burning rubber smell, particularly after the brush roll stops spinning or becomes very difficult to turn, almost certainly indicates a broken or slipping drive belt. The friction of a stretched or snapped belt against a moving part can generate heat and a distinctive odor. Replace the belt as described in Section 3.3.2.
3.5 Problem 5: Vacuum Leaves Dirt Behind
Your vacuum seems to be working, but you’re constantly seeing crumbs or dust trails after you’ve “cleaned.”
3.5.1 Adjust the Height Setting
Many upright vacuums have adjustable height settings for different carpet piles. If the setting is too high for your carpet, the brush roll won’t agitate the fibers effectively, leaving dirt behind. Adjust it to the appropriate setting – typically, you want the brush roll to lightly skim the carpet surface without being too difficult to push.
3.5.2 Clean or Replace the Brush Roll
As mentioned earlier, a heavily tangled or worn-out brush roll can’t do its job. Ensure it’s free of debris and that the bristles aren’t severely worn down. If the bristles are short or flattened, it might be time for a new brush roll assembly.
3.5.3 Check for Clogs and Suction Loss (Recap)
Ineffective cleaning almost always ties back to poor suction or a compromised brush roll. Revisit Section 3.2 on loss of suction, checking filters, hoses, and the dustbin. All these elements work together to ensure your vacuum picks up dirt efficiently.
4. Essential Maintenance Tips to Prevent Future Issues
Prevention is always better than cure. Regular maintenance can significantly extend the life of your vacuum and keep it performing optimally.
4.1 Regular Filter Cleaning and Replacement
This is arguably the most important maintenance step. For washable filters, follow your manual’s instructions for cleaning and drying. For non-washable filters, replace them according to the manufacturer’s recommendations (usually annually). Clean filters maintain powerful suction and improve air quality.
4.2 Empty the Dustbin/Bag Promptly
Don’t wait until it’s overflowing. Empty bagless bins after every few uses, or when they reach the “full” line. Replace bags before they’re completely packed to avoid straining the motor and reducing suction.
4.3 Inspect the Brush Roll Regularly
At least once a month (more often if you have pets or long hair in the household), flip your vacuum over and use scissors to snip away any accumulated hair, string, or debris from the brush roll. This keeps it spinning freely and prevents belt damage.
4.4 Check Hoses for Damage and Clogs
Periodically detach hoses and inspect them for cracks, holes, or blockages. Clear any minor clogs before they become major problems. A small tear in a hose can drastically reduce suction.
4.5 Wipe Down the Exterior
A clean exterior isn’t just for aesthetics; it also prevents dust and grime from working their way into internal components. Use a damp cloth to wipe down your vacuum’s casing.
Conclusion
Congratulations! You’ve just equipped yourself with the knowledge to diagnose and fix vacuum cleaner issues that would send many people straight to the repair shop or appliance store. From understanding the basics of power and suction to tackling specific mechanical problems, you’re now empowered to breathe new life into your vacuum cleaner.
Remember, patience and a methodical approach are key. Start with the simplest checks, work your way through the components, and always prioritize safety. By performing regular maintenance and knowing how to troubleshoot, you’ll not only save money but also contribute to less waste by extending the lifespan of your appliances. So, go forth and conquer that dirt with confidence – your newly revived vacuum cleaner is ready for action in 2025 and beyond!
🎥 Related Video: The best Wet and Dry Vacuum Cleaner to keep your home spotless #vacuumcleaner #vacuum #amazon 53
📺 Best Products
The best Wet and Dry Vacuum Cleaner to keep your home spotless #vacuumcleaner #vacuum #shorts #amazon Looking for the …