Discover the ultimate guide to cleaning with a vacuum cleaner in 2025! This comprehensive how-to will transform your cleaning routine, covering everything from choosing the right modern vacuum to mastering advanced techniques for every surface. Learn how to optimize your machine’s performance, tackle common issues, and maintain a spotless home with minimal effort and maximum efficiency.
Unlock 2025 Secrets How to Clean with a Vacuum Cleaner
Welcome to the ultimate guide for mastering your vacuum cleaner in 2025! In an era where smart homes and advanced cleaning tech are the norm, knowing how to truly maximize your vacuum cleaner’s potential is more important than ever. Forget haphazard swipes; we’re diving deep into the secrets that will help you achieve a cleaner home, more efficiently and effectively.
Whether you’ve got a brand-new robot vacuum with AI mapping or a trusty upright that’s been with you for years, this guide will equip you with the knowledge to tackle dust, dirt, pet hair, and allergens like a pro. We’ll cover everything from smart preparation and precision techniques to essential maintenance and troubleshooting. By the end, you’ll not just be vacuuming; you’ll be *cleaning with a vacuum cleaner* with confidence and impressive results. Let’s transform your cleaning routine!
Key Takeaways
- Modern Vacuum Mastery: Understand the latest vacuum cleaner technologies and choose the best machine and attachments for your specific cleaning needs in 2025, from powerful cordless models to smart robot vacuums.
- Foundation First: Always declutter and dust surfaces *before* vacuuming. This prepares the area, prevents damage to your vacuum, and ensures a deeper, more effective clean.
- Technique is Key: Employ slow, overlapping passes for carpets and rugs, and use the appropriate hard floor settings or attachments for delicate surfaces to avoid scratches and maximize dirt pickup.
- Attachment Advantage: Don’t overlook your vacuum’s specialized tools. Crevice tools reach tight spots, upholstery tools refresh fabrics, and dusting brushes handle delicate surfaces with ease.
- Beyond the Floor: Learn to effectively vacuum not just floors, but also upholstery, curtains, stairs, and even high-up corners, transforming your vacuum into an all-purpose cleaning powerhouse.
- Maintain for Performance: Regular maintenance, including emptying the dustbin, cleaning filters, and untangling brush rolls, is crucial for preserving suction power and extending your vacuum cleaner’s lifespan.
- Troubleshooting Smarts: Familiarize yourself with common vacuum issues like loss of suction or strange noises. Knowing how to quickly diagnose and fix these can save you time and money.
Quick Answers to Common Questions
How often should I clean with a vacuum cleaner?
For high-traffic areas and homes with pets or allergies, aim for daily or every other day. General living areas can be vacuumed 1-2 times a week, while less-used rooms might only need it every other week.
Can I vacuum water or wet spills?
Absolutely NOT with a standard dry vacuum cleaner! This can cause serious electrical damage, electric shock, and void your warranty. Only use a wet/dry shop vac specifically designed for liquids.
What’s the best way to get pet hair out of carpet?
Use a vacuum with a strong brush roll designed for pet hair. Pre-treat stubborn areas with a rubber squeegee or a damp rubber glove to gather hair into clumps before vacuuming.
Should I vacuum rugs differently than wall-to-wall carpet?
Yes, often. For delicate rugs, use a lower suction setting or a hard floor attachment without a spinning brush roll to prevent damage. Always check the rug’s care instructions.
How do I know when to replace my vacuum cleaner’s filters?
Check your vacuum cleaner’s manual for specific recommendations, but generally, washable filters should be cleaned monthly and replaced every 6-12 months. Non-washable filters might need replacement every 3-6 months, especially if you have pets or allergies.
1. Choosing Your 2025 Vacuum Companion (Quick Overview)
Before we dive into the how-to, a quick word on modern vacuum cleaners. In 2025, options are abundant!
Cordless Freedom
Dyson, Shark, and other brands offer powerful cordless stick vacuums that are incredibly versatile. They’re perfect for quick clean-ups and reaching tricky spots without being tethered to an outlet. Many come with specialized heads for different floor types.
Robotic Revolution
Roomba, Roborock, and Eufy have perfected robot vacuums with advanced mapping, AI obstacle avoidance, and even self-emptying docks. These are fantastic for daily maintenance, keeping floors consistently clean with minimal effort from you.
Traditional Powerhouses
Upright and canister vacuums still offer robust suction, especially for deep cleaning carpets. Many now feature HEPA filters for improved air quality and advanced brush roll technologies.
Handheld Helpers
Don’t forget compact handheld vacuums for small messes, car interiors, and upholstery.
No matter your choice, understanding its features and attachments is the first step to truly clean with a vacuum cleaner.
2. Pre-Vacuuming Prep: The Foundation of Clean
Think of vacuuming as the final polish. Before you even turn on your machine, a little preparation goes a long way. This ensures your vacuum cleaner works efficiently and doesn’t get damaged.
Declutter the Space
Walk through the room and pick up any loose items. Toys, shoes, magazines, charging cables – anything that could get sucked up or snagged by the brush roll needs to go. This prevents blockages and potential damage to both your vacuum and your belongings.
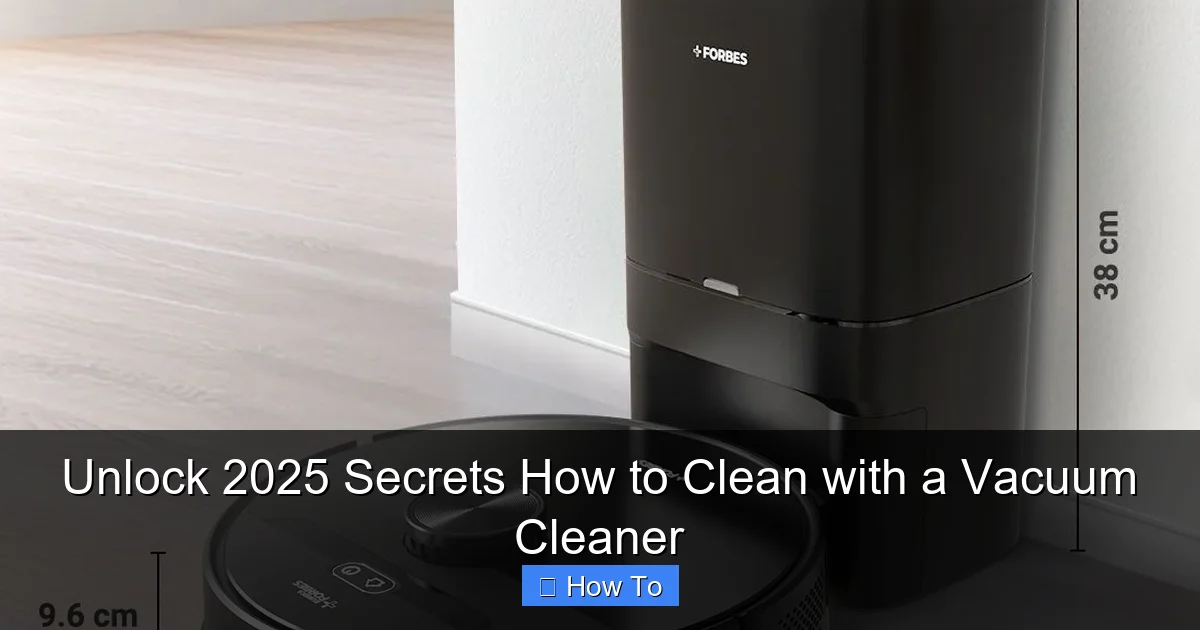
Visual guide about Unlock 2025 Secrets How to Clean with a Vacuum Cleaner
Image source: eurekaforbes.com
Pick Up Large Debris
If there are larger crumbs, bits of paper, or clumps of pet hair, consider sweeping them up or picking them by hand. Your vacuum cleaner is designed for dust and fine dirt, not large debris that can clog it or reduce its suction.
Move Furniture (When Possible)
For a truly deep clean, gently move smaller furniture pieces like coffee tables, dining chairs, or ottomans. This allows you to vacuum the areas usually hidden, where dust bunnies love to gather. If moving isn’t an option, use your vacuum’s attachments to reach underneath and around them.
Dust First, Then Vacuum
This is a golden rule! When you dust shelves, furniture, and electronics, gravity pulls some of that dust to the floor. If you vacuum first, you’ll just be re-dusting a clean floor. By dusting first, you allow all the airborne dust to settle, then your vacuum cleaner can efficiently suck it all up.
3. Step-by-Step Vacuuming Mastery
Now, let’s get to the actual cleaning! Mastering these steps will ensure your efforts are effective and your home sparkles.
3.1. Understanding Your Vacuum and Its Attachments
Before you start, take a moment to understand your specific vacuum cleaner.
Check Brush Roll Settings
- For Carpets: Ensure the brush roll (beater bar) is engaged. It agitates carpet fibers to loosen embedded dirt and pet hair. Adjust the height setting if your vacuum has one – you want the brush roll to just make contact with the carpet, not dig in too deeply, which can cause wear.
- For Hard Floors: Disengage the brush roll or switch to a hard floor setting. A spinning brush roll can scratch delicate wood or laminate and just scatter debris on hard surfaces. Many modern vacuums have a dedicated hard floor head with soft bristles.
Familiarize Yourself with Attachments
Your vacuum cleaner isn’t just for floors! Its attachments are powerful tools:
- Crevice Tool: The long, narrow nozzle is perfect for tight spaces like between couch cushions, along baseboards, and in car interiors.
- Upholstery Tool: Often wider with a flat or slightly angled head, sometimes with velvet strips, it’s designed to clean fabric surfaces like sofas, chairs, and mattresses without damaging them.
- Dusting Brush: A round brush with soft bristles, ideal for delicate surfaces like lampshades, blinds, curtain rods, and bookshelves.
- Extension Wand: Extends your reach for ceilings, tall furniture, and curtains.
- Pet Hair Tool: Some vacuums come with specialized mini turbo brushes to aggressively lift pet hair from upholstery and stairs.
3.2. The Right Technique for Different Surfaces
Proper technique is key to truly clean with a vacuum cleaner effectively.
Cleaning Carpets and Rugs
- Start with Edges: Use the crevice tool along the baseboards first. This ensures you get all the accumulated dust right where the wall meets the floor.
- Slow and Overlapping: Don’t rush! Push the vacuum cleaner slowly forward and then pull it back over the same spot. Overlap each pass by about half the width of the vacuum head. This allows the brush roll enough time to agitate and lift embedded dirt.
- Multiple Directions: For a really deep clean, vacuum the entire room in one direction (e.g., north to south), then repeat the process in a perpendicular direction (east to west). This helps lift stubborn dirt and refreshes the carpet pile.
- High-Traffic Areas: Spend extra time on areas that get a lot of foot traffic, like hallways and in front of doorways.
Cleaning Hard Floors (Wood, Tile, Laminate, Vinyl)
- Disable Brush Roll: As mentioned, make sure the brush roll is off or use a dedicated hard floor attachment.
- Straight Lines: Move your vacuum in straight, even lines. Unlike carpets, you don’t need to apply pressure.
- Watch for Debris: Hard floors show dirt more easily. Keep an eye out for stray crumbs or dust bunnies and target them directly.
- Edge First (Again): Use the crevice tool along baseboards and in corners before vacuuming the main area.
- Sweep Before Vacuuming (Optional but Recommended): For very dirty hard floors, a quick dry mop or sweep beforehand can prevent dust from being blown around, making your vacuum job more efficient.
Cleaning Upholstery and Curtains
- Choose the Right Tool: Use the upholstery tool for sofas, chairs, and mattresses, and the dusting brush or extension wand with an upholstery tool for curtains.
- Test a Hidden Spot: Always test a small, inconspicuous area first, especially on delicate fabrics, to ensure the suction and tool won’t cause damage.
- Adjust Suction: Many modern vacuum cleaners have adjustable suction power. Lower it for delicate fabrics to prevent pulling or stretching.
- Section by Section: Work in small sections, overlapping your strokes. For upholstery, pay attention to seams and crevices, using the crevice tool if needed. For curtains, move top to bottom, holding the fabric taut if possible.
Cleaning Stairs
- Handheld or Attachments: This is where a handheld vacuum or your upright/canister’s hose with the crevice and upholstery tools truly shines.
- Top Down: Start at the top step and work your way down.
- Edges and Risers: Use the crevice tool to get into the corners and along the edges of each step. Then use the upholstery tool to clean the main tread and riser (the vertical part).
- Carpeted Stairs: If carpeted, gently agitate with the upholstery tool to lift dirt.
Corners and Edges
The crevice tool is your best friend here. It’s designed to fit into those tight spots where dust and cobwebs love to hide, ensuring a thorough clean every time.
3.3. Advanced 2025 Vacuuming Hacks
Beyond the basics, these tips will elevate your cleaning game.
Tackling Pet Hair Like a Pro
Pet hair can be a challenge. In 2025, many vacuums have specialized pet hair attachments with mini turbo brushes designed to grab hair from carpets and upholstery. For stubborn hair, a rubber glove or a damp sponge can gather most of it before you vacuum, making your machine’s job much easier.
Dealing with Dry Spills
Quickly clean up dry spills (like sugar, cereal, or coffee grounds) using your vacuum’s handheld mode or a quick pass with the main unit. This is much faster and more hygienic than sweeping, especially on carpets.
Smart Home Integration
If you have a robot vacuum, leverage its smart features. Schedule daily cleanings, set “no-go zones” on your app, and integrate it with your smart home assistant to start cleaning with a voice command. Many can even automatically adjust suction based on floor type!
Improving Air Quality with HEPA Filters
Many 2025 vacuum cleaners come with HEPA filters. These are crucial for trapping allergens, pet dander, and microscopic dust particles, significantly improving your indoor air quality. Remember to clean or replace them regularly as per manufacturer instructions.
4. Post-Vacuuming Care: Keeping Your Machine Pristine
Your vacuum cleaner works hard for you. A little love after each session ensures it continues to perform optimally and extends its lifespan.
Empty the Dustbin or Replace the Bag
This seems obvious, but many forget! A full dustbin or bag drastically reduces suction power. Empty your bagless vacuum’s canister after every use, or when it reaches the “max fill” line. Replace bags when they are two-thirds to three-quarters full to maintain peak performance.
Clean or Replace Filters
Most modern vacuums have multiple filters – pre-motor and post-motor (often HEPA). Check your manual for specific cleaning instructions. Some are washable; others need to be tapped out or replaced periodically. Clogged filters are a major cause of suction loss and can lead to motor strain.
Check the Brush Roll for Tangles
Hair, thread, and carpet fibers love to wrap around the brush roll. This can impede its rotation, reduce cleaning effectiveness, and even damage the motor. Use scissors or a seam ripper to carefully cut and remove any tangled debris. Many modern vacuums have tangle-free brush rolls or ones that are easy to remove for cleaning.
Wipe Down the Exterior
A quick wipe with a damp cloth removes dust and grime from the exterior, keeping your vacuum cleaner looking good. Pay attention to the wheels, too, as they can collect dirt.
Store Properly
Store your vacuum in a dry, cool place. Coil cords neatly and ensure attachments are stored securely so they don’t get lost or damaged.
5. Troubleshooting Common Vacuum Cleaner Woes
Even the best vacuum cleaners can have issues. Here’s how to quickly diagnose and fix common problems.
Loss of Suction
- Check the Dustbin/Bag: Is it full?
- Inspect Filters: Are they clogged? Clean or replace them.
- Look for Blockages: Check the hose, wand, and brush roll for anything lodged inside. A broom handle or a long stick can help dislodge blockages.
- Ensure Proper Assembly: Make sure all parts are securely attached and no seals are broken.
Strange Noises
- Brush Roll: A rattling or grinding noise often indicates something caught in the brush roll or a worn-out belt. Check and clean it.
- Motor: A high-pitched whine could be a motor issue, possibly due to overheating or strain from a blockage. Turn it off immediately and check for clogs.
- Loose Parts: Check if any attachments or parts are loose.
Not Picking Up Dirt
- Height Setting: Is the brush roll height set correctly for the floor type?
- Worn Brush Roll: Over time, brush roll bristles can wear down, reducing their effectiveness. They might need replacement.
- Belt: For uprights, check if the belt driving the brush roll is intact and properly tensioned. A broken or slipped belt means the brush roll won’t spin.
Overheating
- Clogs: A severe clog or full dustbin/bag makes the motor work harder, leading to overheating.
- Filters: Clogged filters restrict airflow, causing the motor to overheat.
- Motor Issues: If none of the above, it could be a motor problem. Let it cool down, then if the problem persists, it might need professional servicing.
Conclusion
Congratulations! You’re now equipped with the 2025 secrets to clean with a vacuum cleaner like a true expert. From the initial prep work to the final maintenance, every step plays a crucial role in achieving a truly clean and healthy home. Remember, your vacuum cleaner is a powerful ally in maintaining your living space; by understanding its mechanics and applying these techniques, you’ll not only extend its life but also enjoy consistently spotless results. So go forth, vacuum with confidence, and enjoy the pristine environment you’ve created!
🎥 Related Video: How to unblock drains quickly with high-pressure tools – Ultra Burst High-Pressure Drain Unblocker
📺 MaviGadget
Product Link: https://mavigadget.com/products/ultra-burst-high-pressure-drain-unblocker/?ref=1007 Clear tough clogs in seconds …