
Keeping your Bissell vacuum cleaner in top shape is crucial for effective cleaning and prolonging its lifespan. This comprehensive guide walks you through every essential step, from emptying and washing the dirt tank to untangling the brush roll and maintaining filters, ensuring your vacuum performs its best. Regular maintenance not only improves suction but also keeps your home healthier by preventing dust and allergen buildup.
Have you ever noticed your trusty Bissell vacuum cleaner isn’t quite sucking up dirt the way it used to? Maybe it’s leaving behind little trails of crumbs, or perhaps it just doesn’t feel as powerful anymore. Don’t rush out to buy a new one just yet! The solution might be much simpler and more cost-effective than you think: it’s time for a good, thorough cleaning. Just like any hardworking appliance, your Bissell needs a little TLC to keep performing at its best.
A well-maintained vacuum cleaner isn’t just about sparkling floors; it’s about a healthier home environment. Over time, dust, pet hair, allergens, and debris can build up in various parts of your Bissell, choking its suction, spreading odors, and even shortening its lifespan. By taking the time to clean your Bissell vacuum cleaner regularly, you’ll restore its power, prevent common issues, and ensure it continues to be your reliable partner in keeping your home spotless. It’s a simple task that yields significant rewards, both for your vacuum and your living space.
This comprehensive guide will walk you through every step of how to clean a Bissell vacuum cleaner, from the easy wins like emptying the dirt tank to the more detailed tasks like untangling the brush roll and washing filters. We’ll cover everything you need to know to get your Bissell humming with peak performance once again. So, grab your cleaning supplies, and let’s give your Bissell the refresh it deserves!
Key Takeaways
- Prioritize Safety: Always unplug your Bissell vacuum cleaner before beginning any cleaning or maintenance to prevent electric shock or accidental startup.
- Regular Filter Care is Crucial: Clean or replace your Bissell’s filters according to the manufacturer’s recommendations. Clogged filters drastically reduce suction and efficiency.
- Untangle the Brush Roll: Periodically remove hair, string, and debris from the brush roll to ensure it spins freely and picks up dirt effectively.
- Thoroughly Clean the Dirt Tank: Empty the dirt tank after each use and wash it with mild soap and water when visibly dirty. Ensure it’s completely dry before reassembling.
- Don’t Forget Hoses and Attachments: Check hoses for clogs and wash all attachments regularly to maintain optimal performance and hygiene.
- Complete Drying is Essential: Any washable part (tank, filters, attachments) must be completely air-dried before reassembly to prevent mold, mildew, and damage to your Bissell vacuum cleaner.
- Extend Lifespan and Boost Performance: Consistent cleaning and maintenance not only improve your Bissell vacuum’s cleaning power but also significantly extend its operational life.
Quick Answers to Common Questions
How often should I clean my Bissell vacuum cleaner’s dirt tank?
You should empty the dirt tank after every use or when the dirt level reaches the “full” line. For a deeper wash with soap and water, aim for every 4-6 uses or whenever it looks visibly dirty.
Can I put my Bissell vacuum filters in the washing machine?
No, you should never put your Bissell vacuum filters in a washing machine or dishwasher. Always hand-wash washable filters under cool running water and air dry them completely.
What if my Bissell vacuum cleaner still smells after cleaning?
If odors persist, ensure all parts, especially the dirt tank and washable filters, are completely dry. You can also try sprinkling baking soda in the dry dirt tank or using vacuum air freshener tabs.
How do I remove hair from the brush roll without damaging it?
First, unplug the vacuum. Then, carefully use scissors or a seam ripper to cut along the length of the tangled hair. Gently pull the loosened hair away from the brush roll, making sure not to cut the bristles or drive belt.
How long does it take for washable Bissell vacuum parts to dry?
Washable parts like the dirt tank and filters need to air dry completely, which can take anywhere from 24 to 48 hours depending on humidity and airflow. It’s crucial they are bone-dry to prevent mold and damage.
📑 Table of Contents
Get Ready: Safety First & Essential Tools
Before we dive into the nitty-gritty of cleaning, it’s vital to prepare properly. This includes ensuring your safety and gathering all the necessary tools. Think of it as setting the stage for a successful cleaning operation.
Prioritize Safety
This is the most important step! Before you touch anything, always, always, always unplug your Bissell vacuum cleaner from the wall outlet. This simple act prevents accidental startups, electric shocks, and ensures your complete safety while you work on the machine. You wouldn’t want the brush roll suddenly springing to life while your fingers are near it! Once it’s unplugged, you can proceed with confidence.
Gather Your Cleaning Arsenal
You don’t need fancy gadgets to clean your Bissell vacuum cleaner effectively. Most of what you need can probably be found around your house. Here’s a list of handy items:
- Small brush: An old toothbrush, a stiff detailing brush, or even a paint brush works wonders for dislodging stubborn dirt.
- Scissors or seam ripper: Essential for cutting away tangled hair and string from the brush roll.
- Microfiber cloths: Great for wiping down surfaces and drying parts.
- Mild dish soap: For washing dirt tanks and washable filters.
- Warm water: For rinsing and washing.
- Lint roller (optional): Handy for picking up fine debris from hard-to-reach fabric areas.
- Gloves (optional): If you prefer to keep your hands clean.
- User Manual: If you still have it, your Bissell manual can be a great resource for model-specific instructions on disassembly.
Tackle the Dirt Tank and Filters
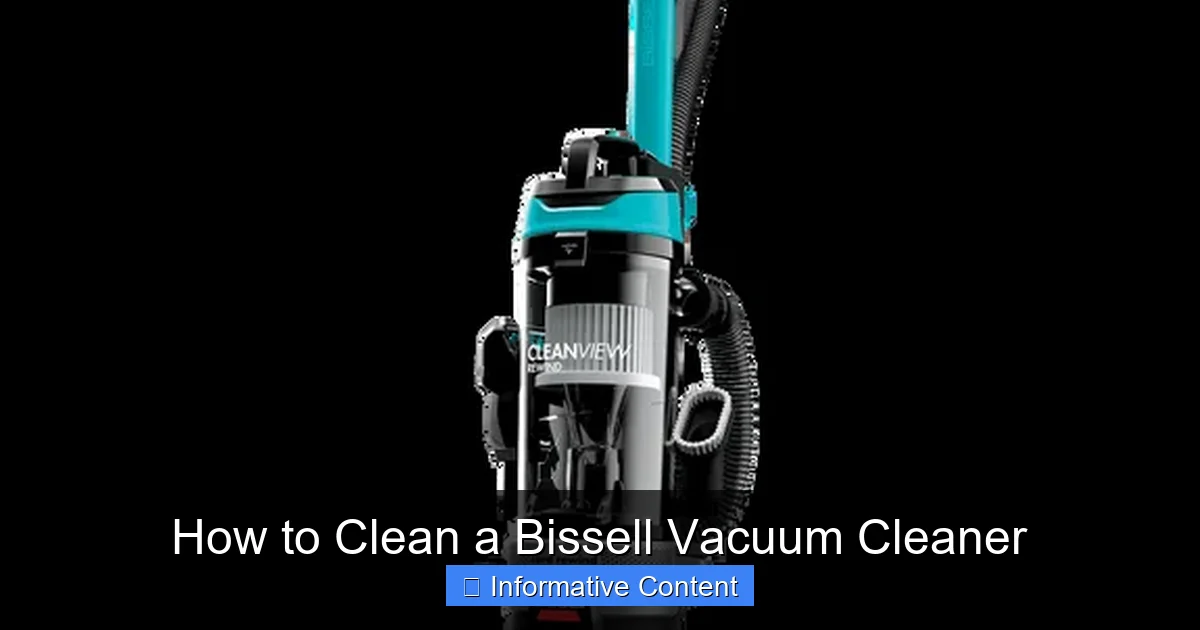
Visual guide about How to Clean a Bissell Vacuum Cleaner
Image source: bissell.com
The dirt tank and filters are where most of the magic happens – and where most of the grime collects. Cleaning these components is critical for maintaining strong suction and a clean exhaust.
Emptying and Washing the Dirt Tank
This is probably the most frequent cleaning task you’ll perform for your Bissell vacuum. Ideally, you should empty the dirt tank after every use, or when the “full” line is reached.
- Remove the Tank: Locate the release button or latch for the dirt tank (often at the top or front of the vacuum) and carefully remove it from the main body of your Bissell vacuum cleaner.
- Empty Debris: Position the tank over a trash can and press the release button at the bottom (for most models) to open the flap and empty all the collected dirt, dust, and debris. Give it a few taps to ensure everything falls out.
- Rinse if Necessary: If the inside of the tank is dusty or visibly grimy, you can wash it. Remove any additional internal filters or separators first (check your manual). Rinse the tank thoroughly with warm water. For stubborn grime, use a small amount of mild dish soap and a brush to scrub the interior.
- Rinse Again: Make sure to rinse until all soap residue is gone.
- Air Dry Completely: This step is absolutely crucial. Place the dirt tank (and any washable internal parts) in a well-ventilated area to air dry for at least 24 hours. Do NOT reassemble it while it’s still damp, as this can lead to mold, mildew, and unpleasant odors inside your Bissell vacuum.
Cleaning or Replacing Filters
Filters are the lungs of your Bissell vacuum cleaner, trapping microscopic particles and preventing them from recirculating into your home’s air. There are typically one or more filters in your Bissell.
Pre-Motor Filters (Washable Foam/Felt)
Many Bissell models have a washable pre-motor filter, often located inside or near the dirt tank.
- Locate and Remove: Refer to your Bissell manual to find and remove these filters. They are usually foam or pleated fabric.
- Tap Out Loose Debris: Over a trash can, gently tap the filters to remove loose dust and dirt.
- Rinse with Water: If your filter is washable (the manual will specify), rinse it under cool running water until the water runs clear. Gently squeeze foam filters to remove water. Do NOT use soap unless specifically instructed, as it can damage some filter materials.
- Air Dry Completely: Just like the dirt tank, washable filters MUST be completely dry before being put back into your Bissell vacuum cleaner. This can take 24-48 hours. Using a damp filter can damage your vacuum and lead to mold growth.
- Replace Regularly: Even washable filters eventually wear out or lose their effectiveness. Check your manual for replacement recommendations, typically every 3-6 months depending on usage.
Post-Motor or HEPA Filters (Non-Washable)
These filters are usually located near the exhaust of your Bissell vacuum and are designed to capture the finest particles before air is released back into your home.
- Locate and Remove: These are often housed in a separate compartment, sometimes with a latch.
- Tap Out Debris: Gently tap the filter over a trash can to dislodge any loose dust.
- Inspect and Replace: Post-motor filters are generally NOT washable. If yours is designed to be replaced, inspect it for discoloration or damage. If it looks very dirty, discolored, or you can’t tap out the dust, it’s time to replace it. Follow your Bissell’s manual for specific replacement intervals (often every 6-12 months).
Revitalize the Brush Roll (Beater Bar) and Wheels
The brush roll is the workhorse that agitates carpets and sweeps up debris. If it’s clogged, it can’t do its job properly. The wheels, though often overlooked, also need attention.
Untangling the Brush Roll
Hair, string, and fibers love to wrap themselves around the brush roll, hindering its performance and potentially damaging the motor.
- Access the Brush Roll: Turn your Bissell vacuum cleaner upside down on a soft surface. You’ll usually see the brush roll on the bottom. Some models have a removable cover or screws you need to undo to access it fully.
- Remove Obstructions: Carefully use scissors or a seam ripper to cut through tangled hair and string. Be gentle and try not to cut the bristles of the brush roll or any belts. Pull all the cut debris away.
- Clean the Bristles: Once major tangles are gone, use your small brush to scrub any stuck-on grime or dust from the bristles. Ensure the bristles are free and not matted.
- Check the Belt: While you’re there, quickly inspect the drive belt that powers the brush roll. It should be taut and free of cracks or wear. If it looks worn or stretched, it might be time for a replacement (check your Bissell’s support website for parts).
- Reassemble: Replace any covers or screws you removed, ensuring everything is secure.
Cleaning the Wheels
The wheels can accumulate hair and dirt, making your Bissell vacuum harder to maneuver.
- Inspect and Clear: Look at the wheels on the base of your vacuum. Often, hair and debris can get wrapped around the axles.
- Remove Debris: Use your scissors or a small pick to carefully remove any tangled hair or lint.
- Wipe Down: Wipe the wheels clean with a damp cloth. This ensures smooth gliding across your floors.
Don’t Forget the Hoses and Attachments
These often-neglected parts can harbor hidden clogs and dust, impacting your Bissell vacuum’s overall efficiency.
Checking and Clearing Hoses
A clogged hose can severely reduce suction power.
- Remove Hoses: Detach all flexible hoses from your Bissell vacuum cleaner. Most click into place or twist off.
- Inspect for Clogs: Hold each hose up to the light and look through it. You might be surprised at what you find! If you see a blockage, try to dislodge it.
- Clear Blockages: Use a broom handle, a long stick, or even a plumbing snake to gently push through the clog. Be careful not to puncture or damage the hose. For really stubborn clogs, some people use a wet/dry shop vacuum to suck out the obstruction, or even try to push water through it (ensure the hose is completely dry before reattaching to your Bissell).
- Rinse (Optional): If the inside of the hose is visibly dusty or dirty, you can rinse it with warm water. Again, complete drying is essential before reattaching it to your Bissell vacuum.
Washing Attachments
Your crevice tool, upholstery brush, and dusting tool can get quite dirty.
- Detach All Attachments: Remove all accessory tools from your Bissell vacuum cleaner.
- Wash and Rinse: Wash them in warm, soapy water. Use a small brush to get into crevices. Rinse thoroughly to remove all soap.
- Air Dry Completely: Just like other washable parts, let them air dry completely before storing them back on your Bissell.
The Exterior and Final Touches
Now that the internal components are sparkling, it’s time to give the outside of your Bissell vacuum cleaner a refresh.
Wiping Down the Body
Dust and grime accumulate on the exterior too!
- Use a Damp Cloth: Take a slightly damp microfiber cloth and wipe down the entire exterior of your Bissell vacuum. Pay attention to crevices, handles, and areas where dust tends to settle.
- Avoid Electronics: Be careful not to get water into any electrical components, switches, or charging ports if you have a cordless model.
- Polish (Optional): For a streak-free shine, follow up with a dry microfiber cloth.
Dealing with Lingering Odors
If your Bissell vacuum cleaner still smells a bit stale even after cleaning, it could be due to deeply embedded odors or residual moisture.
- Baking Soda: After thoroughly cleaning and drying your dirt tank, you can sprinkle a tablespoon of baking soda inside it before reassembling. Baking soda is a natural odor absorber.
- Air Freshener Tabs: Some brands sell vacuum air freshener tabs that you can place in the dirt tank or filter compartment.
- Scented Pellets: You can even add a few drops of essential oil onto a cotton ball and place it inside the dry dirt tank, or purchase specialized scented pellets. Always ensure these methods don’t interfere with your vacuum’s mechanics or filters.
- Check for Hidden Mold: If odors persist and are musty, double-check all washable parts for any signs of mold, which often indicates incomplete drying.
Why Regular Cleaning Matters (and When to Call for Help)
You might be wondering, “Is all this really necessary?” The answer is a resounding yes! Regular cleaning of your Bissell vacuum cleaner is one of the best investments you can make in your cleaning routine.
Benefits of Consistent Maintenance
- Restored Suction Power: Clean filters, clear hoses, and a tangle-free brush roll mean your Bissell vacuum can pick up dirt and debris far more efficiently. You’ll notice an immediate improvement in its performance.
- Extended Lifespan: When your vacuum isn’t struggling against clogs and dirty filters, its motor doesn’t have to work as hard. This reduces wear and tear, significantly prolonging the life of your Bissell vacuum cleaner.
- Improved Air Quality: Clean filters mean fewer allergens and dust particles are released back into your home’s air during vacuuming, making your environment healthier, especially for those with allergies or asthma.
- Prevents Unpleasant Odors: Regularly emptying and washing the dirt tank and filters prevents the buildup of stinky dust, pet dander, and other odor-causing particles.
- Cost Savings: By extending the life of your vacuum and preventing major breakdowns, you save money on repairs or premature replacement. Plus, an efficient vacuum uses less energy.
Knowing When to Seek Professional Assistance
While regular cleaning resolves most issues, there are times when your Bissell vacuum cleaner might need more than just a good scrub.
- Motor Problems: If you hear unusual noises (grinding, high-pitched whines), smell burning, or the motor is getting unusually hot, stop using it immediately and seek professional repair.
- Electrical Issues: Any sparking, frayed cords, or intermittent power issues should be handled by a qualified technician.
- Persistent Loss of Suction: If you’ve cleaned everything thoroughly and still have poor suction, there might be a deeper internal blockage or motor problem.
- Broken Parts: If a critical part like the motor housing, switch, or a non-replaceable internal component is broken, a repair shop or Bissell’s customer service can advise on repair or replacement.
Congratulations! You’ve just given your Bissell vacuum cleaner a thorough and well-deserved spa day. By following these steps on how to clean a Bissell vacuum cleaner, you’ve not only restored its cleaning prowess but also ensured it will serve you faithfully for many more years to come. Remember, a little regular maintenance goes a long way. Make these cleaning tasks a routine, and you’ll always enjoy the benefits of a powerful, efficient, and hygienic vacuum cleaner. Happy cleaning!
Frequently Asked Questions
How often should I clean my Bissell vacuum cleaner in general?
For optimal performance, aim for a quick clean of the dirt tank after every use, and a deeper clean of filters, brush roll, and attachments every 1-3 months, depending on usage and household factors like pets.
What tools do I need to clean my Bissell vacuum cleaner?
You’ll typically need a small brush (like an old toothbrush), scissors or a seam ripper, mild dish soap, warm water, and microfiber cloths. Your vacuum’s user manual can also be helpful for model-specific instructions.
Can I use a compressed air can to clean the filters?
While compressed air can dislodge some dust, it’s generally better to hand-wash washable filters with water and air dry them. For non-washable filters, tapping them out over a trash can is usually sufficient, but compressed air can be used carefully if recommended by the manufacturer.
My Bissell vacuum’s brush roll isn’t spinning. What should I do?
First, unplug the vacuum. Check the brush roll for any tangled hair or debris that might be preventing it from spinning and remove them. Also, inspect the drive belt to ensure it hasn’t broken or become dislodged. If issues persist, the motor may need professional attention.
Is it okay to vacuum up water with my Bissell vacuum cleaner?
Unless you have a specific wet/dry Bissell model, you should never vacuum up water or wet messes with a standard dry vacuum cleaner. Doing so can cause severe electrical damage, motor failure, and create a shock hazard.
Where can I find replacement parts for my Bissell vacuum cleaner?
You can usually find genuine replacement parts like filters, belts, and brush rolls directly on the official Bissell website, through authorized Bissell retailers, or major online marketplaces. Always ensure you purchase parts compatible with your specific Bissell model.