Keeping your Dyson vacuum cleaner spotless isn’t just about appearances; it’s vital for maintaining its powerful suction and extending its lifespan. This comprehensive 2025 guide provides expert, step-by-step instructions on how to clean every essential part of your Dyson, from washable filters to tangle-free brush bars. Regular maintenance ensures your vacuum continues to perform like new, helping you achieve a truly clean home with minimal effort.
How Do You Clean a Dyson Vacuum Cleaner 2025 Expert Tips
Welcome to the ultimate guide on how to clean a Dyson vacuum cleaner! In 2025, Dyson continues to lead the way in innovative cleaning technology, offering powerful suction and smart features. But even the best vacuums need a little TLC to maintain their peak performance. If you’ve noticed a drop in suction, a strange smell, or simply want to keep your valuable appliance in top condition, you’ve come to the right place.
Cleaning your Dyson vacuum cleaner regularly isn’t just about aesthetics; it’s absolutely essential for its longevity and efficiency. Dust, hair, and debris can accumulate in various components, leading to blockages, reduced airflow, and ultimately, a less effective cleaning experience. This comprehensive guide will walk you through every step, ensuring your Dyson performs like it did the day you bought it. We’ll cover everything from filters to brush bars, specific tips for different models, and troubleshooting common issues. So, grab your cleaning cloths and let’s get your Dyson sparkling clean!
Key Takeaways
- Regular Cleaning is Crucial: Consistent maintenance prevents blockages, maintains strong suction, and significantly extends the lifespan of your Dyson vacuum cleaner.
- Prioritize Safety: Always unplug your Dyson and allow it to cool completely before attempting any cleaning or disassembly to avoid electrical hazards or burns.
- Washable Filters are Key: Most Dyson models feature washable filters that require rinsing with cold water and a full 24-hour drying period for optimal performance and to prevent mold.
- Tackle the Brush Bar: Hair and debris easily tangle in the brush bar, reducing effectiveness. Learn how to remove and clean it thoroughly for uninterrupted cleaning power.
- Don’t Forget the Cyclone and Bin: Regularly empty the bin and wipe down the cyclone shroud to prevent dust and dirt buildup that can impede airflow and suction.
- Attachments Need Attention Too: Clean your Dyson’s attachments regularly to ensure they function correctly and don’t reintroduce dirt back into your home.
- Consult Your Manual: While this guide covers general principles, always refer to your specific Dyson model’s user manual for precise instructions on filter types, removal methods, and maintenance schedules.
Quick Answers to Common Questions
How often should I clean my Dyson filter?
Most Dyson washable filters should be rinsed with cold water at least once a month, and more frequently if you have pets or use your vacuum daily. Always ensure it’s completely dry for 24 hours before reinserting.
Can I put my Dyson brush bar in water?
No, generally you should not immerse the main motorized brush bar in water. Use scissors to cut away hair and a damp cloth to wipe it clean. Some soft roller heads on specific models might be washable, but always check your manual first.
Why does my Dyson smell bad after cleaning?
A persistent bad smell usually indicates that the filter wasn’t completely dry before reassembly, allowing mold or mildew to grow, or that there’s residual decomposing organic matter (like pet hair or food particles) still trapped in the cleaner head or cyclone.
What if my Dyson still has low suction after cleaning?
The most common culprit is a still-damp filter. Ensure it’s bone dry. Also, thoroughly recheck all tubes, hoses, and the cleaner head for any hidden blockages you might have missed during the initial clean.
How do I know if my Dyson filter is dry enough?
It must be absolutely bone dry to the touch, with no hint of dampness. This typically takes a full 24 hours, but can be longer in humid conditions. When in doubt, let it dry for another few hours to be safe.
Why Regular Dyson Cleaning is a Game-Changer
Before we dive into the nitty-gritty, let’s quickly underscore why learning how to clean a Dyson vacuum cleaner is so important:
- Maintains Suction Power: Clogged filters and brush bars are the primary culprits behind reduced suction. Regular cleaning restores optimal airflow.
- Extends Lifespan: Preventing dirt buildup reduces strain on the motor and other internal components, helping your Dyson last longer.
- Eliminates Odors: Accumulated dust, pet hair, and debris can develop unpleasant odors. A thorough cleaning freshens up your vacuum and your home.
- Improves Air Quality: Clean filters ensure your Dyson is effectively trapping allergens and microscopic particles, rather than recirculating them.
- Saves Money: Regular maintenance can help you avoid costly repairs or the need for premature replacement.
Ready to make your Dyson shine? Let’s begin!
Step-by-Step Guide: How to Clean a Dyson Vacuum Cleaner
1. Safety First: Prepare Your Dyson
Before you begin any cleaning, safety is paramount.
- Unplug Your Vacuum: Always disconnect your Dyson from the power outlet. This prevents accidental activation and eliminates any electrical hazard.
- Let it Cool: If you’ve just used your vacuum, allow it to cool down for a few minutes. The motor can get warm during operation.
- Gather Your Tools: You’ll need a soft cloth, a pair of scissors or a seam ripper, a small brush (an old toothbrush works great), and access to a sink with cold water.
2. Empty the Bin (Dust Canister)
This is the most frequent and straightforward cleaning task, but it’s important to do it correctly.
- Remove the Bin: Depending on your model (e.g., V15 Detect, Gen5detect, Ball Animal), the release mechanism might vary, but typically it involves pressing a red or grey button.
- Empty Contents into a Trash Can: Position the bin inside a trash can and press the release lever to open the bottom flap. Shake out all dust and debris.
- Wipe Down the Interior: If there’s stubborn dust clinging to the inside, especially on the metal shroud, use a damp cloth to wipe it clean. Ensure it’s completely dry before reattaching.
Pro Tip: Empty your Dyson’s bin after every use to prevent overfilling and maintain optimal suction.
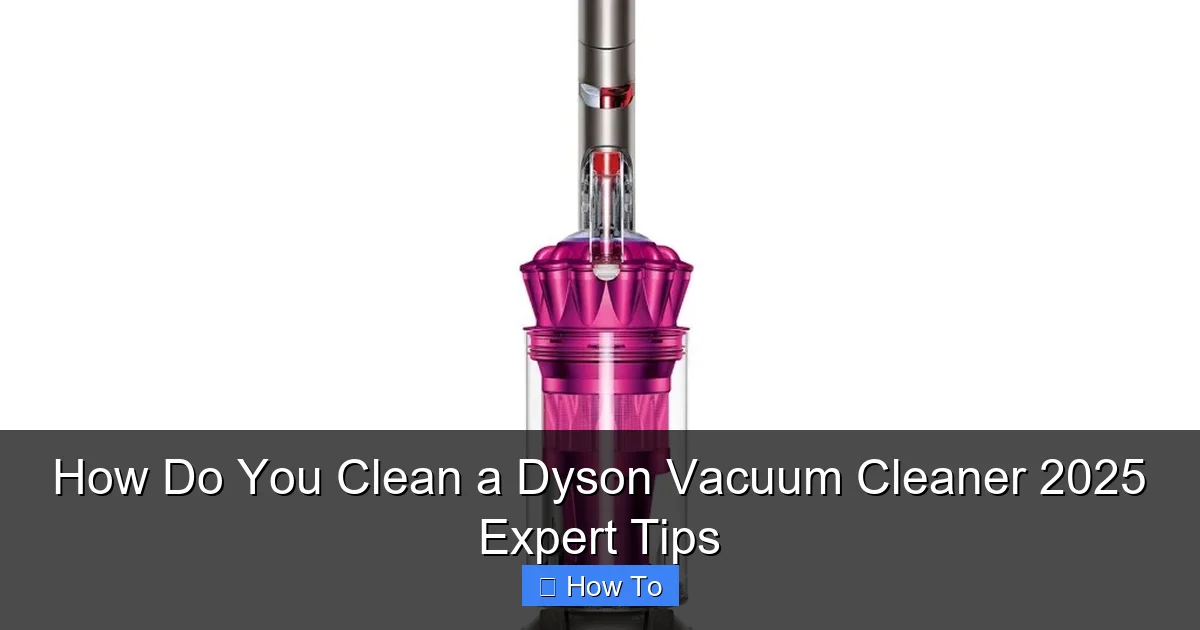
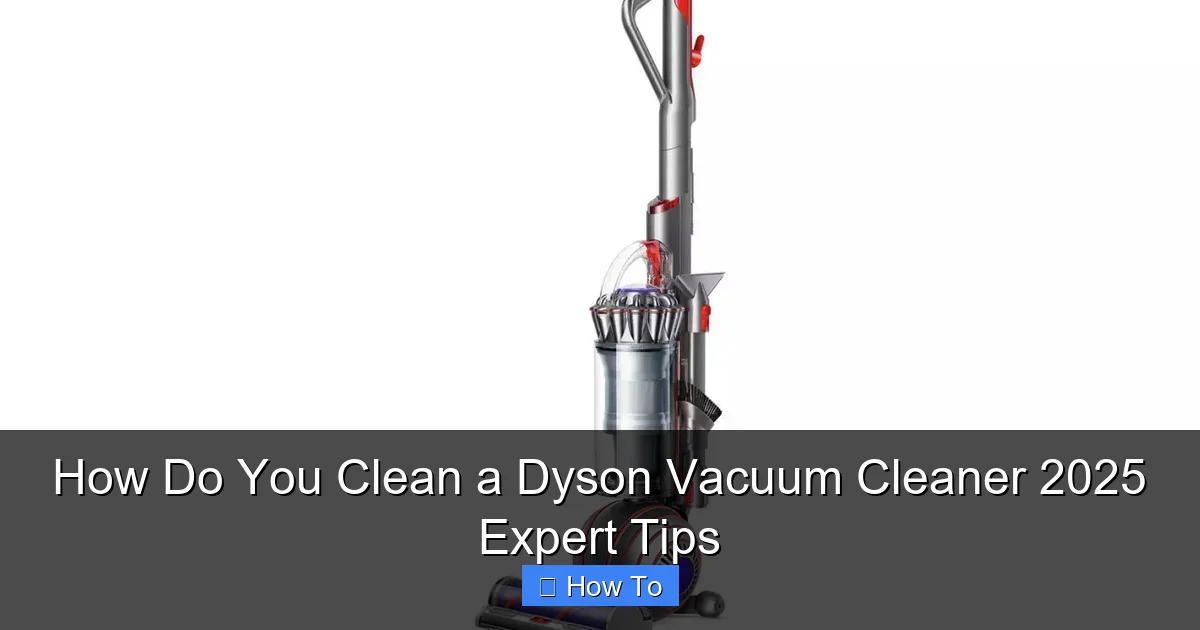
Visual guide about How Do You Clean a Dyson Vacuum Cleaner 2025 Expert Tips
Image source: housecleaningexpert.net
3. Wash the Filter(s)
The filter is the unsung hero of your Dyson, trapping microscopic dust and allergens. Most Dyson cordless and upright models (like the V11, V15, Gen5detect, Outsize, and many Ball models) have washable filters.
- Locate and Remove the Filter: Filters are usually found at the top of the main body (cordless models) or sometimes in the side or base (upright/canister models). They often twist or pull out. Check your specific model’s manual if unsure.
- Rinse with Cold Water: Hold the filter under a cold water tap. Rinse from the outside, then from the open end, until the water runs clear. Gently squeeze the filter (if it’s a soft, cylindrical type) to remove excess water. Avoid using detergents or hot water, as these can damage the filter material.
- Shake Off Excess Water: Vigorously shake the filter to remove as much water as possible.
- Allow to Air Dry Completely: This is the most crucial step. Place the filter in a warm place with good airflow for at least 24 hours, or until it’s absolutely bone dry. Do NOT put it in a tumble dryer, microwave, or near an open flame, as this will damage it. A damp filter will not only lead to loss of suction but can also grow mold and emit unpleasant odors.
- Reinstall the Dry Filter: Once completely dry, reinsert the filter back into your Dyson.
Note for Older Models: Some older Dyson models or specific filters (like certain HEPA post-motor filters) may not be washable. Always consult your user manual to confirm your filter type. If it’s a non-washable filter, gently tap it against a trash can to dislodge dust, or use a soft brush to clean the pleats. Replace non-washable filters according to Dyson’s recommendations, typically annually.
4. Clean the Cyclone Shroud/Shroud
The cyclone assembly separates dust from the air, and it can get surprisingly dirty.
- Remove the Bin (if not already done): With the bin detached, you’ll often have better access to the cyclone shroud – the conical or cylindrical plastic part inside the clear bin area.
- Wipe Away Dust: Use a dry or slightly damp cloth to wipe down the exterior and interior surfaces of the cyclone shroud. You might need a small brush (like an old toothbrush or a paint brush) to reach into crevices and dislodge stubborn dust or lint.
- Avoid Water Inside the Cyclone: Do not immerse the entire cyclone unit in water unless your specific Dyson model manual explicitly states it’s safe to do so. Water can get trapped in non-removable electronic components.
5. Detangle and Clean the Brush Bar/Head
The brush bar (or cleaner head) is where most of the action happens, and it’s a magnet for hair, threads, and debris. This is a common area for reduced performance, so knowing how to clean a Dyson vacuum cleaner’s brush bar is key.
- Remove the Cleaner Head: Disconnect the cleaner head from the wand.
- Remove the Brush Bar: Most Dyson cleaner heads allow you to remove the brush bar for easier cleaning. Look for a coin slot or a release latch on the side of the cleaner head. Twist or slide to unlock the end cap and pull out the brush bar. (For Dyson Fluffy Optic™ or Soft Roller heads, it often just pulls out).
- Cut Away Tangles: Use scissors or a seam ripper to carefully cut through any tangled hair, string, or threads wrapped around the brush bar. Be gentle to avoid damaging the bristles or the plastic. Once cut, pull the debris away.
- Wipe Down the Brush Bar: Use a dry cloth to wipe down the brush bar, removing any remaining dust or fine particles. For Fluffy/Soft Roller heads, you can often gently tap them to dislodge debris, and some newer models have washable soft rollers (check your manual).
- Clean the Cleaner Head Housing: Use a damp cloth to wipe down the interior of the cleaner head, removing any dust or dirt from the air channels and wheels.
- Reassemble: Once clean and dry, reinsert the brush bar, ensuring it clicks securely into place, and reattach the end cap.
Pro Tip: For newer Dyson models like the V15 Detect and Gen5detect, which feature de-tangling brush bars, maintenance is less frequent but still necessary. Check for any remaining stubborn tangles and remove as needed.
6. Wipe Down the Exterior and Attachments
Don’t forget the finishing touches!
- Exterior Body: Use a damp, soft cloth to wipe down the entire exterior of your Dyson vacuum, including the wand, motor housing, and handle.
- Attachments: Disconnect all attachments (crevice tool, combination tool, etc.). Use a damp cloth or a small brush to clean them thoroughly, ensuring no dust or debris is trapped inside. Allow them to air dry completely before reattaching.
7. Reassemble and Test Your Dyson
Once all components are clean and completely dry:
- Reassemble: Put all parts back together according to your Dyson’s design, ensuring everything clicks securely into place.
- Test: Plug in your Dyson and give it a quick test run. You should notice improved suction and a generally smoother operation.
Troubleshooting Common Dyson Cleaning Issues
Even with regular cleaning, you might encounter a few hiccups. Here’s how to address them:
Reduced Suction After Cleaning
If your Dyson’s suction hasn’t improved or seems worse after cleaning, here are the likely culprits:
- Damp Filter: This is the most common reason. A filter that isn’t completely dry will severely restrict airflow. Remove it and allow it to air dry for another 24-48 hours.
- Missed Blockage: Double-check the wand, cleaner head, and the main body for any hidden blockages that weren’t cleared. Use a flashlight to peer into tubes.
- Improper Reassembly: Ensure all components, especially the bin and filter, are correctly reinstalled and sealed. A loose connection can cause air leaks.
Unpleasant Odor Even After Cleaning
If your Dyson still smells, even after washing the filter and emptying the bin:
- Pet Hair/Food Particles: Check the cleaner head and attachments for any deeply embedded pet hair or tiny food particles that might be decaying.
- Cyclone Buildup: Give the cyclone shroud another thorough wipe-down with a damp, mild disinfectant wipe (ensure it’s safe for plastics).
- Allow Longer Drying Time: Sometimes the smell is due to moisture. Ensure everything is *completely* dry.
Dyson Indicator Lights Still On
Newer Dyson models (like the V15 Detect or Gen5detect) have LCD screens and indicator lights. If a blockage light or filter warning persists:
- Check All Air Paths: The vacuum might still detect a restriction. Systematically check the wand, cleaner head, filter area, and bin entry points for any remaining blockages.
- Reset Filter: After ensuring the filter is clean and dry, some models may require you to briefly remove and reinsert the filter or run the vacuum for a minute to reset the sensor.
Advanced Tips for a Deep Clean and Longevity
Want to go above and beyond? Here are some expert tips for a truly comprehensive clean:
- Periodic Wipe-Down of the Wand Interior: While not often blocked, the inside of the wand can accumulate fine dust. Occasionally remove the wand and wipe down its interior with a dry cloth on a stick (like a broom handle wrapped in cloth).
- Battery Care: For cordless models, while not directly related to cleaning, proper battery care (avoiding extreme temperatures, not constantly discharging to zero) helps maintain overall performance.
- Professional Servicing: If you encounter persistent issues, blockages you can’t clear, or strange noises, consider contacting Dyson support or an authorized service center. They have specialized tools to diagnose and repair issues you might not be able to address at home. Many Dyson Service Centers offer a deep clean service as well.
- Use Genuine Parts: When replacing filters or other components, always opt for genuine Dyson parts to ensure compatibility and performance. Third-party filters, while cheaper, might not offer the same filtration efficiency or fit properly, potentially voiding your warranty.
- Specific Model Quirks: For models like the Dyson Omni-glide or Micro, which are designed for hard floors, pay extra attention to the soft roller cleaner head, ensuring the fabric is free of debris and able to glide smoothly.
Conclusion: Your Dyson, Rejuvenated
Congratulations! You’ve now mastered how to clean a Dyson vacuum cleaner like a pro in 2025. By following these detailed steps and incorporating regular maintenance into your routine, you’re not just cleaning an appliance; you’re preserving an investment. A clean Dyson means optimal suction, improved air quality, and a significantly longer lifespan for your trusty cleaning companion.
Remember, a little consistent effort goes a long way. Make it a habit to empty the bin after every use, wash the filter monthly (or as recommended by your model’s manual), and deep clean the brush bar and cyclone every few months. Your Dyson will thank you with years of powerful, efficient cleaning, keeping your home pristine and dust-free. Happy cleaning!
🎥 Related Video: Dyson V11 Vacuum Cleaner Review #review #cleaning #vacuum
📺 Life’s Little Adventures
Looking for a vacuum that can handle everyday messes? Check out my review of the Dyson V11. I thought out house was pretty …