Unlock the secret to brilliantly clean carpets with your Hoover vacuum carpet cleaner. This comprehensive guide walks you through every essential step, from pre-cleaning preparations and mixing solutions to operating the machine and post-cleaning maintenance. Achieve professional-level results and prolong your carpet’s life effortlessly.
There’s nothing quite like the feeling of sinking your toes into a freshly cleaned carpet. It looks brighter, smells fresher, and truly transforms the entire room. But let’s be honest, deep cleaning carpets can seem like a daunting task. That’s where your trusty Hoover vacuum carpet cleaner comes in! These fantastic machines are designed to make the process straightforward, bringing professional-level cleaning power right into your home.
Whether you’ve just unboxed a brand new Hoover or you’re looking to refresh your technique with an older model, understanding how to use your Hoover vacuum carpet cleaner correctly is key to achieving those spectacular results. This isn’t just about pouring water and soap into a machine; it’s about a systematic approach that ensures every fiber of your carpet gets the attention it deserves, extending its life and making your home a healthier place. Get ready to banish stubborn stains, embedded dirt, and lingering odors with confidence!
In this comprehensive guide, we’ll walk you through every step of the process, from crucial preparations to essential post-cleaning maintenance. We’ll cover everything you need to know to maximize your Hoover’s performance, ensuring you get the cleanest carpets possible with minimal fuss. So, grab your Hoover, some cleaning solution, and let’s dive into the ultimate guide on how to use your Hoover vacuum carpet cleaner!
Key Takeaways
- Pre-Clean Thoroughly: Always vacuum your carpets thoroughly before using your Hoover vacuum carpet cleaner to remove loose dirt and debris, preventing it from turning into mud during deep cleaning.
- Use the Right Solution: Follow the manufacturer’s guidelines for mixing water and Hoover carpet cleaning solution. Using too much or too little can affect cleaning performance and potentially damage your carpet.
- Master Your Passes: Make slow, overlapping passes – one wet pass forward and one back to dispense solution, followed by several dry passes (suction only) to extract as much moisture as possible.
- Monitor Tanks Regularly: Keep an eye on both the clean water/solution tank and the dirty water tank. Empty and refill as needed to maintain consistent cleaning power and prevent overflow.
- Post-Cleaning Machine Care: Immediately after use, empty and rinse all tanks, clean brushes and nozzles, and allow the machine to air dry completely to prevent mold, mildew, and odors, extending your Hoover’s lifespan.
- Ensure Adequate Drying: Promote faster carpet drying by improving air circulation with fans or open windows. Avoid walking on damp carpets to prevent re-soiling or crushing fibers.
Quick Answers to Common Questions
How often should I use my Hoover carpet cleaner?
For high-traffic areas or homes with pets and children, deep clean every 3-6 months. For less-used areas, once a year might be sufficient. Regular dry vacuuming extends the time between deep cleans.
Can I use any cleaning solution in my Hoover?
It’s highly recommended to use Hoover-branded cleaning solutions or solutions specifically designed for deep cleaning machines. Using unapproved solutions can damage your machine, void your warranty, and may leave excessive residue on your carpet.
What should I do if my carpet feels sticky after cleaning?
A sticky residue usually means too much cleaning solution was used or not enough rinse water was extracted. Try going over the area again with plain warm water (no solution) in your Hoover, making extra dry passes to thoroughly rinse and extract.
How long does it take for carpets to dry after using a Hoover?
Drying time can vary from 2 to 12 hours depending on carpet thickness, humidity, and the number of dry passes you made. Using fans, opening windows, and dehumidifiers can significantly speed up the process.
Can I use my Hoover carpet cleaner on all types of carpets?
Most Hoover carpet cleaners are safe for synthetic carpets. However, exercise caution with delicate materials like wool, silk, or antique rugs. Always perform a spot test first and check your carpet manufacturer’s cleaning recommendations to avoid damage.
📑 Table of Contents
- Getting Started: Essential Pre-Cleaning Preparations
- Mixing the Solution: The Right Formula for Clean Carpets
- Operating Your Hoover Carpet Cleaner: Step-by-Step for Sparkling Results
- Emptying and Refilling: Maintaining Momentum
- Post-Cleaning Care and Machine Maintenance
- Troubleshooting Common Issues with Your Hoover Carpet Cleaner
- Conclusion
Getting Started: Essential Pre-Cleaning Preparations
Before you even think about plugging in your Hoover vacuum carpet cleaner, a little prep work goes a long way. Skipping these initial steps can lead to less effective cleaning and even potential issues. Think of it as laying the groundwork for a truly sparkling clean.
Vacuuming is Non-Negotiable
This might seem counterintuitive since you’re about to use another “vacuum” for cleaning, but it’s arguably the most important first step. Your regular dry vacuum cleaner is designed to pick up loose dirt, dust, pet hair, crumbs, and other dry debris. If you deep clean without vacuuming first, all that loose grime will simply get wet, turning into a muddy mess that’s much harder for your Hoover carpet cleaner to extract. A thorough dry vacuuming session ensures your deep cleaner can focus on the embedded dirt and stains.
Clear the Area
To give your Hoover vacuum carpet cleaner free rein, you’ll want to move as much furniture as possible. Small items like end tables, chairs, and decorative pieces should be relocated. For larger, heavier items, consider moving them to one side of the room to clean half, then shifting them to the cleaned half to finish the other. If you can’t move something, place aluminum foil or plastic wrap under the legs to prevent rust or wood stain transfer onto your damp carpet.
Pre-Treat Stubborn Stains
Got some particularly nasty spots or high-traffic areas that look extra grimy? A little pre-treatment can work wonders. Use a Hoover pre-treatment spray or a solution recommended for your specific carpet type. Apply it directly to the stain, let it sit for the recommended time (usually 5-10 minutes), and blot gently. Don’t scrub, as this can push the stain deeper or damage carpet fibers. This step significantly boosts the effectiveness of your Hoover vacuum carpet cleaner on tough spots.
Test in an Inconspicuous Area
Always, always perform a patch test! Apply a small amount of your cleaning solution to a hidden spot of your carpet (like inside a closet or under a piece of furniture). Let it sit for a few minutes, then blot with a clean white cloth. Check for any color bleeding or discoloration. While Hoover solutions are generally safe, different carpet materials can react differently. This quick test can save you from a major headache.
Gather Your Supplies
Before you start, make sure you have everything you need within reach:
- Your Hoover vacuum carpet cleaner
- Hoover carpet cleaning solution (check your machine’s manual for recommended types)
- Warm tap water (not hot, as it can set some stains)
- Clean towels or rags for blotting
- A bucket for dirty water disposal
- Optional: Gloves
Mixing the Solution: The Right Formula for Clean Carpets
Now that your area is prepped, it’s time to get your Hoover ready for action. The heart of any carpet cleaning machine is its solution, and correctly mixing it is crucial for optimal results.
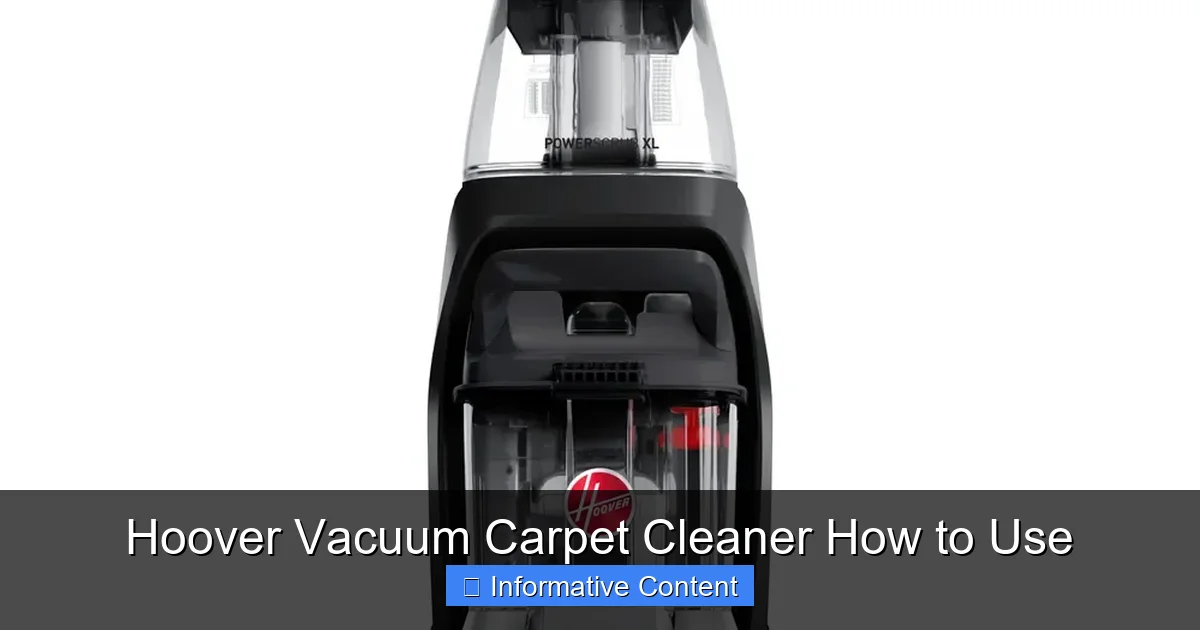
Visual guide about Hoover Vacuum Carpet Cleaner How to Use
Image source: people.com
Understanding Your Hoover’s Tanks
Most Hoover vacuum carpet cleaners come with at least two main tanks: one for clean water and cleaning solution, and one for dirty recovery water. Some advanced models might have separate tanks for water and solution that automatically mix. Consult your Hoover’s user manual to identify which tank is which and how to properly fill them. It’s often clearly labeled.
Water Temperature Matters
Generally, warm tap water is recommended. Avoid using boiling hot water, as excessive heat can sometimes set certain stains or even damage your carpet’s backing. Warm water helps activate the cleaning solution effectively without posing risks.
The Golden Ratio: Water and Cleaning Solution
This is where your Hoover carpet cleaner’s manual is your best friend. Each Hoover model and cleaning solution has specific dilution instructions. Some solutions are concentrated and require mixing with water, while others are ready-to-use. Look for fill lines on the clean water tank for both water and solution.
- Too much solution: Can leave a sticky residue on your carpet that attracts dirt faster, making it look dirty again quickly.
- Too little solution: Won’t effectively clean or break down stains and grime.
Always stick to the manufacturer’s recommendations for your Hoover vacuum carpet cleaner to achieve the best clean without adverse effects. Hoover often offers a range of solutions designed for specific needs, such as pet stains, heavy traffic, or refreshing odors. Choose one that suits your cleaning challenge.
Filling the Clean Water Tank
Once you’ve got your water and solution ratios sorted, carefully pour them into the clean water tank. Secure the tank lid properly and place it back onto your Hoover carpet cleaner. A loose lid can lead to leaks or poor suction.
Operating Your Hoover Carpet Cleaner: Step-by-Step for Sparkling Results
This is where the magic happens! Learning the proper technique for operating your Hoover vacuum carpet cleaner will ensure you get a deep, even clean without over-wetting your carpets.
Powering Up and Starting Your First Pass
Plug in your Hoover machine to a grounded outlet. Ensure the power cord is safely out of your cleaning path. Turn on the power switch, usually located on the body of the machine or the handle. You’ll hear the motor hum to life. Start in a corner furthest from the exit of the room, working your way backward to avoid walking on cleaned, damp areas.
The “Wet Pass” – Dispensing Solution
To dispense the cleaning solution, hold down the trigger on the handle while pushing the Hoover carpet cleaner slowly forward. Then, release the trigger and pull the machine slowly backward over the same path. This forward and backward motion constitutes one “wet pass.” The forward motion dispenses the solution, and the backward motion usually begins to activate the suction. Walk at a steady, slow pace. Rushing will result in uneven cleaning and poor extraction.
The “Dry Pass” – Maximizing Suction
After your wet pass, it’s crucial to make several “dry passes.” For these, you simply push and pull the Hoover vacuum carpet cleaner over the same area without holding the trigger. This allows the powerful suction to extract as much dirty water and excess moisture from the carpet as possible. The more dry passes you make, the faster your carpet will dry and the less residue will be left behind. Aim for 2-4 dry passes over each wet section, or until you see significantly less water being pulled into the recovery tank.
Overlapping Strokes for Even Cleaning
To avoid stripes or missed spots, overlap each new pass by about an inch or two with the previous one. This ensures uniform coverage across your entire carpeted area. Imagine mowing a lawn; you don’t want any untouched strips!
Tackling Heavily Soiled Areas
For particularly tough stains or high-traffic zones, you might need to perform an extra set of wet and dry passes. After a couple of initial passes, let the area sit for 5-10 minutes to allow the solution to work its magic, then go over it again with your Hoover carpet cleaner, focusing on suction passes. For very specific spot treatment, some Hoover models come with handheld attachments. Follow their specific instructions for use.
Emptying and Refilling: Maintaining Momentum
As you clean, your Hoover vacuum carpet cleaner will be doing two things: dispensing clean solution and sucking up dirty water. You’ll need to manage both tanks to keep cleaning efficiently.
Monitoring the Dirty Water Tank
Keep an eye on the dirty water recovery tank. You’ll typically see the water level rising, and it will likely be surprisingly murky – a testament to how much dirt your Hoover is pulling out! Many Hoover models have a float mechanism that will automatically shut off suction if the dirty water tank becomes too full, to prevent overflow. Don’t wait for this to happen; empty it proactively.
Emptying and Rinsing the Dirty Water Tank
Once the dirty water tank is full or you notice the suction power diminishing, it’s time to empty it. Carefully remove the tank from your Hoover carpet cleaner. Take it to a utility sink or toilet and pour out the contents. It’s a good idea to rinse the tank thoroughly with clean water afterwards to remove any lingering grime and odors. Some people like to use a capful of white vinegar in the rinse water for extra freshness. Make sure all debris is cleared from the tank and filter (if applicable) before reattaching it to the machine.
Refilling the Clean Water Tank
If you’re cleaning a large area, you’ll likely run out of clean solution before you finish. When the clean water tank is empty, remove it, refill it with the proper water and solution mixture, and securely place it back on your Hoover vacuum carpet cleaner. It’s often best to empty the dirty water tank and refill the clean water tank at the same time for efficiency.
Post-Cleaning Care and Machine Maintenance
Congratulations, your carpets are looking fantastic! But the job isn’t quite done. Proper post-cleaning care for your carpets and diligent maintenance of your Hoover vacuum carpet cleaner are essential for lasting results and extending your machine’s life.
Drying Time is Key
After you’ve finished deep cleaning with your Hoover carpet cleaner, your carpets will be damp. It’s crucial to allow them to dry completely. This can take anywhere from 2-12 hours, depending on humidity levels, carpet thickness, and how much water you extracted.
- Improve air circulation: Open windows, turn on ceiling fans, or use portable fans to speed up drying.
- Avoid walking: Try to avoid walking on damp carpets to prevent re-soiling, transferring dirt, or crushing the carpet fibers. If you must walk on them, wear clean socks or shoe covers.
Post-Drying Vacuuming (Optional but Recommended)
Once your carpets are completely dry, a quick pass with your regular dry vacuum cleaner can be beneficial. This helps to fluff up the carpet fibers that might have matted down during cleaning and removes any dried residue that might have settled on the surface. It ensures a truly soft and pristine finish after using your Hoover vacuum carpet cleaner.
Cleaning Your Hoover Carpet Cleaner
Just like your carpets, your machine needs a good clean too! This step is often overlooked but is vital for preventing mold, mildew, unpleasant odors, and keeping your Hoover in top working condition.
- Empty and Rinse All Tanks: Immediately after use, empty any remaining clean solution and all dirty water. Rinse both tanks thoroughly with clean water. You can even run a cycle with just clean water through the machine to flush out internal lines.
- Clean Nozzles and Brushes: Remove any hair or debris tangled in the brush rolls. Many Hoover models have removable nozzles or brush housings that make this easier. Use a brush or your fingers to clear any blockages. Rinse these components under running water.
- Wipe Down the Exterior: Use a damp cloth to wipe down the outside of your Hoover vacuum carpet cleaner, removing any splatters or dust.
- Allow to Air Dry: Crucially, leave all tanks, nozzles, and removable parts to air dry completely before reassembling and storing your machine. Storing damp components can lead to mildew and an unpleasant smell the next time you use it.
Proper Storage
Once your Hoover is clean and completely dry, store it in a cool, dry place. Ensure all parts are securely reattached, and the power cord is neatly wrapped. This careful storage will ensure your Hoover vacuum carpet cleaner is ready for its next mission.
Troubleshooting Common Issues with Your Hoover Carpet Cleaner
Even with the best preparation, sometimes things don’t go exactly as planned. Here are a few common issues and quick fixes for your Hoover vacuum carpet cleaner:
Low or No Suction
This is often due to a full dirty water tank, a loose recovery tank lid, or a clog.
- Check the dirty water tank: Is it full? Empty it.
- Secure the dirty water tank: Make sure it’s seated correctly and the lid is sealed tightly.
- Check for clogs: Inspect the nozzle and hose (if applicable) for blockages from pet hair or debris.
Machine Not Dispensing Solution
If your Hoover isn’t putting out water and solution:
- Check the clean water tank: Is it empty? Refill it. Is it seated correctly?
- Inspect the solution tank lid/valve: Sometimes the valve at the bottom of the clean water tank needs to be properly aligned or may be stuck.
- Check the trigger: Is it pressed firmly?
Leaking
Leaks are usually a sign of an improperly seated tank or a damaged seal.
- Re-seat tanks: Remove and carefully re-attach both the clean and dirty water tanks, ensuring they click into place.
- Check seals: Inspect rubber gaskets or seals for cracks or damage. Contact Hoover support for replacement parts if needed.
Conclusion
Using your Hoover vacuum carpet cleaner doesn’t have to be a chore. By following these detailed steps, from thorough pre-cleaning to meticulous post-maintenance, you’re not just cleaning your carpets; you’re preserving them, enhancing your home’s hygiene, and enjoying that fresh, clean feeling. Remember, patience and proper technique are your best tools. With your Hoover carpet cleaner, achieving professional-level results at home is entirely within your reach. So go ahead, tackle those carpets with confidence, and enjoy a cleaner, fresher living space!
Frequently Asked Questions
How do I prevent streaking on my carpet?
Streaking often occurs from uneven application or insufficient overlapping of passes. Ensure you make slow, consistent, overlapping passes with your Hoover vacuum carpet cleaner, and always follow wet passes with multiple dry passes to extract excess moisture and solution evenly.
Is it necessary to pre-treat stains before using the carpet cleaner?
Yes, pre-treating stubborn or set-in stains is highly recommended. Pre-treatment solutions break down the stain’s components, making it much easier for your Hoover carpet cleaner to remove them during the deep cleaning process, leading to a more effective overall clean.
What if my dirty water tank fills up very quickly?
If your dirty water tank fills quickly, it means your Hoover carpet cleaner is effectively extracting a lot of moisture and grime. This is a good sign! Simply empty the tank, rinse it out, and continue cleaning. You may need to do more dry passes if it’s filling *too* quickly with mostly water.
Can I use hot water in my Hoover carpet cleaner?
It’s best to use warm tap water, not boiling hot water. Excessive heat can potentially set certain stains (like protein-based ones), damage carpet fibers or their backing, and may even void your machine’s warranty. Always refer to your Hoover model’s specific guidelines.
How do I clean the brushes on my Hoover carpet cleaner?
After each use, remove any hair, lint, or debris tangled in the brush rolls. Many Hoover models have removable brush rolls or brush housings that can be rinsed under clean water. Ensure they are completely dry before reassembling to prevent mildew or odor.
My Hoover carpet cleaner isn’t spraying solution. What’s wrong?
First, check if the clean water/solution tank is full and correctly seated. Ensure the trigger is being pressed firmly. If it still doesn’t spray, the spray nozzles might be clogged, or the pump may have an issue. Refer to your user manual for specific troubleshooting related to spray mechanisms.