Master How to Store Your Vacuum Cleaner Smartly 2025
Properly storing your vacuum cleaner is crucial for extending its lifespan, maintaining peak performance, and keeping your home tidy. This guide provides a comprehensive, step-by-step approach to smart vacuum storage, covering everything from pre-storage cleaning for various vacuum types to optimizing your storage space. By following these practical tips, you’ll ensure your vacuum is always ready for action and lasts for years to come.
Master How to Store Your Vacuum Cleaner Smartly 2025
Welcome to the future of home organization! In 2025, a clean home isn’t just about sparkling surfaces; it’s also about smart, efficient living, and that includes how you store your essential tools. Your vacuum cleaner, a cornerstone of household hygiene, deserves more than just being shoved into a corner. Proper storage isn’t just about tidiness; it’s about extending its lifespan, ensuring peak performance, and making your cleaning routine smoother than ever.
This comprehensive guide will walk you through everything you need to know about how to store your vacuum cleaner, regardless of its type. We’ll cover crucial pre-storage steps, specific advice for upright, canister, stick, robot, and handheld vacuums, and ingenious ways to optimize your storage space. Get ready to transform your approach to vacuum storage, making it smart, simple, and stress-free. Let’s dive in!
Key Takeaways
- Preparation is Key: Always clean your vacuum cleaner, empty the dustbin, and clean filters before storing it to prevent odors and maintain efficiency.
- Tailor Storage to Vacuum Type: Different vacuum models (upright, canister, stick, robot, handheld) require specific storage considerations regarding cords, hoses, attachments, and charging.
- Optimize Your Space: Utilize vertical space, wall mounts, and dedicated cabinets to keep your vacuum organized and out of the way, especially in smaller homes.
- Battery Care for Cordless Models: For battery-powered vacuums, ensure they are stored with a partial charge (around 40-60%) and in a cool, dry place to prolong battery life.
- Avoid Common Mistakes: Never store a dirty vacuum, kink hoses, or block vents. Extreme temperatures can damage components, so choose a suitable environment.
- Label and Accessorize Smartly: Keep attachments with their respective vacuums, perhaps in a labeled caddy or bag, ensuring they are easily accessible when needed.
- Regular Maintenance Extends Life: Smart storage is part of a larger maintenance routine that ensures your vacuum cleaner remains a reliable cleaning companion for years.
Quick Answers to Common Questions
How often should I clean my vacuum before storing?
Ideally, after every significant use or before storing it for more than a few days. Emptying the dustbin and quickly wiping down the exterior takes minimal time but prevents long-term issues like odors and dirt buildup.
Can I store my vacuum cleaner in the garage?
Yes, but with caution. Ensure your garage is insulated and doesn’t experience extreme temperature fluctuations (too hot or too cold), especially for cordless vacuums with batteries. Also, protect it from excessive dust and humidity.
What’s the best way to store vacuum attachments?
Keep attachments with their respective vacuum cleaners. Many vacuums have onboard storage. Otherwise, a dedicated mesh bag, small plastic bin, or even a labeled drawer helps keep them organized and easily accessible.
Should I store a cordless vacuum fully charged or discharged?
For long-term storage (several weeks or more), it’s generally best to store cordless vacuum batteries with a partial charge, typically around 40-60%. Consult your specific model’s manual, as prolonged full discharge or continuous full charge can degrade battery life.
How do I prevent my vacuum cleaner hose from kinking?
When storing, coil the hose loosely in large loops rather than tight bends. Some canister vacuums have built-in clips to help secure the hose. Avoid folding or creasing the hose, and don’t place heavy items on top of it.
Why Smart Vacuum Cleaner Storage Matters in 2025
In a world increasingly focused on sustainability and efficiency, how we treat our appliances plays a huge role. Smartly storing your vacuum cleaner isn’t just a trivial task; it offers significant benefits that impact your wallet, your time, and your home’s overall health.
Longevity and Performance
Think of your vacuum as an investment. Just like any other valuable tool, proper care extends its life. Storing a vacuum cleaner correctly prevents damage to its delicate components, hoses, and cords. It ensures that when you pull it out for a cleaning session, it performs just as powerfully as the day you bought it, saving you from costly repairs or early replacements.
Space Optimization
With living spaces becoming more streamlined, especially in urban environments, every square inch counts. A well-stored vacuum doesn’t just look good; it frees up valuable floor and cupboard space. We’ll explore solutions that help you store your vacuum cleaner discreetly and efficiently, making your home feel more organized and less cluttered.
Hygiene and Air Quality
A vacuum cleaner, by its very nature, deals with dirt, dust, and allergens. Storing a dirty vacuum can lead to unpleasant odors, mold growth, and the potential release of trapped particles into your home environment. Smart storage includes pre-storage cleaning, ensuring your appliance is fresh and ready, contributing to better indoor air quality.
Safety
A vacuum cleaner with tangled cords or hoses lying haphazardly can be a trip hazard. Proper storage eliminates these risks, making your home safer for everyone, including children and pets. It also prevents potential damage to the vacuum itself from being knocked over.
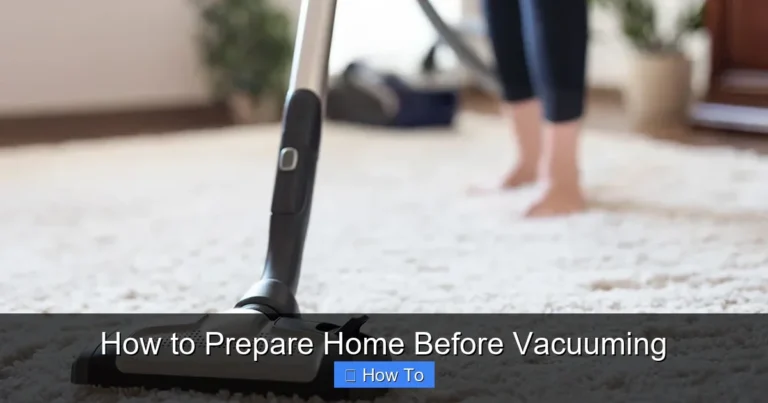
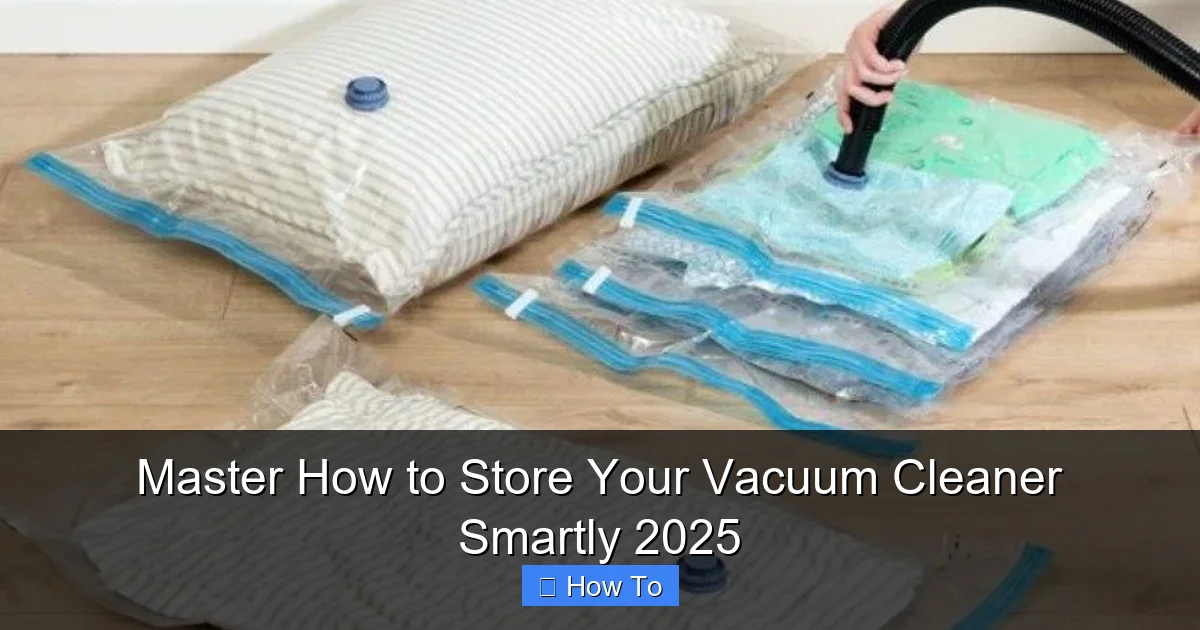
Essential Pre-Storage Steps for Every Vacuum Cleaner
Visual guide about Master How to Store Your Vacuum Cleaner Smartly 2025
Image source: yourmomvillage.com
Before you even think about where to store your vacuum cleaner, a few crucial preparation steps are non-negotiable. These steps ensure your vacuum is clean, functional, and ready for its next use, preventing issues like odors, reduced suction, and filter clogs.
Unplug and Cool Down
Safety first! Always ensure your vacuum cleaner is unplugged from the power outlet before performing any maintenance or moving it for storage. For vacuums that generate heat during use, especially motors, give them a few minutes to cool down completely before handling. This prevents burns and potential damage to components if handled too soon.
Empty and Clean the Dustbin/Bag
This is perhaps the most critical step. Never store a vacuum with a full or partially full dustbin or bag. Trapped dust, dirt, pet hair, and food particles can lead to mildew, unpleasant odors, and even insect infestations over time.
- Bagless Vacuums: Empty the dustbin thoroughly into a trash can. If possible, rinse the dustbin with warm, soapy water (check your manual for guidance), ensure it’s completely dry before reattaching it.
- Bagged Vacuums: Replace the vacuum bag if it’s more than half full. Even if it’s less, consider replacing it if you’re storing the vacuum for an extended period, as stale dust can still create odors.
Clean or Replace Filters
Clogged filters drastically reduce your vacuum’s suction power and can make its motor work harder, leading to premature wear.
- Washable Filters: Remove the filter and tap it gently over a trash can to dislodge loose debris. If washable, rinse under cool, running water until the water runs clear. Allow it to air dry completely (this can take 24-48 hours) before putting it back. Never put a damp filter back into your vacuum.
- Non-Washable Filters: Tap them out to remove loose dust. If they look heavily soiled or discolored, it’s a good idea to replace them. Check your vacuum’s manual for recommended filter replacement schedules.
Inspect and Clean Hoses and Attachments
Hoses and attachments can harbor hidden dirt, blockages, and even sticky residues.
- Hoses: Inspect the hose for any blockages by shining a flashlight through it. If you find one, gently dislodge it with a broom handle or a long, flexible brush. Wipe the exterior of the hose clean with a damp cloth. Avoid kinking hoses when storing.
- Attachments: Remove any hair or debris tangled in brush rolls or upholstery tools. Wipe down all attachments with a damp cloth. Some brush rolls can be removed for deeper cleaning of tangled hair and fibers.
Wipe Down the Exterior
A quick wipe-down keeps your vacuum looking good and prevents dust and grime from hardening on its surface. Use a soft, damp cloth to clean the exterior casing, wheels, and any other accessible parts. Ensure it’s dry before storing.
How to Store Different Types of Vacuum Cleaners
Not all vacuums are created equal, and neither should their storage solutions be. Each type has its unique characteristics that dictate the best way to store your vacuum cleaner.
Upright Vacuum Cleaners
Upright vacuums are sturdy but can be bulky.
- Cord Management: Always neatly wrap the power cord around the designated hooks on the vacuum. Avoid twisting or yanking the cord, which can damage the internal wiring. Secure the plug end.
- Attachment Storage: Many uprights have onboard storage for basic attachments like crevice tools and dusting brushes. Use these. For larger or less frequently used attachments, consider a separate mesh bag or a small caddy that can sit nearby.
- Dedicated Space: Uprights are best stored upright (as the name suggests!) in a broom closet, utility room, or a designated corner where they won’t be easily knocked over. Ensure good ventilation to prevent moisture build-up if the room gets damp.
Canister Vacuum Cleaners
Canister vacuums consist of a main unit and a separate hose/wand assembly, offering flexibility but also presenting a storage challenge.
- Hose and Wand: Detach the hose and wand from the canister unit. Neatly coil the hose without kinking it. Some canisters have clips or slots to secure the hose around the main unit. If not, a strong velcro strap can keep it tidy. Store the wand alongside.
- Main Unit Storage: The canister unit can be stored on a shelf or tucked into a cabinet. If storing on the floor, ensure it’s in a stable position and not prone to rolling or tipping.
- Attachment Organization: Keep all attachments together. A small plastic bin or a drawstring bag works well to keep them from getting lost and can be stored inside the canister unit (if space permits) or alongside it.
Stick/Cordless Vacuum Cleaners
These lightweight, often battery-powered vacuums are popular for their convenience, and their storage should reflect that.
- Charging: If your stick vacuum has a wall-mounted charging station, this is the ideal place to store it. It keeps the battery topped up and the vacuum ready for instant use. Follow manufacturer guidelines on continuous charging.
- Battery Care: For optimal battery longevity, some manufacturers recommend storing the battery with a partial charge (around 40-60%) if storing for an extended period (months). Avoid storing in extreme heat or cold.
- Dedicated Cabinets or Hooks: If a wall mount isn’t an option, these slim vacuums can often be hung on a sturdy hook inside a pantry or utility closet. Alternatively, they fit well in tall, narrow cabinets.
Handheld Vacuum Cleaners
Compact and versatile, handheld vacuums require minimal storage space.
- Charging Dock: Most handheld vacuums come with a charging dock. This is the best place to store them, ensuring they’re always charged and accessible. Place the dock in a convenient spot, like a kitchen counter, laundry room shelf, or inside a cabinet.
- Small Spaces: Their small size makes them perfect for storing in drawers, under sinks, or on pantry shelves. Just make sure the charging cable isn’t crimped.
Robotic Vacuum Cleaners
These smart cleaners handle most of their own storage, but a little oversight helps.
- Charging Base: The robotic vacuum’s charging base is its home. Ensure it’s placed in an easily accessible, clutter-free area where the robot can return without obstruction. Avoid placing it near stairs or in high-traffic zones where it might get kicked or moved.
- Clear Path: Regularly ensure the area around the base is clear of cords, toys, or small items that could hinder the robot’s return or departure.
- Scheduled Cleaning: For long-term storage, empty the dustbin, clean the brushes, and fully charge the robot before turning it off. Check the battery manufacturer’s recommendation for long-term storage (e.g., partial charge).
Wet/Dry Shop Vacs
These heavy-duty machines are often used in garages or workshops.
- Drying: If you’ve used your shop vac for wet cleanups, ensure the tank and internal components are completely dry before storing to prevent rust, mildew, and odors. Leave the lid off for a day or two in a well-ventilated area.
- Accessories: Shop vacs often have numerous attachments. Use the onboard storage if available. Otherwise, a large mesh bag or a separate bucket can keep them organized.
- Stable Placement: Store your shop vac on a stable, level surface, perhaps in a garage corner or utility room. Avoid stacking heavy items on top of it.
Optimizing Your Storage Space for Vacuum Cleaners
Finding the perfect spot to store your vacuum cleaner can be a game-changer for your home’s organization.
Utilize Vertical Space
Walls and the inside of cabinet doors are often overlooked storage goldmines.
- Wall Mounts: For stick vacuums or even some uprights, a sturdy wall mount or a simple hook can get the vacuum off the floor and out of the way. Ensure the wall mount is appropriate for the vacuum’s weight.
- Over-the-Door Organizers: These can be adapted to hold smaller attachments or even lightweight handheld vacuums, especially on the inside of a pantry or utility closet door.
Invest in Storage Solutions
Sometimes, a little investment goes a long way.
- Shelving Units: A sturdy shelving unit in a utility room or garage can provide dedicated spots for canister vacuums, shop vacs, and all their accessories.
- Cabinets: Tall, narrow cabinets are perfect for concealing upright or stick vacuums. Consider adding pull-out shelves or internal hooks for maximum efficiency.
- Dedicated Cleaning Caddies: A portable caddy can hold all your vacuum attachments, cleaning solutions, and cloths, keeping everything together and easy to grab when it’s time to clean.
Create a Dedicated Cleaning Zone
If space allows, designate a “cleaning zone” within your home. This could be a section of your laundry room, a utility closet, or a specific area in your garage. Storing all your cleaning supplies, including your vacuum, in one place makes cleaning tasks less daunting and more efficient. Label shelves or bins to keep everything neat.
Labeling and Organization
Especially if you have multiple vacuum cleaners or a large array of attachments, labeling can save you time and frustration. Use clear labels on bins or shelves to denote where each attachment or vacuum model belongs.
Common Storage Mistakes to Avoid
Even with the best intentions, it’s easy to make small errors that can impact your vacuum’s health. Avoid these common pitfalls:
Storing a Dirty Vacuum
As discussed, this leads to odors, mold, and reduced efficiency. Always take the time to clean it thoroughly.
Kinking Hoses
Constantly bending or kinking your vacuum’s hose can lead to cracks, splits, and loss of suction. Always coil hoses loosely and naturally.
Blocking Vents
Ensure that your vacuum’s motor vents are not blocked when in storage. Good airflow is essential, even when not in use, especially for newly turned-off machines that might still be dissipating heat.
Storing in Extreme Temperatures
Leaving your vacuum in an uninsulated garage during scorching summers or freezing winters can damage plastic components, electronics, and especially batteries in cordless models. Aim for a cool, dry, and moderate temperature environment.
Ignoring Battery Care (for Cordless Models)
Leaving a cordless vacuum completely discharged for long periods can permanently damage the battery. Conversely, continuously trickle charging an already full battery can also reduce its lifespan. Follow the manufacturer’s recommendations for long-term battery storage.
Advanced Tips for Vacuum Cleaner Storage in 2025
As technology evolves, so do our storage habits. Here are a few forward-thinking tips for 2025.
Smart Home Integration (for Robotic Vacuums)
Many modern robotic vacuums integrate with smart home systems. While this primarily relates to operation, consider how their docking station placement fits into your smart home network. Ensure good Wi-Fi signal and clear paths that don’t interfere with other smart devices.
Battery Health Monitoring
Some advanced cordless vacuums come with apps that can monitor battery health. Pay attention to these indicators, especially if you plan to store the vacuum for an extended period, to ensure optimal battery longevity. Store batteries separately if your vacuum allows, following specific guidelines.
Material Considerations
If storing your vacuum in an area prone to humidity, consider placing it on a small pallet or block to keep it off the cold, damp floor. This prevents moisture from seeping into the motor or causing rust on metal parts. Use silica gel packets in enclosed storage spaces for extra moisture protection.
Conclusion
Congratulations! You’re now equipped with the knowledge to “Master How to Store Your Vacuum Cleaner Smartly 2025.” By embracing these simple yet effective storage strategies, you’re not just creating a tidier home; you’re actively contributing to the longevity and optimal performance of your valuable cleaning companion.
Remember, a little preparation goes a long way. Taking the time to properly clean, organize, and store your vacuum cleaner ensures it’s always ready for action, helping you maintain a cleaner, healthier, and more organized living space with ease. Make smart storage a habit, and enjoy the benefits for years to come!
🎥 Related Video: Multifunctional High Power Vacuum cleaner 1500rs #rechargable #portable #vacuumcleaner
📺 Craze On Tech