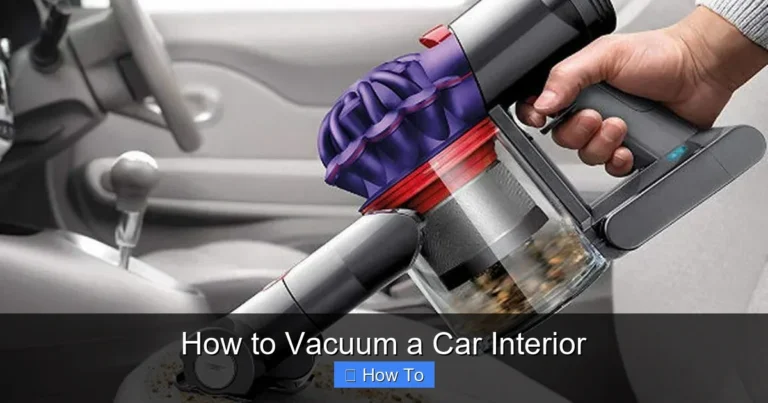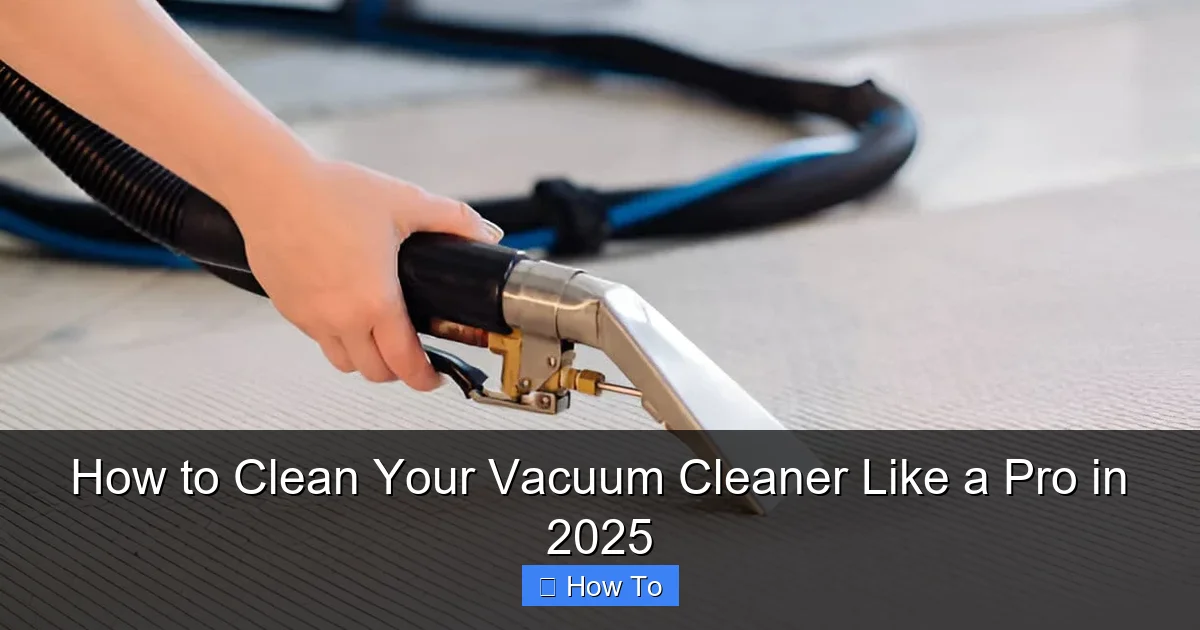
How to Clean Your Vacuum Cleaner Like a Pro in 2025
Transform your cleaning routine by learning how to clean your vacuum cleaner effectively. This comprehensive 2025 guide provides step-by-step instructions for disassembling, cleaning filters, brush rolls, hoses, and more, ensuring your machine performs at its peak. Discover essential tips for maintenance and troubleshooting to extend your vacuum’s lifespan and improve your home’s air quality.
How to Clean Your Vacuum Cleaner Like a Pro in 2025
Does your vacuum cleaner feel like it’s losing its oomph? Is it leaving behind more dirt than it picks up? You’re not alone! Many people overlook the simple fact that a vacuum cleaner, which cleans your home, also needs to be cleaned itself. Neglecting this crucial task can lead to reduced suction, foul odors, and even a shorter lifespan for your trusty cleaning companion.
In this comprehensive guide, tailored for modern vacuum models available in 2025, you’ll learn exactly how to deep clean your vacuum cleaner like a seasoned professional. We’ll walk you through every step, from emptying the dustbin to tackling stubborn clogs in the brush roll and hose. By the end, your vacuum won’t just look cleaner; it’ll perform better, smell fresher, and help maintain a healthier home environment. Get ready to revitalize your vacuum and transform your cleaning routine!
Key Takeaways
- Regular Maintenance is Key: Routinely cleaning your vacuum cleaner significantly extends its lifespan and maintains peak suction power, preventing costly replacements.
- Prioritize Safety: Always unplug your vacuum before starting any cleaning process to avoid electrical hazards and accidental activation.
- Address Filters and Brush Rolls: These components are vital for effective cleaning; regularly clean or replace filters and untangle hair/debris from the brush roll to prevent clogs and maintain airflow.
- Don’t Forget the Details: Hoses, attachments, and the exterior often accumulate dirt and debris. Cleaning these areas ensures comprehensive hygiene and optimal functionality.
- Understand Your Vacuum Type: Whether bagless or bagged, corded or cordless, knowing your specific model’s requirements (e.g., washable vs. disposable filters) is crucial for proper cleaning.
- Proper Drying is Crucial: For washable components, ensure they are completely dry before reassembling to prevent mold, mildew, and damage to the vacuum cleaner’s motor.
- Troubleshoot Smartly: If your vacuum isn’t performing well after cleaning, recheck common areas like blockages in the hose or improperly sealed components before assuming a major issue.
Quick Answers to Common Questions
How often should I clean my vacuum’s brush roll?
Clean your brush roll monthly, or more frequently if you have pets or long hair. Hair and debris can quickly tangle, reducing performance.
Can I wash my HEPA filter?
Generally, no. Most HEPA filters are not washable and can be damaged by water, rendering them ineffective. Always check your vacuum’s manual for specific instructions regarding your filter type.
What if my vacuum smells even after cleaning?
Ensure all washable parts (like the dustbin) were completely dry before reassembly. Also, consider replacing old filters or using vacuum fresheners, as lingering odors can sometimes be deeply embedded in components.
Is it safe to use water to clean vacuum parts?
Only use water on parts explicitly stated as washable in your vacuum cleaner’s manual, such as some dustbins and pre-motor filters. Ensure these parts are 100% dry before putting them back to prevent damage.
How do I know when to replace a filter instead of just cleaning it?
Replace filters if they are torn, brittle, permanently discolored, or if their efficiency noticeably declines even after cleaning. Non-washable filters usually have a recommended replacement schedule (e.g., every 6-12 months).
Why a Clean Vacuum Cleaner Matters for Your Home (and Wallet!)
Think about it: your vacuum cleaner is constantly pulling in dust, dirt, pet hair, and allergens from every corner of your home. Over time, these particles accumulate inside the machine, leading to several problems:
*
Reduced Suction Power
Clogged filters, dirty brush rolls, and blocked hoses are the primary culprits behind a vacuum that just isn’t sucking like it used to. A clean vacuum cleaner operates at peak efficiency.
*
Foul Odors
Trapped dust, pet dander, and food particles can decompose inside your vacuum, leading to unpleasant smells that are then circulated back into your home.
*
Allergen Spread
If filters are clogged or damaged, your vacuum might be releasing dust and allergens back into the air instead of trapping them. Cleaning helps ensure your vacuum is a helper, not a hinderer, for air quality.
*
Shorter Lifespan
An overworked motor due to blockages or dirty components can burn out faster. Regular cleaning is preventative maintenance that can save you money on repairs or replacements.
*
Improved Efficiency
A clean machine means you spend less time re-vacuuming areas and achieve better results with each pass.
Ready to bring your vacuum back to life? Let’s gather our tools!
Tools and Materials You’ll Need
Visual guide about How to Clean Your Vacuum Cleaner Like a Pro in 2025
Image source: cdn.shopify.com
Before you start, make sure you have these items on hand. Most are common household goods:
* A pair of sharp scissors or a seam ripper (for cutting hair from the brush roll)
* Microfiber cloths or old towels
* Mild dish soap (optional, for washable parts)
* Warm water
* A soft-bristled brush (an old toothbrush works great)
* A utility knife or box cutter (careful!)
* A screwdriver (if your vacuum requires disassembly for the brush roll)
* A garbage can or bag
* Gloves (optional, but recommended for hygiene)
* An air compressor or canned air (optional, for stubborn dust in crevices)
* Replacement filters (if yours are disposable or heavily soiled)
* A space to work (preferably outdoors or in a garage to avoid making a mess indoors)
Safety First! Pre-Cleaning Steps
Your safety is paramount. Always follow these steps before you begin to clean your vacuum cleaner:
1.
Unplug It
This is the most critical step. Absolutely ensure your vacuum cleaner is disconnected from the power source. This prevents accidental activation and electrical hazards.
2.
Read Your Manual
Every vacuum cleaner is different. Your owner’s manual will provide specific instructions for removing components, cleaning filters, and any parts that shouldn’t get wet. If you can’t find the physical manual, check the manufacturer’s website for a digital version.
3.
Find a Good Workspace
Cleaning a vacuum can be a dirty job. Choose an area that’s easy to clean afterward, like a garage, balcony, or even outdoors. Lay down some old newspapers or a drop cloth.
Step-by-Step Guide: How to Clean Your Vacuum Cleaner
Let’s dive into the specifics of cleaning each part of your vacuum.
Step 1: Empty and Clean the Dustbin or Replace the Bag
This is the most frequent maintenance step and often the dirtiest.
*
For Bagless Vacuums (most common in 2025)
* Remove the Dustbin: Detach the dustbin from your vacuum.
* Empty Contents: Carefully empty all dirt, dust, and debris into a garbage can. Tap the bin against the inside of the can to dislodge stubborn clumps.
* Rinse (if applicable): Many bagless dustbins are washable. Check your manual. If yours is, rinse it thoroughly with warm water. You can use a tiny drop of mild dish soap to cut through grime, but make sure to rinse it completely clean.
* Air Dry Completely: This is crucial. *Never* put a wet or damp dustbin back into your vacuum. Allow it to air dry for at least 24 hours. Placing it in direct sunlight can speed up the process.
*
For Bagged Vacuums
* Remove and Dispose of the Bag: Open the bag compartment and carefully remove the full bag. Seal it if possible before placing it in the trash to contain dust.
* Wipe the Compartment: Use a damp microfiber cloth to wipe down the inside of the bag compartment, removing any lingering dust or debris.
* Insert a New Bag: Ensure the new bag is correctly seated according to your vacuum’s instructions. A properly sealed bag prevents dust from escaping into the motor.
Step 2: Inspect and Clean the Filters
Filters are the lungs of your vacuum cleaner. Keeping them clean is paramount for suction and air quality. Modern vacuums often have multiple filters.
*
Pre-Motor Filter (usually near the dustbin)
* Locate and Remove: These are typically foam, felt, or pleated filters. Refer to your manual to find and remove them.
* Clean It: If washable, rinse under cool, running water until the water runs clear. Gently squeeze out excess water. If not washable, firmly tap it against the inside of your trash can to shake out accumulated dust. You can use an old toothbrush to gently brush away trapped particles.
* Dry Completely: Again, if wet, allow it to air dry for at least 24-48 hours. A damp filter can damage your vacuum’s motor and promote mold growth.
* Replace (if necessary): If the filter is torn, brittle, or permanently discolored, it’s time for a replacement. Even washable filters have a finite lifespan and should be replaced annually or bi-annually, depending on usage.
*
Post-Motor / HEPA Filter (usually near the exhaust)
* Locate and Remove: These filters capture fine particles before air is expelled. They are often less frequently cleaned than pre-motor filters.
* Clean It: Most HEPA filters are *not* washable. Attempting to wash them can destroy their filtering capabilities. Instead, carefully tap the filter against the inside of a trash can to dislodge dust. For very dusty filters, you might gently vacuum the *outside* of the filter with a hose attachment from another vacuum, or use canned air from a safe distance *blowing away from the filter’s surface* to loosen dust.
* Replace Regularly: HEPA filters generally need to be replaced every 6-12 months, depending on usage and your home environment (e.g., pets, allergies). Check your manual for specific recommendations.
Step 3: Untangle and Clean the Brush Roll (Beater Bar)
The brush roll is where most of the action happens. It agitates carpets and sweeps debris into the vacuum. Hair, string, and fibers love to wrap around it.
*
Remove the Brush Roll
* Flip the Vacuum: Carefully turn your vacuum cleaner upside down.
* Access Panel: Most vacuums have an access panel on the bottom that can be opened with clips or screws. Consult your manual for exact instructions.
* Remove the Brush Roll: Carefully lift out the brush roll. Take note of how the belt is positioned if it’s visible.
*
Clean the Brush Roll
* Cut Entangled Debris: Use sharp scissors or a seam ripper to carefully cut through any tangled hair, string, or carpet fibers wrapped around the brush roll. Be very careful not to cut the bristles or the brush roll itself.
* Pull Away Debris: Once cut, pull away all the loosened debris by hand.
* Clean the Bristles: Use a small, stiff brush (like an old toothbrush) to clean dirt and dust from the bristles. You can also wipe the entire brush roll with a damp cloth if it’s very dirty, just ensure it’s *completely dry* before reinstallation.
* Inspect Bearings/Ends: Check the ends of the brush roll for any lodged debris or damage. Clean these areas thoroughly.
* Check the Belt: While the brush roll is out, inspect the drive belt (if your vacuum has one) for any signs of wear, stretching, or damage. Replace it if necessary.
*
Clean the Brush Roll Housing
* Wipe Down: Use a damp cloth to wipe out any dust or debris from the cavity where the brush roll sits.
* Clear Airflow: Look for any blockages in the airway leading from the brush roll to the hose.
Step 4: Clear the Hose and Attachments
Hoses are notorious for hidden clogs that severely impact suction. Attachments, though smaller, also gather grime.
*
Clear the Hose
* Detach the Hose: Disconnect the hose from both ends of the vacuum cleaner.
* Inspect for Blockages: Hold one end of the hose up to a light source and look through it. You should see light clearly.
* Remove Clogs: If you see a blockage, try to dislodge it with a broom handle, a straightened wire hanger (carefully!), or a stiff piece of tubing. *Never* use your hand or fingers unless you can clearly see and reach the obstruction without force.
* Rinse (if washable): Some hoses, especially for wet/dry vacs, can be rinsed with water. Most standard vacuum hoses should *not* be submerged or rinsed, as water can get trapped or damage internal wiring/sensors (for smart hoses). Wipe the exterior with a damp cloth instead. If you do rinse, ensure it’s completely dry before reattaching.
*
Clean Attachments
* Wash with Soap and Water: Most plastic attachments (crevice tool, upholstery brush, dusting brush) can be washed in warm, soapy water.
* Scrub and Rinse: Use an old toothbrush or small brush to scrub away dirt and hair. Rinse them thoroughly.
* Dry Completely: Lay them out to air dry completely before storing them back on your vacuum.
Step 5: Wipe Down the Exterior
Now that the internal components are clean, give your vacuum’s outside a refresh.
* Damp Cloth Wipe Down: Use a slightly damp microfiber cloth (don’t soak it!) to wipe down the entire exterior of your vacuum cleaner. This includes the handle, canister, wheels, and power cord.
* Clean Wheels: Use a small brush or a utility knife (carefully!) to remove any hair or debris wrapped around the wheels, which can make your vacuum harder to maneuver.
* Cord Care: Wipe down the power cord, checking for any nicks or fraying. If you find any damage, have it professionally repaired or replace the vacuum for safety.
* Sanitize (Optional): For extra hygiene, especially for areas you frequently touch, you can use an antibacterial wipe or a spray cleaner on a cloth to sanitize the handle and buttons.
Step 6: Reassemble Your Vacuum Cleaner
Once all components are sparkling clean and, most importantly, *completely dry*, it’s time to put your vacuum back together.
* Reverse the Steps: Reinstall the brush roll (making sure the belt is correctly seated), close the access panel, insert the clean/dry filters, and reattach the dustbin or insert a new bag.
* Double-Check: Ensure everything is securely in place. Loose components can cause poor performance or damage.
* Test It Out: Plug your vacuum back in and give it a quick test run. You should immediately notice improved suction and a fresher smell!
Advanced Cleaning & Maintenance Tips for 2025 Vacuums
Modern vacuums, especially robot vacuums or those with smart features, might require a few extra considerations:
*
Smart Sensor Cleaning
Many 2025 vacuum cleaners feature optical or debris sensors. Use a cotton swab lightly dampened with rubbing alcohol to gently clean these sensors to ensure accurate performance.
*
Battery Care for Cordless Models
If you have a cordless vacuum, always follow the manufacturer’s guidelines for battery charging and storage. Avoid leaving it perpetually plugged in if recommended, and don’t store it in extreme temperatures. A clean battery contact can also improve charging efficiency.
*
Scheduled Maintenance Reminders
Utilize your vacuum’s app (if it has one) or your phone’s calendar to set reminders for filter replacements and deep cleaning. Consistency is key!
*
Filter Subscription Services
Some manufacturers offer filter subscription services, ensuring you always have fresh, clean filters on hand when needed. This is a convenient way to maintain peak performance without forgetting.
Troubleshooting Common Post-Cleaning Issues
Even after a thorough clean, you might encounter an issue or two. Here’s how to troubleshoot:
*
“My vacuum still has no suction!”
* Check All Filters: Are they bone dry and correctly installed? Is one missing or clogged with something you missed?
* Hose Clog: Recheck the hose. Sometimes a blockage is pushed further in rather than removed entirely.
* Brush Roll Gap: Ensure the brush roll is properly seated and the access panel is securely closed, creating a tight seal.
* Dustbin/Bag Seal: Is the dustbin or bag properly aligned and sealed? A tiny gap can lead to significant suction loss.
*
“My vacuum is making a strange noise.”
* Brush Roll Obstruction: Even a tiny piece of debris can cause rattling. Remove the brush roll again and carefully inspect it and its housing.
* Loose Parts: Check all panels, dustbin, and attachments to ensure they are securely fastened.
*
“My vacuum smells bad again after a few uses.”
* New Bag/Filter Needed: If you’re still using an old bag or neglected to replace an old, smelly filter, the odor will return.
* Pet Odors: Sometimes pet hair can leave lingering smells even after cleaning. Consider using vacuum freshener discs or sprinkle baking soda on carpets before vacuuming (ensure your vacuum can handle fine powders).
* Dampness: Ensure all washable parts were 100% dry. Mold or mildew can quickly reform if moisture is present.
How Often Should You Clean Your Vacuum Cleaner?
The frequency depends on several factors:
* Empty Dustbin/Replace Bag: After every use or when 2/3 full.
* Quick Brush Roll Clean: Monthly, or more often if you have long-haired pets or people in the house.
* Washable Filters: Every 1-3 months, depending on usage.
* Non-Washable Filters: Tap clean monthly, replace every 6-12 months.
* Deep Clean (all steps): Every 3-6 months, or more frequently if you have pets, allergies, or vacuum often.
Conclusion
Congratulations! You’ve just learned how to clean your vacuum cleaner like a pro. Taking the time for this essential maintenance will pay dividends in the long run. Not only will your vacuum cleaner operate with renewed power and efficiency, making your home cleaner and healthier, but you’ll also extend its lifespan, saving you money.
Remember, a clean vacuum cleaner isn’t just about appearances; it’s about performance, hygiene, and longevity. So go ahead, plug in your sparkling clean machine, and enjoy the satisfaction of a truly effective clean!
🎥 Related Video: How to clean a shop vac filter fast ? Clean your vacuum filter like a pro #shorts
📺 Workshop_Shorts
Workshop_Shorts – fast DIY how-tos and repair tips. Learn practical ways to fix, join, cut, drill and measure with common tools.