How to Repair Your Vacuum Cleaner Easily in 2025
Don’t rush to replace your broken vacuum cleaner in 2025! This comprehensive guide empowers you to diagnose and fix common issues easily, from lost suction to strange noises. You’ll learn essential troubleshooting steps, the right tools to use, and how to perform routine maintenance, saving you money and extending your vacuum’s life. Get ready to restore your vacuum’s cleaning power with confidence!
How to Repair Your Vacuum Cleaner Easily in 2025
Vacuum cleaners are essential household allies, keeping our homes spick and span. But when they sputter, lose suction, or stop working altogether, it can feel like a major inconvenience. In 2025, with a growing emphasis on sustainability and saving money, repairing your existing appliances makes more sense than ever. The good news? Many common vacuum cleaner problems are surprisingly simple to fix yourself, even if you’re not a seasoned DIY expert.
This comprehensive guide will walk you through the process of diagnosing and repairing your vacuum cleaner step-by-step. We’ll cover everything from simple clogs to more intricate mechanical issues. By the end, you’ll feel confident tackling many of these problems, saving you time, money, and the hassle of buying a new machine. Let’s get your vacuum cleaner back to peak performance!
Key Takeaways
- Safety First: Always unplug your vacuum cleaner before attempting any inspection or repair to prevent electrical shock or injury.
- Diagnose Systematically: Start with the simplest checks like a full dustbin or clogged hose before moving on to more complex components like belts or motors.
- Common Culprits: Most vacuum problems stem from clogs, dirty filters, worn belts, or full dustbins/bags. Addressing these often resolves the issue.
- Essential Tools: A few basic tools like screwdrivers, scissors, and a utility knife are usually sufficient for most DIY vacuum repairs.
- Maintenance Matters: Regular cleaning of filters, emptying the dustbin, and checking the brush roll can prevent many issues before they start, extending your vacuum’s lifespan.
- Know Your Limits: While many repairs are DIY-friendly, some complex electrical or motor problems might require a professional or indicate it’s time for a replacement.
Quick Answers to Common Questions
What if my vacuum is cordless and won’t charge?
First, check the charging cable and adapter for damage. Ensure the outlet works. Then, clean the charging contacts on both the vacuum and the charging base. If it still doesn’t charge, the battery pack might need replacement, which is often a separate, purchasable part.
Can I use water to clear a clog in my vacuum’s hose?
No, absolutely not. Introducing water into your vacuum’s hose can damage the electrical components and motor if it enters the main unit, even after drying. Always use a dry method like a broom handle or a special cleaning snake to dislodge clogs.
How often should I replace my vacuum belt?
The frequency depends on usage, but typically, a vacuum belt should be checked every 3-6 months and replaced annually, or immediately if you notice fraying, cracking, or if the brush roll stops spinning. Harder use, like vacuuming thick carpets, can shorten its lifespan.
My vacuum cleaner smells bad, even after emptying the dustbin. What should I do?
A persistent bad smell often means trapped organic material or mold. Clean all washable filters thoroughly and ensure they are bone dry. Also, check the brush roll and inside the main hose for any hidden debris or pet hair. Some vacuums also benefit from a vacuum deodorizer tablet or baking soda directly into the dustbin.
Are all vacuum cleaner belts the same?
No, vacuum cleaner belts vary significantly in size, thickness, and material. It’s crucial to purchase the correct replacement belt specific to your vacuum cleaner’s make and model. Check your owner’s manual or the old belt itself for part numbers or specifications.
Step 1: Prioritize Safety – Always Unplug First!
Before you even think about inspecting or repairing your vacuum cleaner, the absolute first and most critical step is to ensure it’s completely disconnected from the power source. This prevents accidental startups, electrical shocks, and potential injury.
Unplug the Vacuum
Reach for the power cord and pull it directly from the wall outlet. Don’t just turn off the switch on the vacuum; physically remove it from the electricity supply.
Step 2: Gather Your Tools and Create a Workspace
You won’t need a professional workshop to repair your vacuum cleaner. A few basic household tools will typically suffice.
Essential Tools You’ll Need
- Screwdrivers: Flathead and Phillips head screwdrivers are often needed to open casings and remove components.
- Scissors or Utility Knife: Perfect for cutting tangled hair, string, or carpet fibers from brush rolls.
- Pliers: Helpful for gripping and pulling stubborn clogs or wires.
- Work Gloves: Protect your hands from dirt, sharp edges, and potential allergens.
- Flashlight: Crucial for peering into dark hoses and internal compartments to spot clogs or issues.
- Microfiber Cloth or Paper Towels: For cleaning components and wiping away dust.
- Empty Trash Can: To dispose of all the lovely debris you’ll be removing.
Set Up Your Workspace
Find a well-lit area, preferably a garage, basement, or even a kitchen floor where you have enough space to lay the vacuum down and spread out its parts. Lay down some newspaper or an old sheet to keep the area clean.
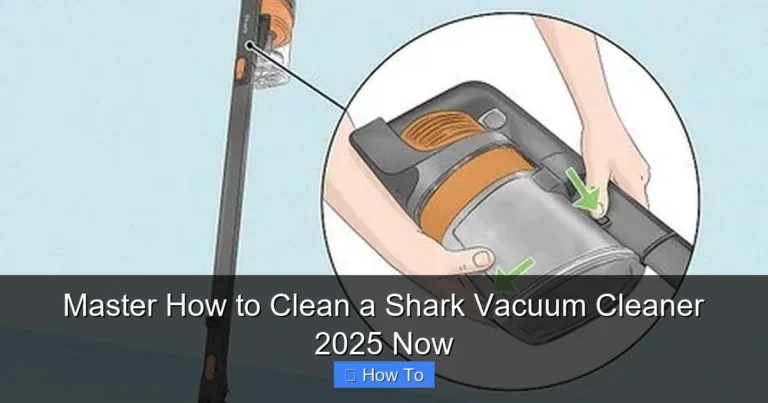
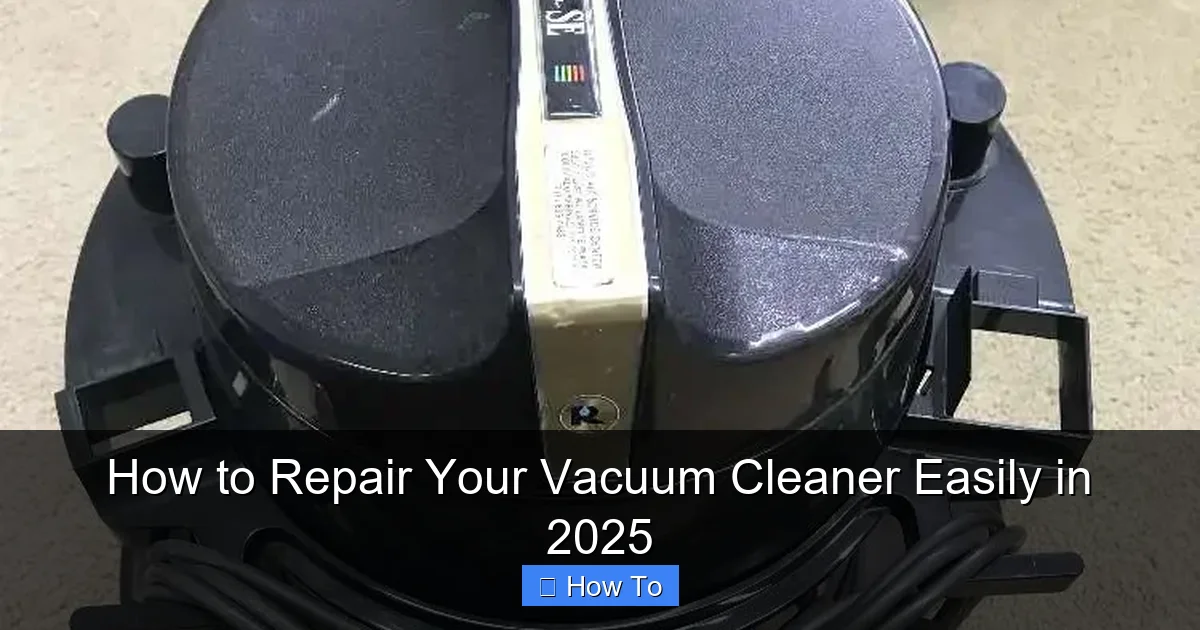
Visual guide about How to Repair Your Vacuum Cleaner Easily in 2025
Image source: vacuumsrus.com
Step 3: Diagnose the Problem – What’s Wrong?
Before you start disassembling anything, try to pinpoint the exact issue. Understanding the symptom will guide your repair efforts.
Common Vacuum Cleaner Problems and Their Solutions
Problem: Vacuum Won’t Turn On or Has Intermittent Power
This can be frustrating, but often it’s a simple fix related to power supply or cord issues.
Check the Power Outlet and Cord
- Test the Outlet: Plug another appliance (like a lamp) into the same outlet to ensure it’s working. If the outlet is dead, reset your circuit breaker.
- Inspect the Power Cord: Carefully examine the entire length of the power cord for any cuts, frays, or exposed wires. Pay close attention to where the cord enters the vacuum and the plug itself. A damaged cord is a safety hazard and needs professional repair or replacement.
- Check the Internal Wiring (Advanced): If you’re comfortable, you might open the vacuum’s casing (refer to your manual for screw locations) to check where the cord connects internally. Look for loose wires. If you find damaged internal wiring, it’s best to consult a professional or consider replacement.
Problem: No Suction or Weak Suction
This is arguably the most common vacuum cleaner complaint. Reduced suction means less dirt removal.
Empty the Dustbin/Bag and Clean Filters
- Full Dustbin/Bag: This is the simplest fix! A completely full dustbin or bag will severely restrict airflow and cause a loss of suction. Empty it thoroughly or replace the bag.
- Clogged Filters: Vacuums have various filters (pre-motor, post-motor HEPA, foam, felt) that can become clogged with fine dust. Refer to your manual for filter locations.
- Washable Filters: Many modern vacuum cleaner filters are washable. Rinse them under cool water until the water runs clear. Allow them to air dry completely for at least 24-48 hours before reinserting. Never put a damp filter back into your vacuum.
- Replaceable Filters: Some filters are designed to be replaced periodically. Check your manual for the recommended replacement schedule and type.
Inspect for Clogs in the Hose and Attachments
- Remove Attachments: Detach all hoses, wands, and accessories. Shine a flashlight through each piece to look for blockages.
- Clear Hose Clogs: If you spot a clog in the main hose, try to dislodge it with a long broom handle, a straightened coat hanger (be careful not to puncture the hose), or a vacuum cleaner specific snake tool.
- Check Inlet and Outlet Ports: Examine the openings where the hose connects to the vacuum cleaner itself, as clogs can form there too.
Examine the Brush Roll and Belt
- Hair and Debris on Brush Roll: Flip the vacuum over (after unplugging!) and locate the brush roll. Use scissors or a utility knife to carefully cut away tangled hair, string, and carpet fibers. Make sure the brush roll spins freely by hand once clear.
- Worn or Broken Belt: The belt connects the motor to the brush roll, making it spin. If the brush roll isn’t spinning, the belt might be broken or stretched.
- Locate the Belt: You’ll usually need to remove a bottom plate (held by screws) to access the belt.
- Inspect the Belt: If it’s snapped, loose, or appears stretched, it needs replacement. Take note of the belt type and size (it might be printed on the belt itself) or consult your manual to order a new one.
- Install a New Belt: Carefully stretch the new belt around the motor spindle and the brush roll, ensuring it’s seated correctly. Reattach the bottom plate.
Problem: Strange Noises (Whining, Grinding, Rattling)
Unusual noises often indicate a foreign object, a failing part, or motor issues.
Check for Foreign Objects
- Brush Roll: As with suction issues, check the brush roll for anything caught in it – coins, paper clips, small toys.
- Fan/Impeller: If you hear a grinding noise, a foreign object might be stuck in the fan or impeller housing. This is usually located near the motor. Accessing it can be tricky and may require more disassembly. Proceed with caution or seek professional help if unsure.
Inspect the Motor (Advanced)
- Motor Whining: A high-pitched whine that isn’t accompanied by other issues might indicate a motor nearing the end of its life, especially if it’s struggling. Ensure all filters are clean and airflow is unobstructed, as a clogged system can overwork the motor.
- Burning Smell: A burning smell, often accompanied by excessive noise or no power, points to a serious motor problem or a severely worn belt (see below). Stop using the vacuum immediately.
Problem: Burning Smell
A burning smell is a serious warning sign and requires immediate attention to prevent further damage or fire.
Check the Brush Roll and Belt
- Overworked Motor/Belt: The most common cause of a burning smell is an overworked motor or a slipping/fraying drive belt. A brush roll that is heavily tangled with hair and debris will cause the motor to strain, generating heat and a burning smell. Clear the brush roll completely.
- Frayed Belt: A worn or frayed belt can create friction and emit a burning rubber smell. Replace the belt immediately if you suspect this.
Motor Overheating
If the smell persists after checking the brush roll and belt, your motor might be overheating due to internal issues. This usually means it’s time for professional repair or replacement. Do not continue to use the vacuum.
Step 4: General Maintenance Tips for Longevity
Preventative care is key to avoiding frequent repairs. Make these simple habits part of your routine.
Regular Cleaning Schedule
- Empty Dustbin/Change Bag Regularly: Don’t wait until it’s overflowing. A full container reduces efficiency.
- Clean Filters Frequently: Wash or replace filters according to your manufacturer’s recommendations (e.g., every 1-3 months for washable filters, every 6-12 months for replaceable ones).
- Clear Brush Roll: After every few uses (or as needed), flip your vacuum and remove tangled hair and debris from the brush roll.
- Check Hoses and Attachments: Periodically disconnect and inspect hoses and attachments for blockages.
Smart Usage
- Avoid Wet Surfaces: Unless you have a wet/dry vacuum, avoid vacuuming up liquids, which can damage the motor and electrical components.
- Beware of Small, Hard Objects: Try to pick up large, hard items (like Lego bricks, coins, paperclips) by hand before vacuuming. These can damage the fan, impeller, or get stuck in the hose.
- Use the Right Setting: Adjust your vacuum’s height setting for different carpet types to ensure optimal cleaning and reduce strain on the motor.
Step 5: When to Call a Professional or Consider Replacement
While many problems are DIY-friendly, some issues are beyond the scope of a home repair.
Signs It’s Time for Expert Help or a New Vacuum
- Motor Failure: If you’ve checked everything else and the motor still won’t turn on, makes excessive noise, or smells like it’s burning, it’s likely a motor issue. Motor replacement can be costly and complex, often making a new vacuum a more economical choice.
- Electrical Malfunctions: If you notice sparks, consistent burning smells, or issues with the power cord that seem too complex to fix safely, it’s always best to err on the side of caution.
- Cost vs. Age: If the repair cost for a professional is more than half the price of a new, comparable vacuum, or if your vacuum is very old and frequently breaking down, it might be time for an upgrade. Modern vacuum cleaners in 2025 offer enhanced filtration, quieter operation, and smart features that might be worth the investment.
- Structural Damage: Cracks in the main housing that affect functionality or safety might be difficult to repair effectively.
Conclusion
Repairing your vacuum cleaner in 2025 doesn’t have to be daunting. By following these steps, you can tackle many common issues with confidence and competence. Remember to always prioritize safety by unplugging the unit, diagnose the problem systematically, and perform regular maintenance. Not only will you save money and reduce waste, but you’ll also gain a satisfying sense of accomplishment knowing you brought your trusted cleaning companion back to life. Happy vacuuming!
🎥 Related Video: Shark vacuum cleaner NO SUCTION! Why?
📺 Vacuum Help
Customer was going to buy a new vacuum cleaner when her shark stopped sucking #sharkvacuum #sharkclean.