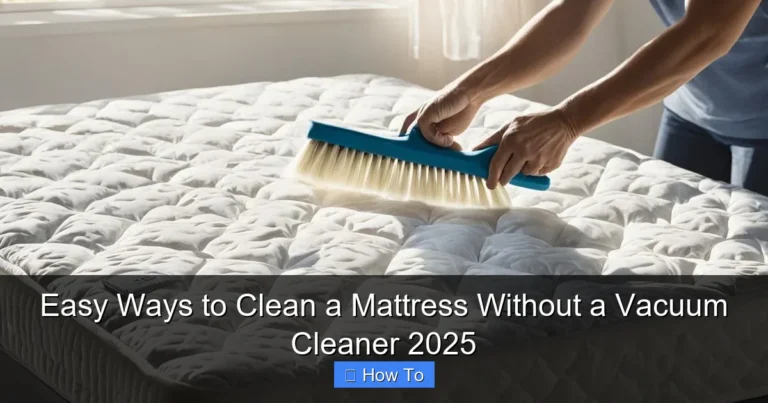
Expert Tips How to Use Vacuum Cleaner Flawlessly 2025
Transform your cleaning routine with our expert guide on using a vacuum cleaner flawlessly in 2025. Discover simple, step-by-step instructions from preparation to advanced techniques and essential maintenance. Learn how to maximize your vacuum’s potential, tackle different surfaces, and troubleshoot common issues, ensuring your home remains spotless and fresh with minimal effort.
Expert Tips How to Use Vacuum Cleaner Flawlessly 2025
Welcome to the ultimate guide on mastering your vacuum cleaner in 2025! Whether you’re a first-time homeowner, a seasoned cleaner looking for fresh tips, or simply want to get the most out of your powerful cleaning appliance, you’re in the right place. We all want a clean home, and a vacuum cleaner is arguably our most essential tool for achieving that sparkle. But are you using it to its full potential?
This guide will walk you through everything you need to know, from the moment you unbox a new vacuum cleaner to advanced techniques that’ll make your home spotless. We’ll cover smart preparation, efficient cleaning methods for every surface, how to use all those handy attachments, and crucial maintenance tips to keep your machine running like new. Get ready to transform your cleaning routine and make vacuuming a breeze!
Key Takeaways
- Pre-Vacuum Prep is Crucial: Always clear clutter and visually inspect your vacuum cleaner before starting to ensure efficient and safe cleaning.
- Understand Your Vacuum: Familiarize yourself with your specific vacuum cleaner type (upright, canister, stick, robot) and its attachments to optimize performance on different surfaces.
- Master Basic Vacuuming Technique: Use slow, overlapping strokes, especially on carpets, and adjust settings for hard floors to pick up maximum dirt and debris.
- Utilize Attachments Wisely: Don’t overlook your vacuum’s accessories like the crevice tool, dusting brush, and upholstery tool; they are essential for thorough cleaning in tricky spots.
- Regular Maintenance is Key: Emptying the dust bin, cleaning filters, and checking the brush roll after each significant use prevents loss of suction and extends your vacuum cleaner’s lifespan.
- Troubleshoot Common Issues: Be prepared to address simple problems like clogs or a dirty brush roll, which can often restore your vacuum cleaner’s performance quickly.
- Safety First: Always unplug your vacuum cleaner before performing any maintenance or checking for blockages to prevent accidental starts or injury.
Quick Answers to Common Questions
Should I vacuum before or after dusting?
Always vacuum after dusting. Dusting inevitably knocks fine particles into the air and onto the floor, so vacuuming last ensures you pick up all that fallen dust for a truly clean finish.
How often should I clean my vacuum cleaner’s filters?
For washable filters, generally every 1-3 months depending on usage and household conditions (pets, allergies). Check your specific vacuum cleaner manual for precise recommendations, as some filters are designed for less frequent cleaning or replacement.
What’s the best way to get pet hair off upholstery without an attachment?
You can use a damp rubber glove or a slightly damp sponge. Rubbing either across the upholstery fabric will gather the pet hair into clumps, which you can then easily pick up by hand.
Can I use my vacuum cleaner on wet carpet if I just spilled something?
No, absolutely not, unless you have a specialized wet/dry vacuum cleaner. Using a standard dry vacuum cleaner on wet spills can cause severe electrical damage to the appliance and is a significant safety hazard.
How do I know if my vacuum cleaner’s brush roll is working effectively?
If your vacuum cleaner has a brush roll indicator light, check that it’s green. Otherwise, turn the vacuum cleaner over (unplugged!) and manually spin the brush roll. It should rotate freely without excessive resistance from hair or debris. For uprights, you should also hear or feel it agitating the carpet surface when powered on.
1. Getting Ready: Your Pre-Vacuum Checklist
Before you even plug in your vacuum cleaner, a little preparation goes a long way. This initial step sets the stage for efficient and effective cleaning.
Clear the Clutter
Imagine trying to vacuum around toys, shoes, or loose papers. It’s frustrating and inefficient, isn’t it? Before you start, take a few minutes to pick up anything that could obstruct your path or get sucked into your vacuum cleaner. This includes small rugs, cords, lightweight furniture, and small items on the floor. Not only does this protect your vacuum cleaner from potential damage, but it also allows you to vacuum without interruption, making the whole process quicker and more thorough. Think of it as preparing your canvas before painting.
Inspect Your Vacuum Cleaner
A quick check of your vacuum cleaner before each use can prevent problems.
- Check the Bag/Dust Bin: Is it full? If so, empty it! A full dust bin or bag significantly reduces suction power, making your vacuum cleaner less effective.
- Inspect the Brush Roll: Turn your vacuum cleaner over (unplugged, of course!) and check the brush roll. Are there any tangled hairs, strings, or debris wrapped around it? These can hinder its rotation and prevent it from agitating carpets properly. Clean it if necessary.
- Examine Cords and Hoses: Look for any signs of wear, tears, or damage to the power cord or the vacuum cleaner’s hose. Damaged cords can be a safety hazard, and a compromised hose can lead to loss of suction.
This quick inspection ensures your vacuum cleaner is ready for peak performance.
Prepare Your Space
Open windows for ventilation, especially if you have pets or a dusty environment. This helps circulate air and reduce airborne dust while you vacuum. If you have delicate items on low shelves, consider moving them temporarily to prevent them from falling due to vibrations.
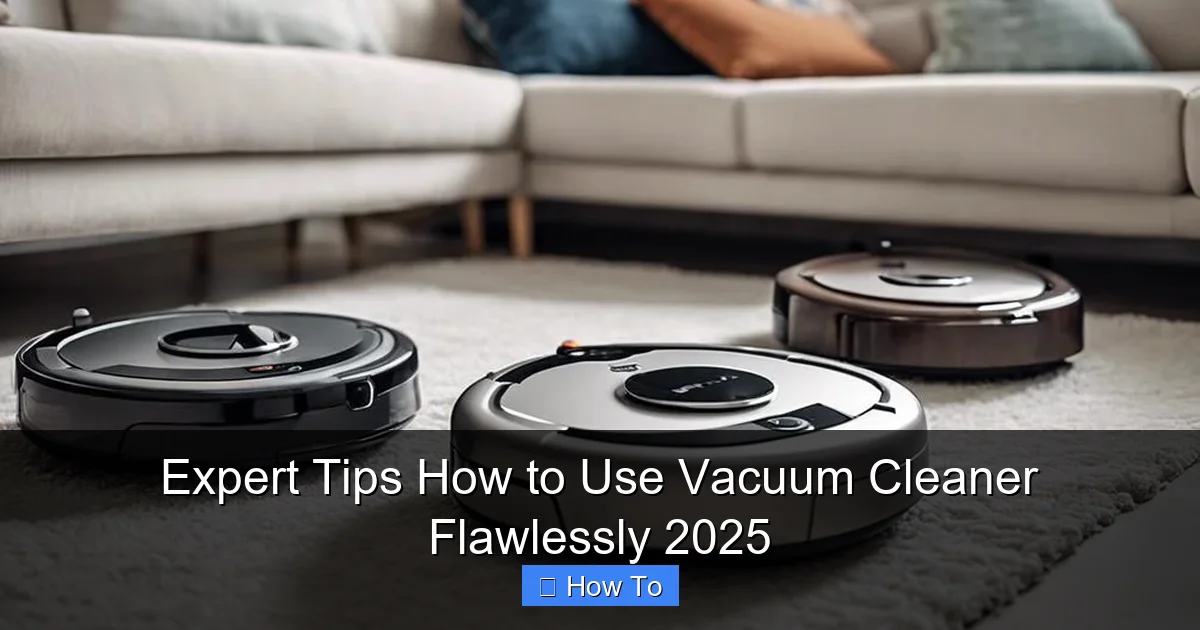
2. Understanding Your Vacuum Cleaner: Features and Functions
Visual guide about Expert Tips How to Use Vacuum Cleaner Flawlessly 2025
Image source: bestvacuumexpert.com
Not all vacuum cleaners are created equal, and knowing yours is key to flawless cleaning.
Know Your Vacuum Type
Different types of vacuum cleaners excel in different scenarios.
- Upright Vacuum Cleaners: Great for large carpeted areas. They typically have powerful brush rolls that agitate carpet fibers, lifting embedded dirt. Modern upright vacuum cleaners also often have settings for hard floors.
- Canister Vacuum Cleaners: Versatile and excellent for hard floors, rugs, stairs, and above-floor cleaning thanks to their flexible hose and array of attachments. They often have stronger suction and are generally quieter.
- Stick Vacuum Cleaners: Lightweight and cordless, perfect for quick clean-ups and smaller spaces. They’re not usually designed for deep cleaning but are incredibly convenient for daily maintenance. Many also convert to handheld vacuum cleaners.
- Robot Vacuum Cleaners: Ideal for daily maintenance and keeping floors tidy with minimal effort. They navigate autonomously, but can’t replace a thorough deep clean with a manual vacuum cleaner.
- Handheld Vacuum Cleaners: Perfect for small messes, car interiors, upholstery, and quick spot cleaning.
Understanding your vacuum cleaner type will help you leverage its strengths.
Mastering Attachments
Those extra nozzles and brushes aren’t just for show! They’re designed to tackle specific cleaning challenges.
-
The Crevice Tool
This long, narrow nozzle is your best friend for reaching tight spots, like between couch cushions, along baseboards, and in car interiors. It concentrates suction, making it highly effective for picking up crumbs and dust in hard-to-reach areas.
-
The Dusting Brush
Soft bristles on this attachment make it perfect for delicate surfaces. Use it on lampshades, bookshelves, window blinds, electronics, and even skirting boards. The brush gently dislodges dust while the suction pulls it away, preventing it from just scattering into the air.
-
The Upholstery Tool
Often a wider, flat nozzle with a lint strip or bristles, this tool is designed for cleaning furniture, curtains, and mattresses. It helps to lift pet hair, dust, and debris from fabric surfaces without damaging them.
-
The Extension Wand
Use this with other attachments to extend your reach, great for high ceilings, cobwebs, or even reaching under heavy furniture.
-
The Pet Hair Tool (Turbo Brush)
If your vacuum cleaner comes with one, this usually features a small, air-powered rotating brush that’s fantastic for lifting stubborn pet hair from upholstery and stairs.
Don’t let your attachments gather dust in the cupboard; they are crucial for a truly clean home.
3. The Art of Vacuuming: Technique for Different Surfaces
Effective vacuuming isn’t just about pushing the machine around. Technique matters!
Vacuuming Carpets and Rugs
Carpets trap a lot of dirt, dust, and allergens.
-
Adjust the Height Setting
Most upright vacuum cleaners have a height adjustment. For carpets, set it so the brush roll lightly skims the surface. If it’s too high, it won’t agitate enough; too low, and it becomes hard to push and can damage the carpet or the vacuum cleaner motor.
-
Use Overlapping, Slow Strokes
Instead of quick, random passes, move your vacuum cleaner slowly in overlapping rows. Push forward, then pull back over the same spot. This allows the brush roll to pick up more embedded dirt and ensures no spots are missed. Think of “painting” your carpet with the vacuum cleaner.
-
Vacuum in Multiple Directions
For a truly deep clean, especially for high-traffic areas, vacuum in one direction (e.g., north to south) and then go over the same area perpendicularly (east to west). This helps to lift dirt from all angles of the carpet fibers.
-
Don’t Forget Under Furniture
If your vacuum cleaner fits, gently push it under beds, sofas, and tables. These are often forgotten dust traps.
Cleaning Hardwood and Tile Floors
Hard floors require a different approach to avoid scratching and to pick up fine dust effectively.
-
Turn Off the Brush Roll
This is *critical* for hard floors. A spinning brush roll can scratch delicate surfaces like hardwood and scatter debris rather than collecting it. Most modern vacuum cleaners have an option to turn off the brush roll or a “hard floor” setting that retracts it.
-
Use the Appropriate Attachment
Many canister and stick vacuum cleaners come with a dedicated “hard floor” attachment – often a long, flat head with soft bristles or a felt strip. This is ideal for gently gliding over surfaces while gathering dust and debris. If you’re using an upright vacuum cleaner with a hard floor setting, ensure the brush roll is off.
-
Work in Sections
Start in one corner of the room and work your way out, pushing dust and debris towards your vacuum cleaner’s path. Use slow, steady movements to ensure all particles are captured.
-
Edge Cleaning
Use the crevice tool along baseboards and in corners where dust tends to accumulate.
Tackling Stairs and Upholstery
These areas are often neglected but can harbor significant dust and allergens.
-
Stairs
This is where handheld vacuum cleaners or canister vacuum cleaners with extension wands and upholstery/crevice tools shine. Start from the top step and work your way down. Use the upholstery tool for the flat part of the step and the crevice tool for the risers and corners. Take your time to get into every nook.
-
Upholstery
Use the upholstery tool with its gentler suction and wider head. Test a small, inconspicuous area first, especially on delicate fabrics. Vacuum in slow, overlapping strokes, moving with the grain of the fabric where possible. For pet hair, a dedicated pet hair tool works wonders.
4. Advanced Vacuuming Hacks for a Spotless Home
Beyond the basics, these tips will elevate your cleaning game.
Dealing with Pet Hair Like a Pro
Pet owners know the struggle. For persistent pet hair, sprinkle a little baking soda on carpets or upholstery before vacuuming. Let it sit for about 15 minutes. The baking soda not only helps to loosen hair but also absorbs odors. Then, vacuum as usual. A rubber squeegee or gloved hand can also be surprisingly effective at gathering pet hair into piles before vacuuming.
Handling Spills and Accidents (Wet vs. Dry)
Always remember: most standard vacuum cleaners are **dry-only**. Never use a dry vacuum cleaner to pick up wet spills, as this can severely damage the motor and pose an electrical hazard. For wet spills, use a wet/dry shop vacuum if you have one, or blot thoroughly with paper towels. For dry spills like dirt or crumbs, your vacuum cleaner is your best friend. Act quickly before the mess gets tracked further.
Improving Indoor Air Quality
Beyond just cleaning floors, a good vacuum cleaner, especially one with a HEPA filter, can significantly improve your home’s air quality. Regularly vacuuming can reduce dust mites, pet dander, pollen, and other allergens. Ensure you maintain your vacuum cleaner’s filters to maximize this benefit. Replace or clean HEPA filters as recommended by the manufacturer.
5. Post-Vacuum Care: Keeping Your Machine in Top Shape
Proper maintenance extends the life of your vacuum cleaner and keeps it performing at its best.
Emptying the Dust Bin or Changing the Bag
Make this a habit after every significant cleaning session, or when the indicator light tells you the bag is full. A partially full dust bin already compromises suction. For bagless vacuum cleaners, tap the bin over a trash can to dislodge stubborn dust. For bagged vacuum cleaners, replace the bag before it’s completely full to maintain optimal airflow.
Cleaning Filters Regularly
Most modern vacuum cleaners have washable or replaceable filters.
- Pre-Motor Filters: These protect the motor from larger particles. Wash washable filters under cool running water until the water runs clear. Let them air dry completely (usually 24 hours) before putting them back.
- Post-Motor/HEPA Filters: These trap fine dust and allergens. Some are washable, others are designed for replacement. Check your vacuum cleaner’s manual for specific instructions. Neglecting filters is a primary cause of reduced suction and poor air quality.
Checking the Brush Roll
Again, with the vacuum cleaner unplugged, periodically check the brush roll for tangled hair, string, or fabric. Use scissors or a seam ripper to carefully cut and remove any debris. A clean brush roll spins freely and efficiently agitates carpet fibers.
Storing Your Vacuum Properly
Store your vacuum cleaner in a dry, safe place where it won’t be easily knocked over. Wind the cord neatly, and keep all attachments together so they’re easy to find next time. Proper storage protects the machine and keeps your home tidy.
6. Troubleshooting Common Vacuum Cleaner Issues
Even the best vacuum cleaners can have hiccups. Here’s how to address common problems.
Loss of Suction Power
This is the most frequent complaint.
- Check the Dust Bin/Bag: Is it full?
- Inspect Filters: Are they clogged? Clean or replace them.
- Look for Clogs: Check the hose, brush roll, and internal passages for blockages. Use a broom handle or a long, blunt object to dislodge clogs, but *never* use your hands unless the vacuum cleaner is unplugged.
- Brush Roll Engagement: Ensure the brush roll is actually spinning (if it should be for your surface) and not jammed.
Unusual Noises or Smells
- Grinding Noises: Often indicates something is stuck in the brush roll or the motor. Unplug immediately and investigate.
- Burning Smell: Could be the motor overheating due to a clog or full dust bin, or a worn-out belt (for uprights). Turn off and unplug the vacuum cleaner. Empty and clean thoroughly. If the smell persists, it might be time for professional servicing.
- Whining Sound: Often signals a severe blockage in the hose or main intake, restricting airflow.
Blockages and Clogs
Most blockages occur in the hose, the entrance to the dust bin, or the brush roll area.
- Always unplug the vacuum cleaner before attempting to clear a clog.
- Disconnect the hose and visually inspect it. If you can’t see the blockage, try dropping a coin or small ball through to locate it.
- Use a broom handle or a sturdy wire hanger (straightened out) to gently push the clog through. Avoid sharp objects that could puncture the hose.
Conclusion
Congratulations! You’re now equipped with the expert knowledge to use your vacuum cleaner flawlessly in 2025 and beyond. From thorough pre-vacuum preparation to mastering attachments, tackling different surfaces, and performing essential maintenance, you have all the tools to keep your home pristine. Remember, a little attention to detail and regular care of your vacuum cleaner will not only result in cleaner floors but also extend the life of your appliance. Happy vacuuming!
🎥 Related Video: How to Vacuum Interior Like a Pro
📺 Detail Groove
Download The Ultimate Guide To Start Your Detailing Business: https://bit.ly/3ax3Dtb ⚡Try Jobber with a free 14-day trial plus a …