How to Use Wet and Dry Vacuum Cleaner Like a Pro
Master your wet and dry vacuum cleaner by first ensuring the correct filter is installed—use a foam filter for liquids and a dry filter for solids to avoid damage. Switch seamlessly between wet and dry messes by emptying the tank promptly after liquid use and never overfilling beyond the max line. Always unplug before maintenance and use the right attachments—crevice tools, brushes, and squeegees—to tackle any surface like a pro.
Key Takeaways
- Empty the tank after each use to prevent mold and odors.
- Use the right filter for wet or dry messes to avoid damage.
- Seal leaks immediately to maintain suction power and efficiency.
- Switch attachments based on surface type for optimal cleaning results.
- Pre-treat spills with absorbent material before vacuuming for better outcomes.
- Store properly by coiling the cord and keeping attachments organized.
Quick Answers to Common Questions
Can I use a wet and dry vacuum cleaner on both carpets and hard floors?
Yes, most wet and dry vacuum cleaners come with adjustable nozzles or settings, making them perfect for switching between carpets and hard floors—just check your model’s manual for the right attachment.
How do I switch from dry to wet mode on my vacuum?
Simply empty the dustbin, remove the dry filter (if required), and attach the foam or wet-specific filter—your wet and dry vacuum cleaner is now ready to tackle spills.
Is it safe to vacuum up broken glass with a wet and dry vacuum?
Only use the wet and dry vacuum cleaner for glass if it has a dedicated “sharp debris” mode or a puncture-proof container, and always wear protective gear.
Can I leave liquid in the vacuum overnight?
No, always empty the tank after wet use to prevent mold, odors, and damage to your wet and dry vacuum cleaner’s motor.
Do I need special filters for wet messes?
Yes, use a foam or rubber-sealed filter when vacuuming liquids—standard filters can’t handle moisture and may ruin your wet and dry vacuum cleaner.
📑 Table of Contents
- Why Wet and Dry Vacuums Are a Game-Changer
- Understanding Your Wet and Dry Vacuum: Features and Safety
- Step-by-Step: Using Your Vacuum for Dry Debris
- Mastering Wet Cleanup: Spills, Floods, and More
- Pro Maintenance Tips to Extend Your Vac’s Life
- Data Table: Wet and Dry Vacuum Use Cases & Solutions
- Putting It All Together: Your Pro Cleaning Routine
Why Wet and Dry Vacuums Are a Game-Changer
Let’s be honest—cleaning isn’t exactly the highlight of anyone’s day. But what if I told you there’s a single tool that can handle everything from spilled coffee to sawdust, wet messes, and even pet hair? Enter the wet and dry vacuum cleaner—a multitasking hero that’s often underestimated. I remember the first time I used one: I was renovating a small bathroom, and drywall dust was everywhere. Then, a pipe leaked. Instead of switching between a broom, mop, and regular vacuum, I grabbed my wet and dry vac and handled both in one go. Mind. Blown.
Unlike regular vacuums, which can short-circuit if they suck up liquids, wet and dry vacuums are built to handle both. They’re a staple in workshops, garages, and homes with active kids or pets. Whether you’re dealing with muddy paw prints, a flooded basement, or post-renovation debris, this machine is your all-in-one solution. But to use it like a pro, you need to know more than just “plug it in and go.” Let’s dive into how to get the most out of this versatile tool—safely and efficiently.
Understanding Your Wet and Dry Vacuum: Features and Safety
Key Components to Know
Before you start, take a moment to familiarize yourself with the main parts. Most models include:
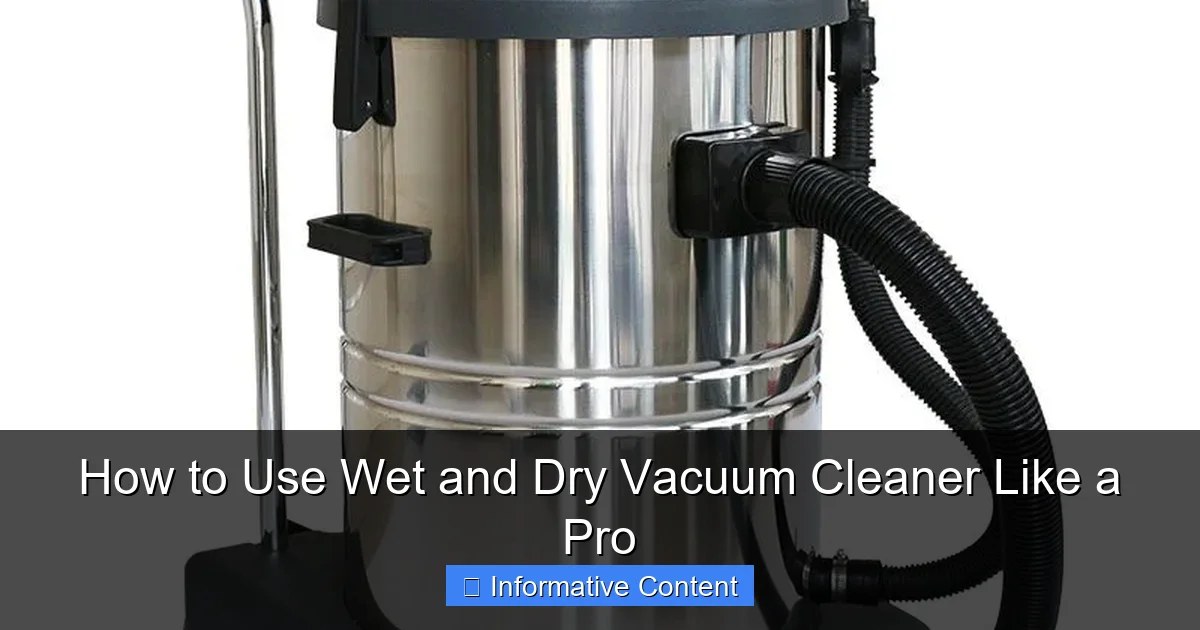
Visual guide about how to use wet and dry vacuum cleaner
Image source: cyclosa.co.za
- Motor head: Contains the suction motor and power switch.
- Tank: The collection bin for dry debris and liquids (usually 5–20 gallons).
- Filter system: A foam sleeve (for wet) or cartridge filter (for dry), sometimes with a HEPA layer.
- Hose and attachments: Crevice tool, brush nozzle, extension wands, and sometimes a squeegee for wet floors.
- Drain plug: Found on larger models to empty liquid without removing the motor.
One common mistake? Using the wrong filter. I once used a dry filter to clean up a juice spill—result: a clogged motor and a repair bill. Always check your manual!
Safety First: What You Can and Can’t Vacuum
Safety is non-negotiable. Here’s what to never vacuum:
- Hot ashes or embers (can melt internal parts)
- Sharp objects (nails, glass) that could puncture the tank
- Chemicals (gasoline, solvents, bleach)—they can damage seals or create fumes
- Large volumes of fine powder (like plaster dust) without a pre-filter
For wet use, always ensure the float valve (a plastic ball inside the tank) is working. It shuts off suction when the tank is full to prevent water from reaching the motor. Test it by filling the tank halfway with water and turning it on—the motor should stop when the water level rises.
Step-by-Step: Using Your Vacuum for Dry Debris
Preparing for Dry Cleaning
Start by attaching the dry filter—usually a pleated cartridge or reusable cloth filter. Some models have a built-in filter cage. If yours uses a foam sleeve, save it for wet jobs. Pro tip: Tap the filter gently over a trash can before each use to remove dust buildup. This keeps suction strong.
Next, choose the right attachment. For carpets, use the brush nozzle. For tight spaces (like between car seats), the crevice tool is perfect. I keep my extension wands in a bucket near the vac so I don’t lose them.
Best Practices for Dry Cleaning
- Work in sections: Don’t rush. Move slowly, overlapping each pass by 1–2 inches to avoid missing debris.
- Empty the tank when it’s 2/3 full: Overfilling reduces suction and can scatter dust when you open the tank.
- Use a pre-filter bag for fine dust: If you’re cleaning drywall, concrete, or pet litter, a disposable filter bag (sold separately) traps fine particles and makes cleanup easier.
Example: After sanding a wood floor, I used a pre-filter bag and the brush nozzle. The vac picked up 90% of the dust in one pass. The rest? A quick wipe with a microfiber cloth—done in 10 minutes.
Mastering Wet Cleanup: Spills, Floods, and More
Switching to Wet Mode
First, remove the dry filter. Then, insert the foam filter sleeve (it’s usually orange or black). This protects the motor from moisture. For large spills, attach the squeegee tool to the hose. It spreads liquid evenly so the vac can suck it up faster.
Important: Never tilt the vacuum more than 45 degrees when the tank has liquid. This keeps water away from the motor. I learned this the hard way—my first wet job left a puddle under the motor head!
Handling Common Wet Scenarios
- Spills (water, juice, pet accidents): Use the squeegee tool on hard floors. For carpets, blot with a towel first, then vacuum. Add a carpet cleaning solution if needed.
- Floods (basements, kitchens): Start from the lowest point. Use the wide nozzle to cover more area. Empty the tank frequently—don’t wait for the float valve to trigger.
- Pet messes: For urine, use an enzyme cleaner first, then vacuum. For vomit, scrape solids with a spoon before vacuuming.
Pro tip: After wet use, rinse the tank with clean water and let it air-dry. This prevents mold and odors. I keep a spray bottle of vinegar solution (1:1 water/vinegar) to wipe down the tank and hose.
Pro Maintenance Tips to Extend Your Vac’s Life
Daily and Weekly Care
Like any tool, your vacuum needs love. Here’s my routine:
- After each use: Empty the tank, rinse it (if wet), and wipe down the exterior.
- Weekly: Remove and wash the foam filter (let it air-dry for 24 hours). Check the hose for clogs—a bent paperclip can dislodge debris.
- Monthly: Inspect the float valve and seals. Replace cracked parts immediately.
One thing I do? Store the vac with the lid slightly open. This prevents moisture buildup and keeps the filter fresh.
When to Replace Filters and Parts
Filters aren’t forever. Replace the foam filter every 6–12 months, depending on use. The cartridge filter lasts longer but should be replaced if it’s torn or smells musty. For the tank, look for cracks or leaks—especially if you’ve dropped it. I once ignored a hairline crack, and water leaked onto my basement floor. Oops.
Cost-saving tip: Buy generic filters online. They’re often 30–50% cheaper than branded ones and work just as well.
Data Table: Wet and Dry Vacuum Use Cases & Solutions
| Scenario | Best Tool/Attachment | Filter Type | Pro Tip |
|---|---|---|---|
| Spilled coffee on carpet | Brush nozzle + carpet cleaner | Foam (wet) + pre-filter bag | Blot first, then vacuum to avoid spreading stains |
| Garage sawdust cleanup | Extension wand + brush nozzle | Dry cartridge filter | Use a pre-filter bag to reduce dust in the air |
| Basement flood (1-inch water) | Squeegee tool | Foam filter | Empty tank every 5 minutes to prevent overflow |
| Pet hair on hardwood | Crevice tool + extension wand | Dry filter | Vacuum in the direction of the wood grain |
| Car interior cleaning | Crevice tool + upholstery brush | Dry filter | Use the 12V car adapter for cordless convenience |
Putting It All Together: Your Pro Cleaning Routine
Now that you know the ins and outs, let’s tie it all together. Here’s my go-to checklist for any job:
- Assess the mess: Is it wet, dry, or a mix? Choose the right filter and tools.
- Prep the area: Move furniture, pick up large debris (e.g., broken glass), and protect the vac from sharp objects.
- Vacuum slowly: Don’t rush. Overlap each pass and let the machine do the work.
- Clean as you go: Empty the tank, rinse filters, and wipe down tools between uses.
- Store properly: Coil the hose loosely, keep attachments organized, and store in a dry place.
Remember: A wet and dry vacuum isn’t just for emergencies. I use mine weekly to clean my garage, car, and even my dog’s bed. It’s saved me time, money, and backaches from mopping.
The key to using it like a pro? Respect its limits, maintain it regularly, and never underestimate its power. Whether you’re a DIY enthusiast, a pet owner, or just someone who hates juggling multiple cleaning tools, this machine is worth every penny. So go ahead—tackle that mess. Your vac’s got your back.
🎥 Related Video: The best Wet and Dry Vacuum Cleaner to keep your home spotless #vacuumcleaner #vacuum #amazon 53
📺 Best Products
The best Wet and Dry Vacuum Cleaner to keep your home spotless #vacuumcleaner #vacuum #shorts #amazon Looking for the …
Frequently Asked Questions
How do I use a wet and dry vacuum cleaner for liquid spills?
To clean liquid spills, ensure the vacuum is set to “wet” mode (if applicable) and use a foam filter or no filter, as most models require. Empty the tank immediately after to prevent mold or damage.
Can I use a wet and dry vacuum cleaner on carpets and hard floors?
Yes! Most models come with adjustable floor heads or attachments. Use the brush or squeegee tool for carpets and hard floors, respectively, to maximize suction and avoid scratches.
What’s the right way to switch between wet and dry vacuuming?
Always power off and unplug the vacuum before switching. Remove the dust filter for wet jobs and reattach it for dry debris to protect the motor and maintain efficiency.
Do I need special bags for a wet and dry vacuum cleaner?
For dry debris, use disposable bags if your model supports them (check the manual). For wet messes, avoid bags entirely—direct tank collection is standard and easier to clean.
How do I maintain my wet and dry vacuum cleaner after use?
Clean the tank, filters, and attachments with water (if washable) and dry thoroughly before storage. Regular maintenance prevents clogs and extends the vacuum’s lifespan.
Why is my wet and dry vacuum losing suction during use?
Check for clogs in the hose or filters, ensure the tank isn’t full, and confirm the correct filter is installed (e.g., foam for wet jobs). Poor suction often signals a blocked path or incorrect setup.