Why Is My Vacuum Cleaner Not Turning On
If your vacuum cleaner isn’t turning on, don’t panic! The problem often stems from simple issues like a tripped circuit breaker, a faulty power cord, a clogged filter, or an overheated motor. This guide provides easy-to-follow steps to diagnose and fix these common problems, empowering you to get your vacuum back in action with minimal fuss.
There’s nothing quite as frustrating as gearing up to clean, only to have your trusty vacuum cleaner refuse to cooperate. One moment it was working fine, the next you press the power button, and… nothing. Just silence. If you’re staring at your silent cleaning companion wondering, “why is my vacuum cleaner not turning on?” you’re definitely not alone. It’s a common predicament, and the good news is that many of the reasons are surprisingly simple to diagnose and fix yourself.
Before you resign yourself to sweeping or, even worse, buying a brand new vacuum, take a deep breath. This comprehensive guide will walk you through a systematic troubleshooting process. We’ll explore the most frequent culprits behind a dead vacuum cleaner, from obvious power issues to sneaky internal problems. With a little patience and a few basic checks, you might just get your vacuum cleaner humming again and conquer that dust bunnies army.
Key Takeaways
- Always Start with Power: The most frequent reason your vacuum cleaner is not turning on is a problem with the electrical supply, including the outlet, power cord, plug, or a tripped circuit breaker/GFCI.
- Check for Overheating: Modern vacuums have a thermal cutout to prevent motor damage. If your vacuum suddenly stops and won’t restart, it likely needs to cool down for 30-60 minutes.
- Inspect for Blockages: Clogs in the hose, filters, or brush roll can cause the motor to overwork, leading to overheating or preventing the unit from turning on entirely.
- Examine Key Components: A faulty power switch, a blown internal fuse, or issues with the motor itself can prevent your vacuum from operating. These may require a professional or replacement parts.
- Don’t Overlook Simple Errors: Ensure all parts are correctly assembled, and for cordless models, check the battery charge and connections.
- Safety First: Always unplug your vacuum before performing any inspection or maintenance to prevent electric shock. If you’re unsure or uncomfortable, call a qualified technician.
Quick Answers to Common Questions
My vacuum stopped suddenly and won’t turn on. What’s the first thing I should check?
First, unplug the vacuum immediately. Then, check for signs of overheating like a hot motor and let it cool down for 30-60 minutes. Also, inspect for clogged filters or a full dust bin, as these commonly cause overheating.
Can a full vacuum bag or container really prevent my vacuum from turning on?
Yes, absolutely. A completely full bag or container severely restricts airflow, forcing the motor to work much harder. This extra strain generates excessive heat, which triggers the vacuum’s thermal cutout switch, preventing it from turning on.
What’s the difference between a circuit breaker and a GFCI outlet?
A circuit breaker protects an entire circuit in your home from overcurrents by tripping and cutting power at your electrical panel. A GFCI (Ground Fault Circuit Interrupter) outlet is a specific type of outlet designed to protect against electric shock by sensing imbalances in current and quickly cutting power directly at the outlet.
Is it safe to try to replace the power cord myself?
Replacing a power cord can involve working with live electrical components. If you are not experienced with electrical wiring and repairs, it is highly recommended to have a qualified appliance repair technician handle the replacement to ensure safety and proper functioning.
How often should I clean or replace my vacuum filters to prevent issues?
Most manufacturers recommend checking and cleaning washable filters every 1-3 months, and replacing non-washable or HEPA filters every 6-12 months, depending on usage. Check your vacuum’s owner’s manual for specific recommendations for your model.
📑 Table of Contents
Start with the Basics: Power Supply & Connections
When your vacuum cleaner is not turning on, the very first place to look is at its lifeline: the power supply. This category covers everything from the wall outlet to the cord connecting your vacuum to that outlet. It might seem obvious, but these are often the easiest and most overlooked solutions.
Checking the Power Outlet
The simplest starting point is to make sure the wall outlet itself is working. Sometimes, it’s not your vacuum cleaner at all, but the power source. Here’s how to check:
- Test with Another Device: Unplug your vacuum and plug in another small appliance that you know works, like a lamp or a phone charger. If the other device doesn’t work either, the problem is with the outlet, not your vacuum.
- Look for Tripped Breakers: If the outlet isn’t working, check your home’s electrical panel for a tripped circuit breaker. Circuit breakers are safety devices that cut power to prevent overloads. Flip the tripped breaker firmly to the “off” position and then back to “on.”
- GFCI Outlets: If your vacuum was plugged into a GFCI (Ground Fault Circuit Interrupter) outlet (common in bathrooms, kitchens, and garages), check if the “reset” button has popped out. Press it firmly to reset the outlet.
If the outlet is working fine with another appliance, then you know the issue lies specifically with your vacuum cleaner.
Inspecting the Power Cord and Plug
The power cord is under constant stress from being pulled, bent, and wrapped. Over time, it can suffer damage. A damaged cord is a common reason why your vacuum cleaner is not turning on.
- Visual Inspection: Carefully examine the entire length of the power cord, from the plug to where it enters the vacuum cleaner body. Look for any visible signs of damage: cuts, fraying, kinks, exposed wires, or burn marks.
- Plug Condition: Check the prongs on the plug. Are they bent or loose? Is there any discoloration or melting around the plug, indicating a short circuit or overheating?
- Cord Retraction Mechanism: For vacuums with retractable cords, ensure the cord is fully extended. Sometimes, a partially retracted cord can cause poor connection. Pull it out completely, then test.
Safety Tip: If you find any damage to the cord or plug, do NOT attempt to use the vacuum. Using a damaged cord can be a serious electrical hazard. It’s best to have the cord replaced by a qualified technician or consider if the vacuum is worth repairing.
Internal Electrical Issues: The Heart of the Problem
If the external power supply checks out, it’s time to delve a little deeper into the vacuum cleaner’s own electrical system. These issues can be a bit more complex, but some are still within the realm of DIY repair for the handy individual.
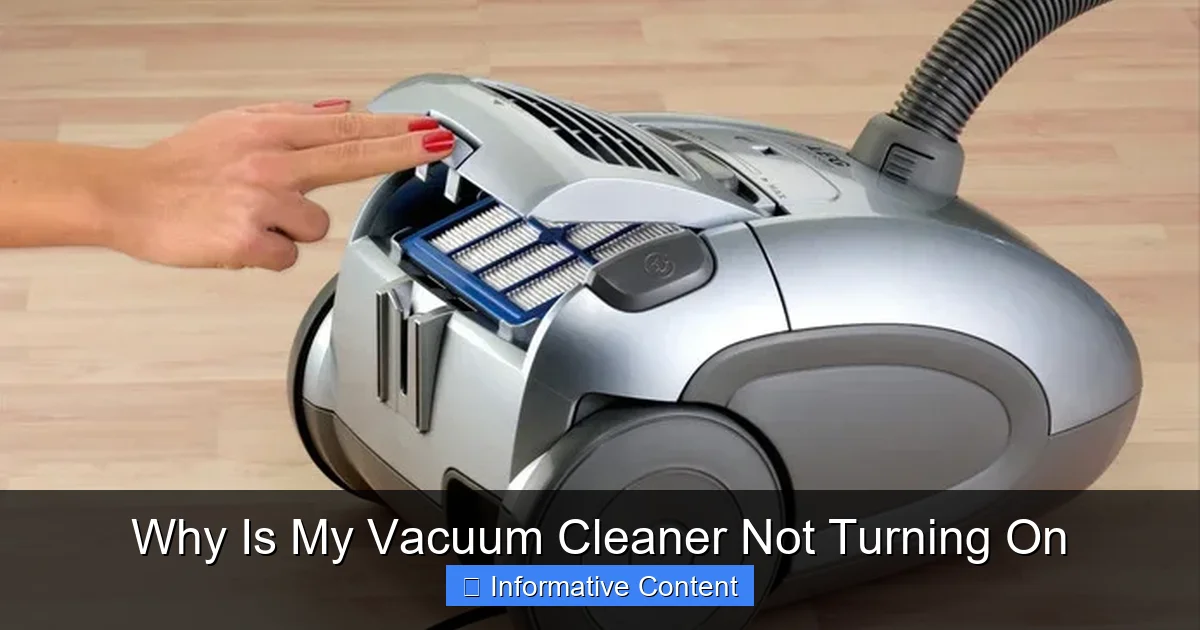
Visual guide about Why Is My Vacuum Cleaner Not Turning On
Image source: applianceanalysts.com
A Look at the Power Switch
The power switch is a mechanical component that can wear out over time. If your vacuum cleaner is not turning on, a faulty switch could be the culprit.
- Tactile Test: When you press the power button, does it feel “normal”? Does it click firmly into place, or does it feel loose, sticky, or unresponsive?
- Continuity Test (Advanced): If you’re comfortable with electrical testing and have a multimeter, you can test the continuity of the switch. With the vacuum unplugged and the switch removed (if possible), set your multimeter to continuity mode. You should get a reading when the switch is in the “on” position and no reading when it’s “off.” If it fails this test, the switch is likely bad.
Replacing a power switch is often a straightforward repair, but it does require opening the vacuum cleaner’s casing, which can vary in complexity depending on the model.
Blown Fuses (Internal and External)
Just like your home’s electrical system, some vacuum cleaners have fuses to protect their internal components from power surges or overloads. If your vacuum cleaner is not turning on, a blown fuse is a definite possibility.
- External Fuses: Some older or heavy-duty vacuums might have an easily accessible external fuse, often located near where the power cord enters the unit. Check your owner’s manual for its location. If it’s blown (the wire inside will be broken), replace it with an identical fuse.
- Internal Fuses: Many vacuums have internal fuses on the circuit board, which are harder to access and replace. If you suspect an internal fuse, and you’re not experienced with electronics, it’s best to consult a professional.
A fuse blowing usually indicates an underlying problem, so even if you replace it, consider why it blew in the first place (e.g., motor overload, short circuit).
Motor Problems: When All Else Fails
The motor is the heart of your vacuum cleaner. If it’s truly dead, your vacuum cleaner is not turning on for a very serious reason. Motor issues are usually the most expensive repairs and might signal that it’s time for a new unit.
- Burning Smell: Did you notice any burning smell before the vacuum stopped working? This is a strong indicator of motor burnout.
- Abnormal Noises: Was the motor making any unusual grinding, squealing, or extremely loud noises before it quit? These can be signs of bearing failure or other internal damage.
- Complete Silence: If there’s no power, no whirring, and no faint hum whatsoever even after checking everything else, the motor might have failed entirely.
Motor replacement is complex and costly. If your vacuum is old, replacing the motor might not be economically viable compared to buying a new one.
Overheating and Thermal Cutout Protection
This is one of the most common reasons why a vacuum cleaner suddenly stops working and won’t restart. Modern vacuum cleaners are equipped with a crucial safety feature called a thermal cutout switch (or thermal protector). If the motor starts to overheat, this switch automatically cuts power to prevent damage to the motor and potential fire hazards. If your vacuum cleaner is not turning on after prolonged use, this is very likely the cause.
Why Vacuums Overheat
Several factors can lead to your vacuum’s motor overheating:
- Clogged Filters: Heavily clogged filters restrict airflow, forcing the motor to work much harder to maintain suction. This increased strain generates excess heat.
- Full Dust Bin/Bag: Similar to clogged filters, an overflowing dust bin or bag severely impedes airflow, causing the motor to strain.
- Blocked Hose or Attachments: Any obstruction in the hose, wand, or floor tool will reduce airflow and make the motor overexert itself.
- Brush Roll Entanglements: Hair, string, or carpet fibers wrapped tightly around the brush roll can prevent it from spinning freely, putting immense strain on the motor.
- Prolonged Use: Using the vacuum for very long periods, especially on thick carpets, can simply cause the motor to heat up beyond its safe operating temperature.
How to Reset a Thermal Cutout
If you suspect overheating is why your vacuum cleaner is not turning on, here’s what to do:
- Unplug the Vacuum: Absolutely essential for safety!
- Address the Cause: This is critical. Check for and clear any blockages in the hose, wand, floor tool, and brush roll. Empty the dust bin/bag and clean or replace dirty filters.
- Allow it to Cool Down: Give the vacuum cleaner at least 30 to 60 minutes to cool down completely. For stubborn cases, it might need even longer.
- Attempt to Restart: Once sufficiently cooled and all potential causes of overheating have been addressed, plug it back in and try turning it on.
If it turns on after cooling, you’ve successfully reset the thermal cutout. Make sure to regularly clean filters and empty the bin to prevent future overheating.
Blockages and Clogs: More Than Just Suction Loss
While often associated with poor suction, severe blockages can also be a direct cause of your vacuum cleaner not turning on, especially if they lead to motor overheating and the thermal cutout activating. If your vacuum cleaner is not turning on, a clog could be the hidden villain.
Hose and Wand Obstructions
The hose is a prime spot for larger debris to get stuck. A significant blockage can impede airflow so much that the motor cannot function or overheats immediately.
- Disconnect and Inspect: Remove the hose from both the vacuum body and any attached wands or floor tools.
- Visual Check: Look through the hose from both ends. For opaque hoses, gently bend and feel for hard lumps.
- Physical Removal: If you spot a clog, try to dislodge it with a broom handle or a sturdy stick (avoid using anything sharp that could pierce the hose). Push through from both ends if necessary.
Dirty or Clogged Filters
Filters are your vacuum’s lungs. When they become caked with dust and debris, they choke the airflow, making the motor struggle. This increased strain can cause the motor to overheat and trip the thermal cutout, meaning your vacuum cleaner is not turning on.
- Locate and Inspect: Check your owner’s manual for the location of all filters (pre-motor, post-motor/HEPA).
- Clean or Replace: For washable filters, rinse them thoroughly under cold water and allow them to air dry completely (usually 24-48 hours) before putting them back. Non-washable filters or HEPA filters usually need to be replaced periodically.
Pro Tip: Regular filter maintenance is one of the easiest ways to prolong your vacuum’s life and prevent it from failing to turn on.
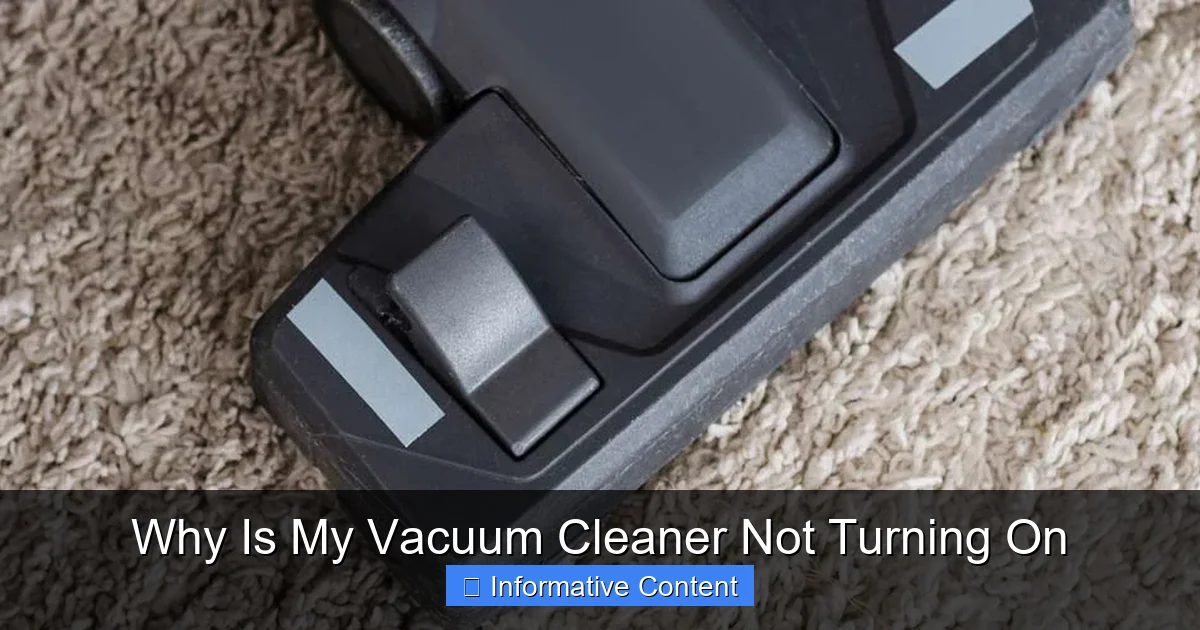
Brush Roll Entanglements
For upright and stick vacuums, the brush roll (or beater bar) is essential for agitating carpet fibers. If it’s severely jammed, it can prevent the motor from even attempting to start, or it can cause the motor to overheat.
- Flip and Inspect: Turn the vacuum over (after unplugging it!) to expose the brush roll.
- Clear Debris: Use scissors or a utility knife to carefully cut away tangled hair, thread, carpet fibers, or any other debris wrapped around the brush roll. Be gentle to avoid damaging the bristles or belt.
- Check the Belt: While you’re there, inspect the drive belt that connects the brush roll to the motor. If it’s broken, stretched, or dislodged, the brush roll won’t spin, and this could also prevent the motor from engaging fully or cause it to overheat. Replacing a belt is usually a simple and inexpensive repair.
User Error & Simple Overlooks
Sometimes, the solution to “why is my vacuum cleaner not turning on” is surprisingly simple, stemming from a small oversight or a specific feature of your vacuum model.
Is it Assembled Correctly?
Many modern vacuums, especially stick and cordless models, have safety interlocks. If certain parts aren’t fully clicked into place, the vacuum simply won’t power on. This is a common design to prevent accidents or damage if a part isn’t secure.
- Canister Models: Ensure the dust canister or bag compartment is fully seated and latched.
- Upright Vacuums: Confirm the handle is fully inserted and locked.
- Stick Vacuums: Make sure the dust cup, main unit, and floor head are all securely connected.
Give each removable part a firm wiggle to ensure it’s properly seated.
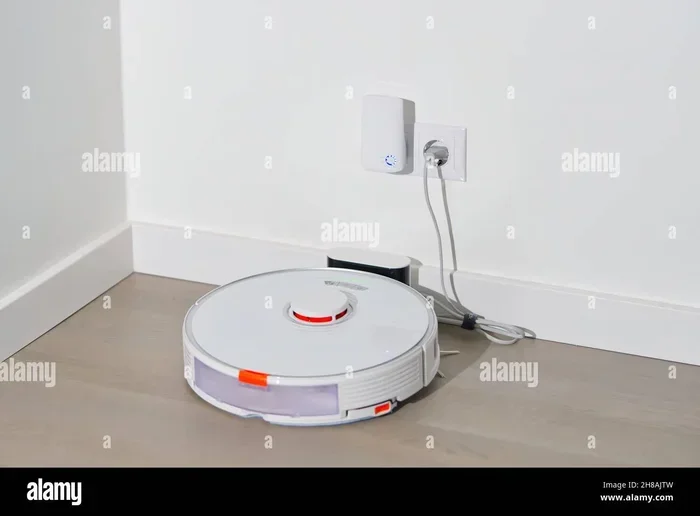
Battery Issues for Cordless Models
If you own a cordless vacuum cleaner, the “why is my vacuum cleaner not turning on” question often points directly to battery issues. These can be different from corded models.
- Battery Charge: Is the battery fully charged? Connect it to its charger and observe the charging indicator lights. If there are no lights, check the charger itself and the wall outlet.
- Battery Seating: Ensure the battery pack is correctly inserted and locked into the vacuum. Remove it and reinsert it firmly.
- Battery Health: Lithium-ion batteries degrade over time. If your vacuum is old and the battery barely holds a charge, or shows no signs of life, it might be dead. Some batteries can be replaced; check your model’s availability.
- Charger Malfunction: Test the charger with another compatible device if possible, or check for any damage to the charger’s cord or plug.
When to Call a Professional or Consider a Replacement
After going through all these steps, if your vacuum cleaner is still not turning on, it might be time to bring in the experts or, for older models, consider if it’s worth the investment.
Safety First: When Not to DIY
While many checks are safe for DIY, there are times when you should absolutely stop and call a professional:
- Internal Wiring: If the problem seems to be deep within the vacuum’s electrical system, and you’re not trained in electrical repairs, do not attempt to open it up further than recommended in the manual.
- Smoke or Burning Smells: If you smelled smoke or saw sparks before it died, or if you still smell burning even after it’s off, unplug it immediately and call a professional. This indicates a serious electrical fault.
- Warranty: If your vacuum is still under warranty, attempting complex DIY repairs might void it. It’s usually best to contact the manufacturer’s service center.
Cost-Benefit Analysis
If the issue is a major component like the motor or a complex circuit board, the repair cost can sometimes approach or even exceed the price of a new vacuum cleaner, especially for budget models. Consider these factors:
- Age of the Vacuum: How old is your vacuum? Older models might have other components nearing the end of their lifespan, making a costly repair less sensible.
- Repair Cost vs. New Cost: Get an estimate for the repair. Compare it to the cost of a similar new vacuum.
- Brand and Model: High-end vacuums might be worth repairing due to their initial investment and overall quality. Cheaper models might be more economically replaced.
Sometimes, the most practical solution to “why is my vacuum cleaner not turning on” is to let go and invest in a new, more efficient model.
So, the next time your vacuum cleaner is not turning on, remember this guide. By systematically checking the power, looking for overheating signs, clearing blockages, and ruling out simple errors, you’ll likely identify and resolve the issue yourself. It’s empowering to fix things around the house, and getting your vacuum back in working order means you can get back to a clean home faster!
🎥 Related Video: Vacuum Not Working? How to Replace the Fuse. #diy #shorts #home
📺 RealHouseDIY
Frequently Asked Questions
What are the most common reasons a vacuum cleaner won’t turn on?
The most common reasons a vacuum cleaner won’t turn on include power supply issues like a tripped circuit breaker or a faulty cord, an activated thermal cutout due to overheating from clogs or full bags, or a faulty power switch.
How can I check if the wall outlet is the problem?
To check the wall outlet, simply unplug your vacuum and plug in another small appliance, like a lamp or phone charger, that you know is working. If the other appliance doesn’t power on, the issue is with your outlet, not your vacuum cleaner.
What should I do if my vacuum cleaner is overheating?
If your vacuum cleaner is overheating, unplug it immediately. Clear any blockages in the hose, filters, or brush roll, and empty the dust bin or bag. Then, allow the vacuum to cool down for at least 30-60 minutes before attempting to use it again.
Can a clogged hose cause my vacuum not to turn on?
Yes, a severely clogged hose can significantly impede airflow, forcing the vacuum’s motor to work excessively hard. This can lead to overheating, which then triggers the thermal cutout switch, preventing the vacuum from turning on.
When should I consider replacing my vacuum cleaner instead of repairing it?
You should consider replacing your vacuum cleaner if the repair cost for a major component (like the motor) is close to or exceeds the price of a new unit, especially if the vacuum is old. Also, if there are multiple recurring problems, a new vacuum might be a more cost-effective and reliable long-term solution.
Are there any safety precautions I should always take before troubleshooting my vacuum?
Absolutely, safety is paramount. Always unplug your vacuum cleaner from the power outlet before performing any inspection, maintenance, or repair to prevent electric shock. If you are ever unsure about a repair, it’s best to consult a qualified professional.