How to Clean Your Vacuum Cleaner: A Complete Informational Guide
Learning how to clean your vacuum cleaner is essential for keeping your home spotless and your appliance in top shape. This guide breaks down the process into easy steps, showing you how to tackle dustbins, filters, brush rolls, and hoses. Regular vacuum maintenance ensures powerful suction, prevents odors, and significantly extends the life of your cleaning companion.
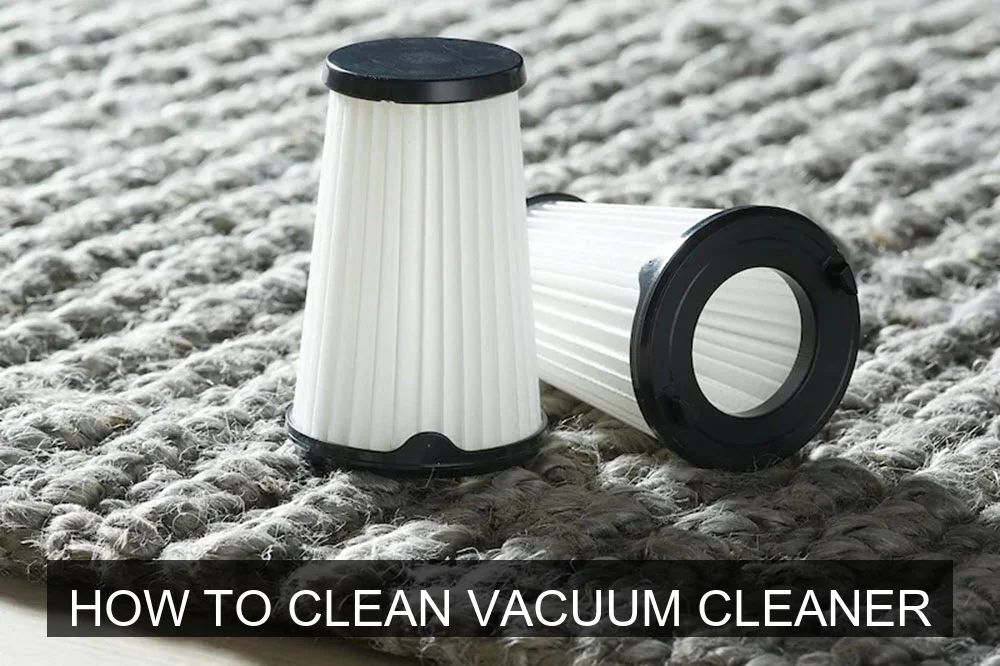
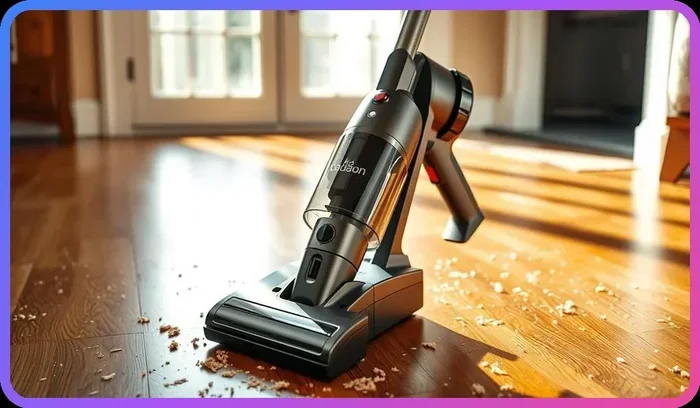
Image source: Electroluxarabia
📋 Table of Contents
- 🔹 Introduction: Why Cleaning Your Vacuum Matters
- 🔹 What Exactly is Cleaning a Vacuum Cleaner?
- 🔹 Why is Regular Vacuum Cleaning So Important?
- 🔹 How to Clean Your Vacuum Cleaner: A Step-by-Step Guide
- 🔹 The Benefits of a Regularly Cleaned Vacuum
- 🔹 Common Mistakes to Avoid When Cleaning Your Vacuum
- 🔹 Practical Tips for Keeping Your Vacuum in Top Condition
- 🔹 When Should You Clean Your Vacuum Cleaner?
- 🔹 Frequently Asked Questions (FAQ)
- 🔹 Conclusion
Introduction: Why Cleaning Your Vacuum Matters
Ever wonder why your once-mighty vacuum isn’t picking up dirt like it used to? Or perhaps you’ve noticed a strange smell wafting from it as you clean? The truth is, your vacuum cleaner, despite its job of picking up dirt, also gets dirty itself. Just like any other hardworking appliance, it needs regular care to keep doing its best.
This guide will show you exactly how to clean your vacuum cleaner. We’ll walk through the process step-by-step, explain why each part matters, and offer tips to help you get the most out of your cleaning machine. By the end, you’ll feel confident tackling this essential maintenance task, ensuring your vacuum remains a powerful ally in keeping your home tidy.
What Exactly is Cleaning a Vacuum Cleaner?
Cleaning a vacuum cleaner isn’t just about emptying the dirt it collects. It’s a comprehensive process that involves disassembling key components, removing blockages, clearing trapped debris, and cleaning or replacing filters. Essentially, it’s a deep dive into the parts that handle airflow and dirt collection, ensuring everything is clear and functioning as intended. This maintenance prevents performance issues, extends the vacuum’s life, and maintains healthy air quality in your home.
Why is Regular Vacuum Cleaning So Important?
Cleaning your vacuum cleaner might seem counterintuitive, since its main job is to clean, but it’s incredibly important for several reasons:
- Maintains Suction Power: Over time, dust, hair, and debris clog filters, tangle brush rolls, and block hoses. This greatly reduces your vacuum’s suction, making it less effective at picking up dirt. A clean vacuum works at its peak performance.
- Extends Appliance Lifespan: When parts are clogged, the motor has to work much harder to maintain suction. This extra strain can lead to overheating and premature wear and tear, shortening the life of your appliance. Regular cleaning reduces this stress.
- Prevents Unpleasant Odors: Vacuums often suck up things like pet hair, food crumbs, and general grime. Over time, these can decompose inside the dustbin or filters, leading to stale, musty, or even foul odors that spread as you vacuum. Cleaning eliminates these odor sources.
- Improves Air Quality: Dirty filters can’t trap dust, allergens, and pet dander effectively. Instead, these particles might be released back into the air you breathe, potentially worsening allergies or respiratory issues. Clean filters mean cleaner air.
- Saves Time and Effort: A vacuum that works efficiently means you spend less time re-vacuuming the same spots. It gets the job done right the first time, saving you effort in the long run.
How to Clean Your Vacuum Cleaner: A Step-by-Step Guide
Ready to give your vacuum the TLC it deserves? Here’s how to clean your vacuum cleaner effectively, broken down into manageable steps.
1. Pre-Cleaning Preparations
Before you start, safety first! Always make sure your vacuum cleaner is completely unplugged from the wall. This prevents accidental startups and protects you from electrical hazards. It’s also a good idea to lay down an old towel or newspaper, as cleaning can be a bit messy, especially with all that dust!
- Unplug: Absolutely essential for safety.
- Gather Tools: You’ll likely need scissors or a seam ripper, a small brush (like an old toothbrush), a microfiber cloth, a garbage can, and perhaps some mild soap and water for washable parts.
2. Emptying and Cleaning the Dustbin or Bag
This is often the first and most obvious step, but there’s a right way to do it.
For Bagless Vacuums:
- Remove the Dustbin: Detach the dustbin from the vacuum body.
- Empty Contents: Hold the dustbin over a garbage can and open the bottom flap to release the dirt. Give it a good tap to loosen any stubborn debris.
- Wipe Down: Use a damp cloth to wipe out the inside of the dustbin, removing any clinging dust or grime. For a deeper clean, you can often rinse bagless dustbins with lukewarm water. Always check your vacuum’s manual first! If you rinse it, make sure it’s completely dry before reattaching it to the vacuum.
For Bagged Vacuums:
If your vacuum uses bags, simply remove the full bag and dispose of it properly. Replace it with a new one. There’s usually not much more to clean here, beyond wiping down the bag compartment if it looks dusty.
3. Checking and Cleaning Filters
Filters are crucial for trapping dust and allergens. Most vacuums have at least one filter, sometimes more.
- Locate Filters: Refer to your vacuum’s manual to find all the filters. Common types include pre-motor filters (often near the dustbin) and post-motor/HEPA filters (often near the exhaust).
- Assess Condition: Gently remove each filter. If a filter looks extremely dirty, torn, or damaged, it might be time for a replacement.
- Clean Filters:
- Washable Filters: Many modern filters are washable. If yours are, rinse them under cool running water until the water runs clear. Gently squeeze out excess water. Let them air dry completely for at least 24 hours before putting them back in. This is critical to prevent mold and damage to the vacuum.
- Non-Washable Filters: For non-washable filters (often made of paper or foam that isn’t designed for water), tap them gently over a trash can to dislodge loose dust. You can use a soft brush or another vacuum (if you have one handy!) to carefully suction off surface dust.
Always consult your vacuum’s manual to confirm if filters are washable and for specific cleaning instructions.
4. Untangling and Cleaning the Brush Roll
The brush roll, also called the beater bar, is what agitates carpets and sweeps dirt into the suction path. It’s a magnet for hair, threads, and fibers.
- Access the Brush Roll: Turn your vacuum over or detach the floorhead. You’ll usually see a plate or cover that needs to be removed (often with screws or latches).
- Remove Debris: Use scissors or a seam ripper to carefully cut away any tangled hair, string, or threads wrapped around the brush roll. Be gentle to avoid damaging the bristles or the brush roll itself. Pull the cut debris away.
- Clean the Brush: Use your fingers or a small brush to remove any remaining dust and debris from the bristles and the ends of the brush roll. Check the bearings at each end for any obstructions.
- Wipe Down Housing: Wipe the area around where the brush roll sits to remove accumulated dust.
5. Clearing Hoses and Attachments
Hoses are common places for clogs, especially if you’ve accidentally vacuumed something larger than intended.
- Detach Hoses: Remove all flexible hoses and any attachments (crevice tool, upholstery brush, etc.) from the vacuum.
- Check for Clogs: Look through each hose. If you can’t see daylight through it, there’s a clog. You might need to use a broom handle or a long, thin object (like a straightened coat hanger) to gently push the blockage through. Be careful not to puncture or damage the hose.
- Clean Attachments: Wipe down your attachments with a damp cloth to remove dust and grime. If they’re particularly dirty, a quick wash with mild soapy water and a thorough rinse and dry works wonders.
6. Wiping Down the Exterior
Don’t forget the outside! A clean exterior contributes to a generally fresher feel.
- Use a Damp Cloth: Wipe down the entire body of your vacuum with a slightly damp microfiber cloth. This removes surface dust and fingerprints.
- Detailing: Use a small brush or a cotton swab to clean in crevices and around buttons.
7. Drying and Reassembly
Patience is key here, especially for wet components.
- Ensure Dryness: Make absolutely sure all washed parts, especially filters and dustbins, are completely dry before you put them back into the vacuum. Moisture inside can lead to mold or damage electrical components.
- Reassemble: Put all the parts back together in reverse order of how you disassembled them. Make sure everything clicks into place securely.
The Benefits of a Regularly Cleaned Vacuum
Taking the time to clean your vacuum cleaner offers a range of practical advantages that go beyond just a tidier machine:
- Optimal Performance: Your vacuum will pick up more dirt, dust, and debris with less effort. This means cleaner floors and carpets.
- Healthier Home Environment: Clean filters capture allergens more effectively, leading to better air quality for you and your family. This is especially beneficial for those with allergies or asthma.
- Cost Savings: Regular maintenance can prevent costly repairs or the need to replace your vacuum prematurely. It also ensures efficient operation, which might subtly reduce energy consumption.
- A Fresh Smell: Say goodbye to that stale, “vacuum cleaner smell.” A clean machine helps keep your home smelling fresh and clean.
- Improved User Experience: It’s simply more pleasant to use a vacuum that works well, doesn’t smell, and isn’t fighting against clogs.
Common Mistakes to Avoid When Cleaning Your Vacuum
While cleaning your vacuum isn’t complicated, there are a few pitfalls to steer clear of:
- Forgetting to Unplug: This is the most dangerous mistake. Always unplug the vacuum before touching any internal parts.
- Not Checking the Manual: Every vacuum is a little different. Your manual has specific instructions for cleaning certain parts, especially filters. Don’t assume all filters are washable!
- Not Letting Filters Dry Completely: Putting a damp filter back into your vacuum can lead to mold growth and potentially damage the motor. Patience is key.
- Using Harsh Chemicals: Stick to mild soap and water for washable parts, or just a damp cloth for others. Harsh cleaners can damage plastics or sensitive components.
- Forcing Components: If a part isn’t coming off easily, recheck your manual. Forcing it can break clips or plastic pieces.
- Ignoring the Brush Roll: Many people focus on the dustbin and filters but forget the brush roll. This is a crucial area for maintaining effective cleaning.
Practical Tips for Keeping Your Vacuum in Top Condition
Beyond a deep clean, these habits can help maintain your vacuum’s health:
- Empty the Dustbin Often: Don’t wait until it’s overflowing. A full dustbin reduces suction.
- Cut Hair from Brush Roll Regularly: A quick snip-snip of tangled hair after every few uses prevents major blockages.
- Check Hoses Periodically: Give the hose a quick check for blockages, especially if suction seems low.
- Use the Right Settings: Adjust your vacuum’s height settings for different carpet pile lengths to avoid overworking the brush roll or motor.
- Avoid Wet Messes: Unless you have a wet/dry vacuum, avoid vacuuming liquids. This can cause severe damage.
- Mind What You Vacuum: Try not to vacuum large debris like paper clips, coins, or large pieces of glass, which can clog hoses or damage internal parts.
When Should You Clean Your Vacuum Cleaner?
The frequency of cleaning your vacuum cleaner depends on several factors, including how often you use it, whether you have pets, and if anyone in your home has allergies. As a general rule:
- Dustbin: Empty after every use or when it’s two-thirds full.
- Brush Roll: Check and clear tangled hair every 2-4 uses, or more often if you have long-haired pets.
- Washable Filters: Rinse monthly or every 3-6 months, depending on usage and manufacturer recommendations. Always ensure they dry completely.
- Non-Washable Filters: Tap clean monthly and replace every 6-12 months, or as recommended by the manufacturer.
- Hoses and Attachments: Check for clogs as needed, especially if you notice a drop in suction. Give attachments a wipe-down quarterly or semi-annually.
- Deep Clean: A comprehensive deep clean, following all the steps in this guide, is a good idea every 3-6 months.
Basically, if you notice reduced suction, unusual noises, or bad smells, it’s probably time for a clean!
Frequently Asked Questions (FAQ)
How often should I clean my vacuum?
You should empty the dustbin after every use. For deeper cleaning, aim to clear the brush roll monthly, rinse washable filters every 3-6 months, and perform a full deep clean every 3-6 months, or more often if you have pets or heavy use.
Can I wash my vacuum cleaner’s filters?
Some filters are washable, while others are not. Always check your vacuum cleaner’s user manual to confirm if your specific filters are designed to be washed. If they are, rinse them with cool water and let them air dry completely for at least 24 hours before reinserting them.
What tools do I need to clean my vacuum?
Basic tools usually include scissors or a seam ripper for cutting hair, a small brush (like an old toothbrush) for scrubbing, a microfiber cloth for wiping, and a garbage can for disposal. Sometimes a coin or screwdriver might be needed to open access panels.
Is it okay to use water on vacuum parts?
Water is safe for cleaning plastic dustbins, washable filters (if specified by the manufacturer), and external attachments. However, never use water on electrical components, non-washable filters, or any part that isn’t expressly designed to get wet. Always ensure parts are completely dry before reassembling.
What if my vacuum still smells after cleaning?
If your vacuum still smells after a thorough cleaning, check that all parts (especially filters) were completely dry before reassembly. The smell might also indicate a deeper clog you missed in the hose, or it could be time to replace older, non-washable filters that have absorbed odors over time.
Conclusion
Knowing how to clean your vacuum cleaner is more than just a chore; it’s an investment in your home’s cleanliness and your appliance’s longevity. By regularly emptying the dustbin, cleaning filters, untangling the brush roll, and clearing hoses, you can ensure your vacuum maintains its powerful suction and continues to effectively remove dirt, dust, and allergens from your living space.
This simple maintenance routine not only keeps your vacuum working its best but also helps prevent those unwelcome odors and costly repairs. So, make it a habit to show your vacuum a little love, and it’ll repay you with years of sparkling clean floors and a healthier home environment. Happy cleaning!