How to Increase Vacuum Cleaner Lifespan
Featured image for How to Increase Vacuum Cleaner Lifespan
Image source: i0.wp.com
Extending your vacuum cleaner’s life is all about simple, regular maintenance. By following a routine of emptying bags or canisters, cleaning filters, checking belts and brushes, and performing occasional deep cleans, you can prevent most common failures. This guide provides a step-by-step plan to keep your machine running powerfully for years, saving you money on repairs and replacements.
Key Takeaways
- Empty Before It’s Full: Regularly emptying the bag or canister prevents motor strain, maintains suction, and is the single most important habit for longevity.
- Filter Care is Non-Negotiable: Clogged filters choke your vacuum’s airflow, forcing the motor to overwork. Clean or replace them according to the manufacturer’s schedule.
- Inspect Moving Parts Often: Check the brush roll for tangled hair and debris, and inspect the drive belt for wear every few months to prevent damage to the agitator and motor.
- Prevent Clogs Proactively: Be mindful of what you vacuum. Large debris, liquids, and fine powders can cause blockages that strain the entire system.
- Clean the Machine Itself: Wipe down the exterior and clean the hose, wand, and attachments periodically to remove grime and ensure optimal airflow.
- Store it Properly: Keep your vacuum in a cool, dry place, wrap the cord loosely, and store attachments neatly to prevent physical damage and electrical issues.
- Know When to Call a Pro: For electrical problems, strange noises, or persistent loss of suction despite basic maintenance, consult a professional repair service.
Quick Answers to Common Questions
How often should I replace my vacuum bags?
Replace bagged vacuum bags when they are about 3/4 full, not packed solid. For most homes, this means changing the bag every 1-3 months. A fuller bag drastically reduces suction and strains the motor.
Can I wash all vacuum filters?
No. Only wash filters that your manual specifies as washable (typically foam or felt). Never wash paper, pleated, or genuine HEPA filters—this ruins them. Always let washable filters dry completely for 24 hours before reusing.
What should I never vacuum up?
Avoid vacuuming large quantities of fine ash or plaster dust, liquids, large sharp objects, fireplace embers, or anything wet and sticky. These can clog, damage the fan, or create electrical hazards.
Why is my vacuum so hard to push on carpet?
This is often due to the height setting being too low, a full bag/canister, clogged filters, or a tangled brush roll. First, adjust the height setting, then check the other maintenance points. For specific brand issues, you can read about why a Shark vacuum is hard to push or why a Dyson vacuum is hard to push.
Is it worth repairing an old vacuum?
Often, yes! If the motor is still good, common repairs like replacing a belt, hose, or brush roll are inexpensive and can extend the life for several more years. It’s more economical and eco-friendly than buying new.
How to Increase Vacuum Cleaner Lifespan
Your vacuum cleaner is a hardworking appliance. It tackles dust, pet hair, and all the debris of daily life. But like any hard worker, it needs proper care to perform its best for a long time. Replacing a vacuum is a significant expense. The good news is that with some simple, regular maintenance, you can dramatically increase your vacuum cleaner lifespan and protect your investment.
This complete guide will walk you through the essential steps, from daily habits to annual check-ups. Whether you have a bagless canister, an upright, a stick model, or a robot vacuum cleaner, these principles apply. Let’s dive in and learn how to keep your vacuum running like new for years to come.
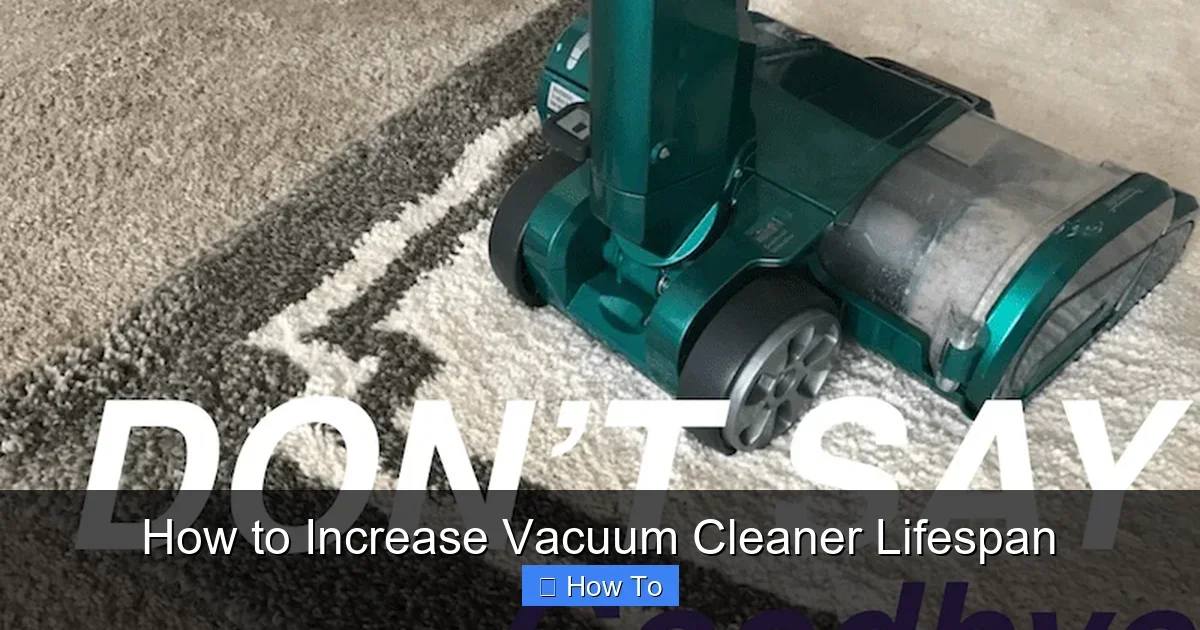
Step 1: Master the Art of Emptying
This is the most critical step. A full bag or canister is the number one cause of reduced suction and motor strain.
Visual guide about How to Increase Vacuum Cleaner Lifespan
Image source: elswoodsdirect.com
For Bagless Models:
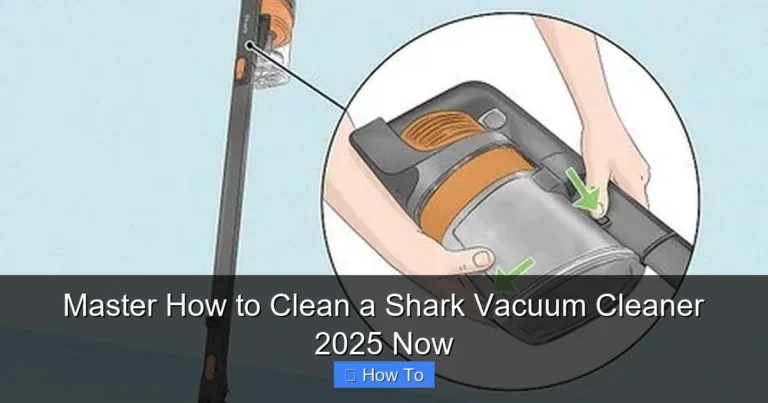
Don’t wait for the “full” indicator. Empty the dust cup when it’s about 2/3 full. Emptying it over a trash can inside is messy. Take it outside. Tap the cup gently to dislodge fine dust. For a deeper clean, wash the dust cup with warm, soapy water every few months. Let it dry completely before reinstalling.
For Bagged Models:
Replace the bag before it’s completely packed solid. Most bags have a fill line. Heed it! A overstuffed bag restricts airflow, forcing the motor to work harder and overheat. Changing the bag more often is cheaper than a new motor.
Step 2: Become a Filter Fanatic
Filters protect your vacuum’s motor from fine dust. A clogged filter is like trying to breathe through a wet blanket.
Identify Your Filters:
Most vacuums have at least two: a pre-motor filter (protects the motor) and an exhaust filter (cleans the outgoing air, important for allergy sufferers). Check your manual.
Cleaning Schedule:
For washable foam or felt filters, rinse them under lukewarm water until the water runs clear. Never use detergent. Let them air dry for at least 24 hours – never put a damp filter back in! For paper or HEPA filters, replacement is usually necessary. Follow the manufacturer’s schedule, but if you vacuum often or have pets, you may need to clean or replace them more frequently.
Step 3: Give the Brush Roll and Belt Some Love
This is the heart of carpet cleaning on upright and canister models. Neglect here leads to poor performance and breakdowns.
Free the Brush Roll:
Weekly, turn the vacuum over and cut away hair, strings, and carpet fibers wrapped around the brush roll (agitator). Use scissors or a seam ripper. A tangled brush roll can’t spin properly, reduces suction at the head, and can burn out the belt or motor.
Inspect and Replace the Belt:
Every 3-6 months, check the drive belt. Turn off and unplug the vacuum. Remove the brush roll cover. Look at the belt. Is it stretched, glazed (shiny), cracked, or broken? A worn belt won’t spin the brush effectively. Replacing a vacuum cleaner belt is a simple, low-cost DIY task for most models that can prevent major damage.
Step 4: Prevent Clogs and Blockages
Stopping a problem before it starts is key to increasing vacuum cleaner lifespan.
Be Mindful of Debris:
Pick up large objects like paper clips, coins, and LEGO pieces before vacuuming. Avoid vacuuming up large amounts of fine powders (like drywall dust or flour) or any liquids, unless you have a dedicated wet/dry vac.
Clear the Path:
If suction suddenly drops, you likely have a clog. Common spots are the hose, the wand, or where the hose connects to the machine. Unplug the vacuum and check these areas. For a stubborn clog, a long, flexible tool or a straightened coat hanger (used carefully) can help. For detailed steps, see our guide on how to unclog a vacuum cleaner.
Step 5: Perform a Quarterly Deep Clean
Every few months, give your vacuum a spa day. This goes beyond just emptying the bin.
Clean the Hose and Attachments:
Detach the hose and hold it up to a light. Can you see through it? If not, run a long brush or a damp cloth tied to a string through it. Wash crevice tools and brush attachments in warm, soapy water.
Wipe Down the Machine:
Use a damp cloth to wipe the exterior body, removing dust and grime. Clean the wheels or casters to prevent them from dragging dirt back onto your floors.
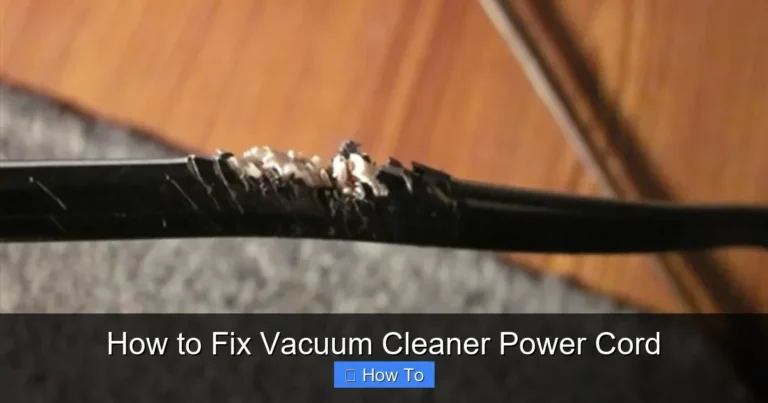
Check for Damage:
Inspect the power cord for fraying. Check the hose for cracks or leaks. Look at the brush roll for worn-down bristles. Catching small issues early prevents bigger problems.
Step 6: Practice Smart Vacuuming Habits
How you use the machine is just as important as how you maintain it.
Adjust the Height:
If your vacuum has a height adjustment, use it! Setting it too low on thick carpet strains the motor and belt. Setting it too high on bare floors means it won’t pick up debris effectively. Find the sweet spot.
Use the Right Tools:
Don’t use the bare floor setting on a thick rug. Use the upholstery tool for furniture, not the main power head. For optimal carpet cleaning, ensure you’re using the correct technique, which you can learn in our article on how to use a vacuum cleaner for carpet.
Don’t Yank the Cord:
Always use the cord rewind function if you have it. If not, gently pull the plug from the wall, not the cord itself. Loosely coil the cord for storage to prevent internal wire damage.
Step 7: Store It Properly
Where and how you keep your vacuum between uses matters.
Find a Good Home:
Store your vacuum in a cool, dry place. Damp basements or hot garages can damage electronics and promote mold or mildew growth inside the machine.
Neat and Tidy:
Wrap the cord loosely. Store all attachments either on the machine or in a dedicated bag. This prevents loss and protects them from damage.
Troubleshooting: When Things Go Wrong
Even with great care, issues can arise. Here’s how to diagnose common problems.
Loss of Suction:
This is the most common complaint. Run through the checklist: 1) Empty the bag/canister. 2) Clean or replace filters. 3) Check for clogs in the hose, wand, and intake. 4) Check the brush roll for obstructions. If these steps don’t work, you may need to check the power of your vacuum cleaner or consult a professional.
Strange Noises:
Grinding or screeching often points to a foreign object stuck in the brush roll or a failing belt/bearing. Clunking could be something in the hose or impeller. Unplug the machine immediately and inspect.
Vacuum Won’t Turn On:
Check that the outlet works. Check the circuit breaker. Inspect the cord for damage. If the motor hums but doesn’t start, a belt may be jammed or the motor start capacitor might be faulty. This is often a job for a repair shop.
Conclusion: A Little Care Goes a Long Way
Increasing your vacuum cleaner lifespan isn’t about complicated repairs. It’s about building simple, consistent habits. Emptying before it’s full, cleaning filters regularly, freeing the brush roll, and storing it well will prevent 90% of common problems. This routine maintenance saves you significant money, reduces electronic waste, and ensures your home is always clean. Treat your vacuum well, and it will return the favor for many years. Start implementing these tips today, and enjoy the powerful, reliable performance of a well-maintained machine.
🎥 Related Video: How to Extend the Life of Your Vacuum Cleaner
📺 Experts in Vacuum
Here is our quick guide https://www.expertsinvacuum.com/how-often-should-you-replace-your-vacuum-cleaner/ Maintaining your …