How Much Does It Cost to Repair a Vacuum Cleaner
Discover exactly how much it costs to repair a vacuum cleaner by understanding common issues, DIY potential, and professional service expenses. This comprehensive guide empowers you to make an informed decision on whether to fix your broken vacuum or invest in a new one, saving you money and hassle. Learn about diagnostic fees, typical labor rates, and the cost of parts so you can confidently budget for your repair or replacement.
How Much Does It Cost to Repair a Vacuum Cleaner
Has your trusty vacuum cleaner suddenly lost its suction, started making strange noises, or simply refused to turn on? It’s a common household dilemma: do you try to fix it, or is it time to bite the bullet and buy a new one? The decision often boils down to one critical question: how much does it cost to repair a vacuum cleaner?
You’re not alone in facing this. Many people are unsure if a repair is even possible, let alone affordable. This comprehensive guide is designed to empower you with all the information you need to make an informed, cost-effective decision. We’ll explore common problems, typical repair costs (both DIY and professional), and help you weigh the pros and cons of repairing versus replacing your vacuum. By the end of this guide, you’ll have a clear understanding of the potential expenses and a roadmap for what to do next.
Key Takeaways
- DIY vs. Professional: Many minor vacuum issues can be fixed at home for minimal cost (often under $30 for parts), while complex problems usually require professional help with labor costs ranging from $40-$100+ per hour.
- Common Issues & Costs: Simple fixes like clearing clogs or replacing belts are cheap (under $20). More involved repairs such as motor or circuit board replacements can cost $100-$300+, making replacement a viable option.
- Factors Influencing Cost: The overall cost depends on your vacuum’s brand/model, the specific part needed, labor rates in your area, and whether you DIY or hire a pro.
- The “50% Rule”: A good rule of thumb is to consider replacing your vacuum if the repair cost exceeds 50% of the price of a new, comparable model, especially if the vacuum is older.
- Diagnostic Fees: Expect to pay a diagnostic fee (typically $25-$75) at professional repair shops, which may or may not be applied toward the final repair cost.
- Preventative Maintenance is Key: Regular cleaning of filters, brush rolls, and hoses can significantly extend your vacuum’s lifespan and prevent many common, costly issues.
- Research Repair Shops: Always seek recommendations, check online reviews, and get multiple quotes before committing to a professional repair service.
Quick Answers to Common Questions
What is a typical diagnostic fee for a vacuum repair?
Most professional vacuum repair shops charge a diagnostic fee ranging from $25 to $75. This fee covers the technician’s time to identify the problem and provide an estimate, and it may or may not be applied toward the total repair cost if you proceed.
When should I definitely replace my vacuum instead of repairing it?
Consider replacing your vacuum if the repair cost exceeds 50% of the price of a new, comparable model, especially if your current vacuum is older (8-10+ years) or has a history of frequent breakdowns. Major component failures like motor replacement often push costs into this territory.
What are the most common DIY vacuum repairs?
The most common and easiest DIY repairs include clearing clogs from hoses or brush rolls, replacing filters, and swapping out a broken drive belt. These fixes typically require minimal tools and cost under $30 for parts, significantly impacting how much does it cost to repair a vacuum cleaner at home.
How important is regular maintenance for reducing repair costs?
Regular maintenance is incredibly important! Frequently emptying the dirt bin, cleaning/replacing filters, and removing tangled hair from the brush roll can prevent many common issues like loss of suction or motor strain, saving you significant repair costs in the long run.
What’s an average hourly labor rate for professional vacuum repair?
Professional vacuum repair shops typically charge hourly labor rates ranging from $40 to $100+, depending on your geographic location and the complexity of the repair. This labor cost is a major component of how much does it cost to repair a vacuum cleaner professionally.
Understanding Your Vacuum Cleaner’s Woes: Repair vs. Replace
Before diving into the numbers, it’s important to understand that not all vacuum problems are created equal. Some issues are minor annoyances that you can fix yourself in minutes with no cost, while others signify a major component failure that could be quite expensive to repair. Knowing the difference is key to answering “how much does it cost to repair a vacuum cleaner” accurately for your situation.
The goal here isn’t just to save money; it’s also about sustainability. Repairing an appliance extends its life, reduces waste, and can be deeply satisfying. However, there comes a point when repairing an old, ailing vacuum becomes impractical or more expensive than simply buying a new one. This guide will help you find that balance.
Key Factors Influencing Vacuum Repair Costs
When trying to figure out how much does it cost to repair a vacuum cleaner, several variables come into play. These factors will directly impact your final bill, whether you’re buying parts for a DIY fix or paying for professional service.
Type of Vacuum Cleaner
The design and complexity of your vacuum greatly influence repair costs. Upright vacuums and canister vacuums tend to have more straightforward repairs due to their modular designs. Stick vacuums and handheld models, while convenient, can sometimes be trickier to repair because their components are more compact and integrated. Robotic vacuums, with their intricate electronics and sensors, often command the highest repair costs.
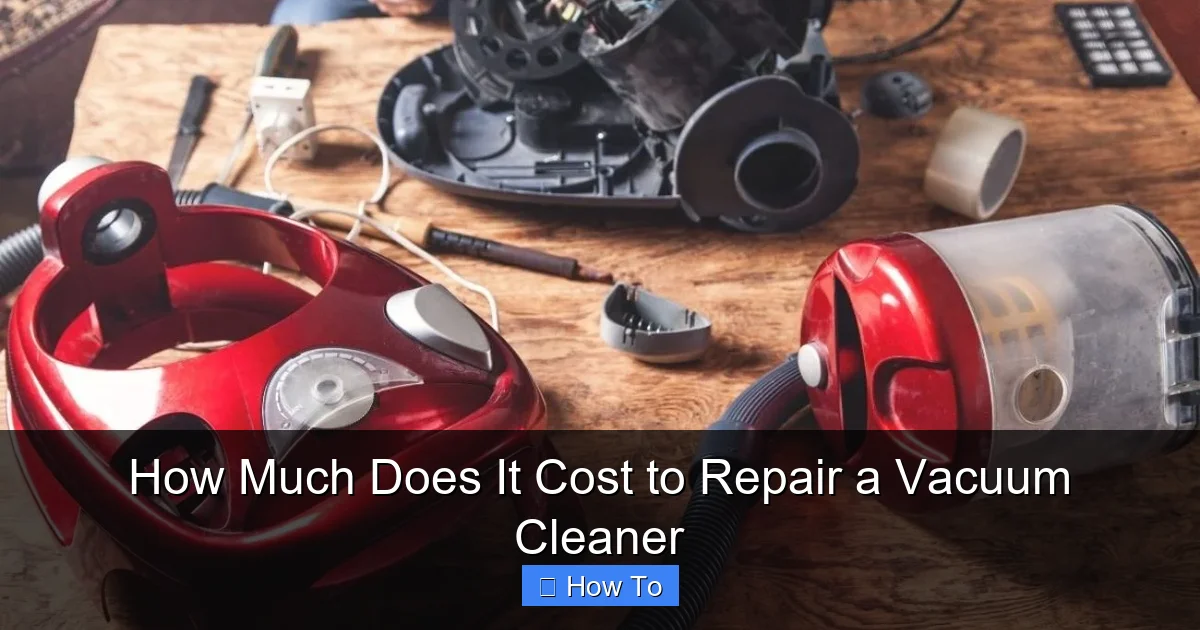
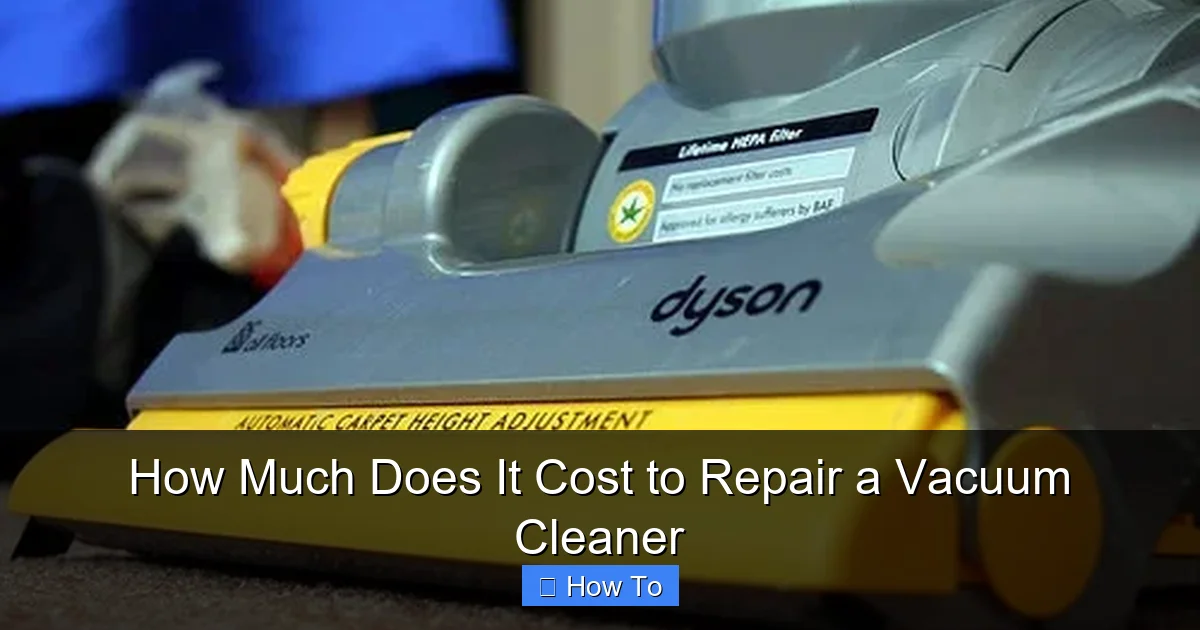
Visual guide about How Much Does It Cost to Repair a Vacuum Cleaner
Image source: storables.com
Brand and Model
Luxury brands like Dyson, Miele, or Shark often have proprietary parts that can be more expensive to source than those for generic or budget brands. Parts availability can also be an issue for older or discontinued models, potentially driving up costs.
Nature of the Problem and Parts Required
This is perhaps the biggest factor. A simple clog requires no parts, just your time. A broken belt might cost $5-$15. A new motor, however, could set you back $70-$200 or more, plus labor. The specific part needing replacement will heavily dictate the cost.
Labor Costs: DIY vs. Professional
If you’re handy and can fix it yourself, your only cost is the part. Professional repair shops charge for their time and expertise. Labor rates typically range from $40 to $100+ per hour, depending on your location and the shop’s reputation. This is a significant part of understanding how much does it cost to repair a vacuum cleaner professionally.
Geographic Location
Just like with most services, repair costs can vary significantly by region. Shops in metropolitan areas with higher costs of living generally charge more for labor than those in rural areas.
Common Vacuum Cleaner Problems and Estimated Repair Costs
Let’s break down some common issues and give you an idea of what you might expect to pay to fix them. These estimates include parts and typical labor if done professionally, but DIY costs would only be for the part.
Loss of Suction
This is one of the most common complaints. Often, it’s due to a simple clog or a full dirt bin.
- DIY Fix (Most Common): Check and clear the hose, filters, and brush roll for obstructions. Empty the dirt bin. Replace clogged filters.
- DIY Cost: $0 (for clearing clogs/emptying), $10-$30 (for new filters).
- Professional Repair: If it’s a damaged hose, a broken seal, or an internal clog, a professional might be needed.
- Professional Cost: $40-$100 (for diagnostic and clearing), $20-$50 (for a new hose), $10-$30 (for new seals), plus labor.
Brush Roll Not Spinning
A non-spinning brush roll means your vacuum isn’t picking up dirt effectively.
- DIY Fix: Clear hair, string, or debris wrapped around the brush roll. Check and replace a broken drive belt.
- DIY Cost: $0 (for clearing debris), $5-$15 (for a new belt).
- Professional Repair: If the brush roll motor is faulty or the gearing is stripped, professional repair might be necessary.
- Professional Cost: $60-$120 (for a new brush roll assembly), $80-$150+ (for motor/gear repair), plus labor.
Vacuum Not Turning On (No Power)
The vacuum is completely dead.
- DIY Fix: Check the power outlet, circuit breaker, and the vacuum’s power cord for obvious damage.
- DIY Cost: $0 (for checking outlets/breakers), $15-$40 (for a new power cord if you’re comfortable replacing it).
- Professional Repair: If the power switch is faulty, the motor is burnt out, or there’s an internal wiring issue.
- Professional Cost: $30-$70 (for a new power switch), $70-$200+ (for a new motor or complex wiring issues), plus labor.
Unusual Noises or Burning Smell
These are red flags indicating a potential serious problem.
- DIY Fix: Clear any obstructions that might be causing strain. Check the brush roll for excessive friction or worn bearings.
- DIY Cost: $0-$20 (for clearing, simple lubrication).
- Professional Repair: Often indicates a worn-out motor bearing, a fan obstruction, or a slipping/damaged belt that needs immediate attention to prevent further damage. A burning smell often means the motor is failing or a belt is overheating.
- Professional Cost: $80-$250+ (for motor repair/replacement), plus labor.
Cord or Plug Damage
Frayed cords or bent/broken plugs are safety hazards.
- DIY Fix: If you’re skilled with electrical work, you can replace the cord.
- DIY Cost: $15-$40 (for a new cord).
- Professional Repair: Most people prefer a professional for electrical safety.
- Professional Cost: $30-$60 (for cord replacement), plus labor.
DIY Vacuum Repair: What You Can Tackle Yourself
Many minor issues don’t require professional expertise, significantly impacting how much does it cost to repair a vacuum cleaner. If you’re comfortable with basic tools, you can save a lot of money.
Basic Tools You’ll Need
- Screwdrivers (Phillips and flathead)
- Utility knife or scissors (for cutting tangled hair)
- Pliers
- Needle-nose pliers
- Gloves
- A flashlight
- Perhaps a multimeter (for electrical testing)
Safety First!
Always unplug your vacuum cleaner before attempting any repair or maintenance. This cannot be stressed enough. Wear gloves if you’re dealing with sharp objects or dirt. If you’re unsure about an electrical repair, always defer to a professional.
Simple DIY Fixes and Their Costs
- Clearing Clogs: This is the easiest and most common fix. Disconnect the hose and use a broom handle or a straightened coat hanger to push out obstructions. Cost: $0.
- Replacing Filters: Most vacuums have washable or replaceable filters. Check your manual. Cost: $10-$30.
- Cleaning/Replacing Brush Roll: Unscrew the bottom plate, remove the brush roll, and carefully cut away tangled hair and debris. If the brush roll is worn, replacement is easy. Cost: $0-$40 for a new brush roll.
- Replacing a Drive Belt: Once the brush roll is exposed, the belt is usually visible. If it’s snapped or loose, slide a new one on. Cost: $5-$15.
These DIY repairs typically fall into the “low cost” category when considering how much does it cost to repair a vacuum cleaner.
When to Call a Professional Vacuum Repair Service
While DIY is great for simple fixes, some problems are best left to the experts. Knowing when to get professional help is crucial for both safety and effective repair.
Signs It’s Time for an Expert
- Motor Issues: If you suspect the motor is failing (e.g., burning smell, loud grinding noises, complete power failure after checking other components).
- Electrical Problems: Beyond a simple cord replacement, if you suspect internal wiring issues or switch failures.
- Complex Disassembly: If the repair requires taking apart complex internal components that you’re not comfortable reassembling.
- Brand-Specific Repairs: Some high-end or specialized vacuums have unique components that require specific tools or knowledge.
- Lack of Time or Confidence: If you simply don’t have the time, tools, or confidence to tackle the repair yourself.
What to Expect from a Professional Service
When you take your vacuum to a repair shop, they will typically:
- Perform a diagnostic check to identify the problem.
- Provide you with an estimate for parts and labor.
- Explain what needs to be fixed and why.
- Offer a warranty on their repair work and parts.
Understanding Diagnostic Fees
Most professional vacuum repair shops charge a diagnostic fee. This fee covers the technician’s time to examine your vacuum, identify the fault, and provide an estimate.
- Typical Diagnostic Fee: $25-$75.
Sometimes, this fee is waived or applied towards the total repair cost if you proceed with the service. Always ask about their policy upfront.
Finding a Reputable Vacuum Repair Shop
A good repair shop can make all the difference in how much does it cost to repair a vacuum cleaner effectively and affordably.
Ask for Recommendations
Talk to friends, family, or neighbors who have had vacuums repaired. Personal recommendations are often the most trustworthy.
Check Online Reviews
Websites like Google, Yelp, and Facebook can provide insights into a shop’s reputation, customer service, and pricing. Look for consistent positive feedback.
Get Multiple Estimates
For more expensive repairs, it’s wise to get quotes from two or three different shops. This helps you compare pricing for parts and labor, ensuring you get a fair deal.
Calculating the Cost: Repair vs. Replacement
This is the ultimate question for many people: is it really worth it to repair, or should you just buy new? This decision heavily influences your actual cost.
The 50% Rule of Thumb
A common guideline is the “50% rule.” If the cost to repair your vacuum is 50% or more of the cost of a brand-new, comparable model, it might be more economical to replace it. This rule is particularly relevant if your vacuum is already several years old or has had previous issues.
Considering Age and Warranty
If your vacuum is still under warranty, most repairs might be free. If it’s an older model, consider its remaining lifespan. Investing $150 in a repair for a vacuum that’s already 8-10 years old and showing other signs of wear might not be the best long-term solution.
Factor in Your Time and Effort
If you’re doing a DIY repair, remember to factor in the value of your own time. Is spending several hours troubleshooting and fixing worth the savings, or would you rather pay a professional and have it done quickly?
Tips for Extending Your Vacuum’s Lifespan and Reducing Future Repair Costs
Preventative maintenance is your best friend when it comes to avoiding costly repairs and answering how much does it cost to repair a vacuum cleaner with a low number.
Regular Cleaning and Maintenance
- Empty the dirt bin/bag frequently: Don’t wait until it’s overflowing.
- Clean or replace filters regularly: Clogged filters strain the motor and reduce suction.
- Clear the brush roll: Remove hair, string, and debris from the brush roll after every few uses.
- Check hoses for clogs: Periodically disconnect and inspect hoses.
Handle with Care
Avoid running over power cords, sharp objects, or excessive amounts of liquid. Don’t yank the vacuum by its cord. These small actions can prevent big problems.
Store Properly
Store your vacuum in a clean, dry place where it won’t be easily knocked over or damaged.
Troubleshooting Common Vacuum Cleaner Issues (Before You Pay for Repair)
Before you even ask how much does it cost to repair a vacuum cleaner, try these simple troubleshooting steps. They might save you a trip to the repair shop.
No Power
- Check the outlet: Plug another appliance into the outlet to ensure it’s working.
- Reset the breaker: If the outlet is dead, check your home’s electrical panel.
- Inspect the cord: Look for cuts, frays, or damage near the plug or where it enters the vacuum.
- Empty the bag/bin: Some vacuums have safety switches that prevent them from operating if the bag is too full.
Poor Suction
- Empty the dirt bin/bag: A full bag or bin is the most common cause.
- Clean or replace filters: Clogged filters severely restrict airflow.
- Check for clogs: Inspect the hose, wand, and brush roll area for obstructions. Use a flashlight and a long object (like a broom handle) to clear them.
- Inspect seals and gaskets: Ensure all connections (hose to canister, dust bin to body) are sealed properly.
Brush Roll Stuck
- Clear obstructions: Remove any hair, string, or carpet fibers wrapped around the brush roll.
- Check the belt: The drive belt might be broken or stretched. You’ll need to remove the bottom plate to inspect it.
- Adjust height settings: Ensure the brush roll height is set appropriately for your flooring.
Conclusion: Making an Informed Decision
Deciding how much does it cost to repair a vacuum cleaner and whether to go through with it is a personal choice based on several factors: the severity of the damage, your budget, the age of your machine, and your comfort level with DIY repairs.
For minor issues like clogs, filters, or belts, a DIY fix is often the most cost-effective solution, costing you very little beyond the price of a part. For more complex problems involving motors or intricate electronics, professional repair costs can range from $100 to $300 or more, at which point replacing the vacuum becomes a strong consideration.
Always start with troubleshooting, consider a DIY repair for simple issues, and get estimates from reputable shops for anything more complex. By following the advice in this guide, you’ll be well-equipped to make the smartest decision for your vacuum cleaner and your wallet. Happy cleaning!