How Do You Use a Vacuum Cleaner
Learning how do you use a vacuum cleaner effectively goes beyond just plugging it in. It involves understanding your specific model, utilizing the right attachments for different surfaces, and adopting proper techniques for thorough cleaning. By mastering these skills and performing regular maintenance, you can ensure a cleaner home and a longer lifespan for your trusty appliance, transforming a routine chore into an efficient and satisfying task.
Ah, the vacuum cleaner. For many, it’s just another appliance in the closet, pulled out begrudgingly to tackle dust bunnies and crumbs. But what if I told you that mastering how do you use a vacuum cleaner effectively could transform your cleaning routine from a tiresome chore into an efficient, even satisfying, task? It’s true! There’s an art and a science to it, and a little knowledge can go a long way in achieving a truly spotless home.
Most of us probably think we know how to vacuum. You plug it in, push it back and forth, and eventually, the floor looks cleaner. Right? Well, not quite. To truly get the most out of your machine, to clean deeper, extend its life, and save yourself time and effort, you need to go beyond the basics. This comprehensive guide will walk you through everything you need to know, from understanding your specific model to utilizing its hidden potential with attachments, and even keeping it in tip-top shape. Let’s dive in and learn the secrets of how to use a vacuum cleaner like a pro!
Key Takeaways
- Understand Your Vacuum Type: Different vacuum cleaners (upright, canister, stick, robot, handheld) excel at various tasks; knowing your model’s strengths is key to effective cleaning.
- Preparation is Crucial: Before you even switch it on, declutter the area, pre-treat stubborn spots, and ensure your vacuum’s dustbin is empty and filters are clean for optimal suction.
- Master Attachments: Each attachment (crevice tool, dusting brush, upholstery tool) serves a specific purpose, greatly enhancing your vacuum’s versatility and cleaning power for tricky spots and delicate surfaces.
- Employ Proper Technique: For carpets, use slow, overlapping passes; for hard floors, turn off the brush roll and move steadily. Don’t rush – thoroughness yields better results.
- Regular Maintenance Extends Life: Consistently emptying the dustbin, cleaning filters, and checking the brush roll prevents clogs, maintains suction, and significantly extends your vacuum cleaner’s lifespan.
- Safety First: Always unplug the vacuum before performing maintenance, avoid vacuuming liquids, and be mindful of the power cord to prevent accidents.
Quick Answers to Common Questions
How often should I empty my bagless vacuum cleaner?
It’s best to empty your bagless vacuum’s dustbin after every few uses or when the debris reaches the “max fill” line to maintain optimal suction power.
Can I use my upright vacuum on hardwood floors?
Yes, but you should always turn off the brush roll (beater bar) if your upright has this feature, or use a specific hard floor setting/attachment to prevent scratching the floor and scattering debris.
What is the crevice tool used for?
The crevice tool is a narrow, angled nozzle designed to reach into tight spaces, such as between couch cushions, along baseboards, into corners, and inside car interiors.
How do I know if my vacuum filter needs cleaning?
Signs that your filter needs cleaning include reduced suction power, a visible layer of dust and debris on the filter, or if your vacuum is emitting a musty odor.
Is it okay to vacuum up small pieces of broken glass?
It’s generally not recommended to vacuum up broken glass with a standard vacuum, as it can damage the hose, bag, or internal components. It’s safer to pick up larger pieces with caution and use a damp paper towel for smaller shards.
📑 Table of Contents
Understanding Your Vacuum Cleaner: Types and Parts
Before you even think about switching it on, it’s vital to understand the tool you’re wielding. Vacuum cleaners come in many shapes and sizes, each designed for specific purposes. Knowing your type and its key components is the first step in learning how do you use a vacuum cleaner to its fullest potential.
Different Types of Vacuum Cleaners
- Upright Vacuums: These are probably what most people picture when they think of a vacuum cleaner. Great for large carpeted areas, they offer powerful suction and a wide cleaning path. Many also come with hoses and attachments for versatility.
- Canister Vacuums: Featuring a separate canister unit on wheels and a long hose with a power nozzle, these are incredibly versatile. They excel on both carpets and hard floors and are fantastic for reaching under furniture, up stairs, and into tight spaces.
- Stick Vacuums: Lightweight and slim, stick vacuums are perfect for quick clean-ups and smaller spaces. Many are cordless and battery-powered, making them convenient grab-and-go options for hard floors and low-pile carpets.
- Robot Vacuums: The ultimate in hands-free cleaning! These autonomous devices navigate your home, cleaning on a schedule. While great for maintaining cleanliness, they often complement, rather than replace, a more powerful manual vacuum for deep cleaning.
- Handheld Vacuums: Small, portable, and often cordless, handheld vacuums are ideal for tackling small spills, car interiors, upholstery, and those awkward spots that larger vacuums can’t reach.
- Wet/Dry Vacuums: Also known as shop vacs, these robust machines are designed for heavy-duty cleaning, picking up both dry debris and liquids. They’re typically used in garages, workshops, or for tackling major household spills.
Key Components of Your Vacuum
No matter the type, most vacuums share common parts:
- Power Switch: Obvious, but worth mentioning! Some have variable power settings.
- Brush Roll (Beater Bar): Located at the base, this rotating brush agitates carpet fibers to loosen dirt and debris. On many models, it can be switched off for hard floors to prevent scratching.
- Hose and Extension Wand: Allows you to reach high places, corners, and use attachments.
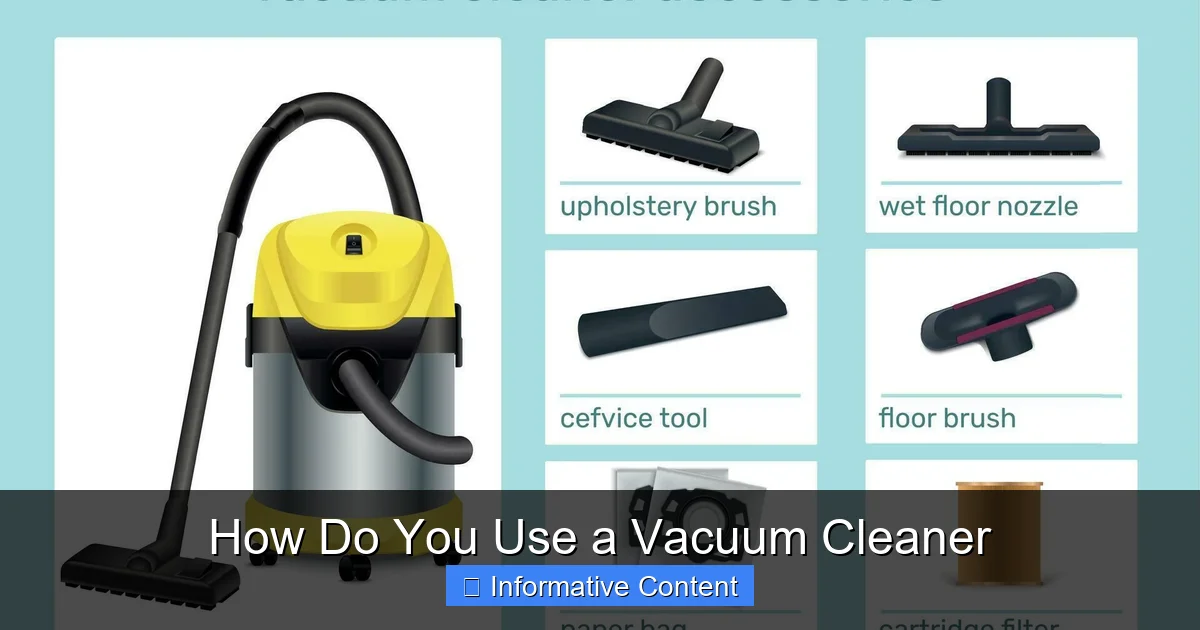
- Attachments/Tools: A range of specialized nozzles for different cleaning tasks. We’ll dive deeper into these shortly!
- Filter: Traps fine dust and allergens. There might be pre-motor and post-motor filters, including HEPA filters for superior air purification.
- Dustbin/Bag: Collects all the vacuumed-up dirt and debris. Bagless models have a transparent dustbin, while bagged models require disposable bags.
- Power Cord: Be mindful of its length and how it retracts (if applicable).
Preparing for a Pristine Clean: The Pre-Vacuum Ritual
You wouldn’t paint a wall without priming it first, right? The same goes for vacuuming! A little preparation can make a huge difference in how do you use a vacuum cleaner effectively and achieve a truly clean result. This crucial step often gets overlooked, but it’s the secret to efficiency and better performance.
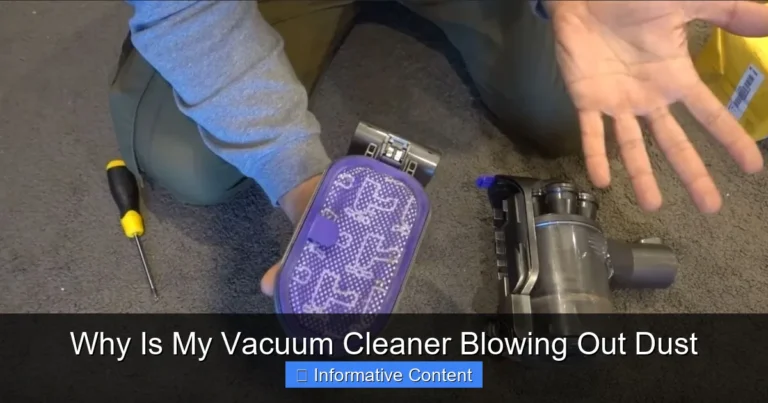
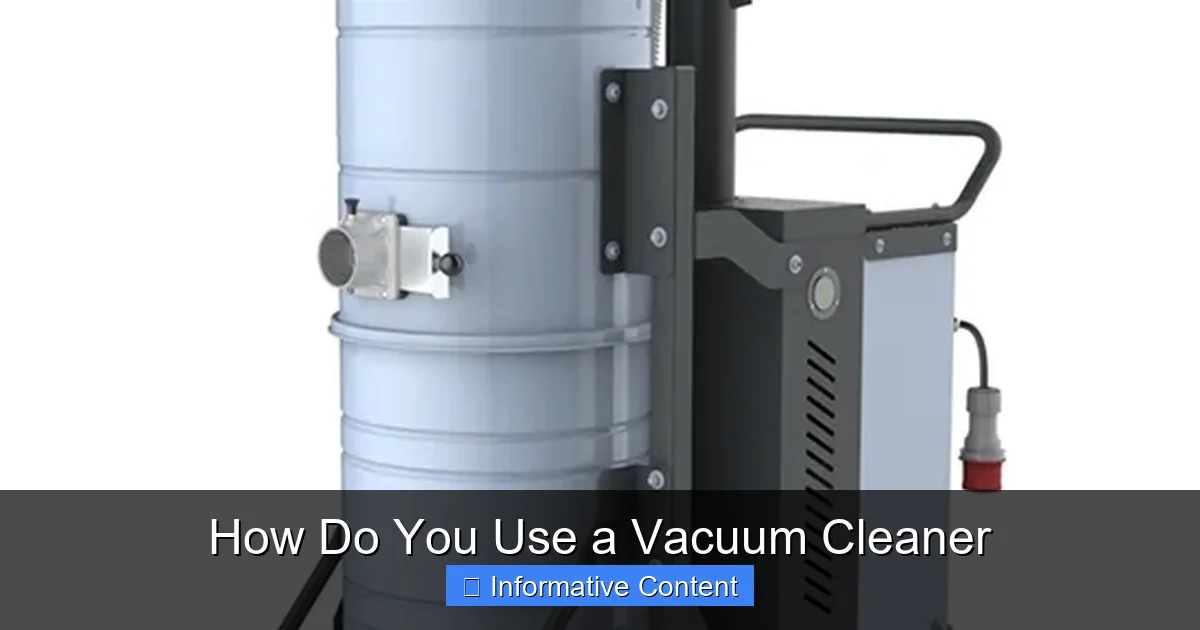
Visual guide about How Do You Use a Vacuum Cleaner
Image source: static.vecteezy.com
Declutter and Clear the Path
Before you even pull out your vacuum, take a few minutes to clear the area. Pick up toys, shoes, loose papers, small rugs, and anything else that could get sucked up or obstruct your path. This prevents damage to your vacuum (and your belongings!) and allows for an uninterrupted cleaning session. Moving lightweight furniture like chairs can also give you access to more surface area.
Pre-Clean Larger Debris
If there are larger pieces of debris like big food crumbs, broken glass (handle with extreme caution!), or chunks of dirt, it’s often better to sweep or pick them up manually. Your vacuum is designed for dust, dirt, and smaller particles. Sucking up large, sharp, or stringy items can clog the hose, damage the brush roll, or even tear the bag.
Check and Empty the Dustbin/Bag
This is paramount for optimal suction! A full dustbin or bag significantly reduces your vacuum’s cleaning power. Before each use, quickly check the fill level. For bagless models, empty it into a trash can. For bagged models, change the bag when it’s about two-thirds full or when you notice a drop in suction. Learning how do you use a vacuum cleaner efficiently means keeping it ready to perform.
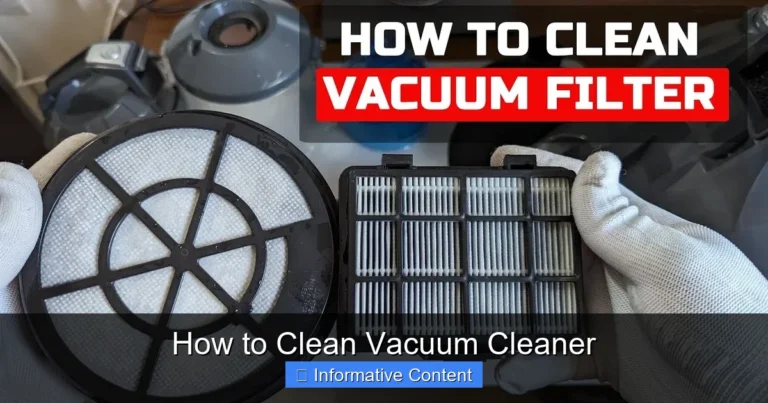
Inspect and Clean Filters
Filters are your vacuum’s lungs. Clogged filters restrict airflow, leading to poor suction and potentially overheating the motor. Refer to your vacuum’s manual for specific filter cleaning instructions. Many pre-motor filters are washable, while HEPA filters often need to be replaced periodically. A clean filter ensures maximum air circulation and traps more allergens.
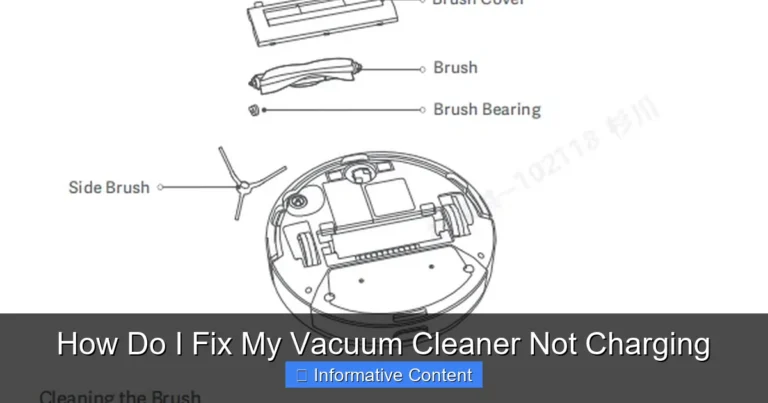
Examine the Brush Roll
Flip your vacuum over (if it’s an upright or stick model) and inspect the brush roll. Hair, threads, and fibers commonly get tangled around it, hindering its ability to agitate carpet fibers. Use scissors or a seam ripper to carefully cut and remove any tangled debris. This simple step can dramatically improve your vacuum’s performance on carpets.
The Art of Vacuuming: Techniques for Different Surfaces
Now that your area is prepped and your vacuum is ready, it’s time to get cleaning! But simply pushing the vacuum back and forth isn’t enough. Different surfaces require different approaches. Knowing how do you use a vacuum cleaner correctly on each surface makes all the difference.
Vacuuming Carpets and Rugs
For carpets, the goal is to agitate the fibers to lift embedded dirt. This requires a specific technique:
- Slow and Steady: Don’t rush! Move the vacuum slowly over the carpet. This gives the brush roll time to do its job and the suction time to pull up dirt.
- Overlapping Passes: Work in straight, overlapping lines. For best results, vacuum in one direction, then make a second pass perpendicular to the first (like a grid pattern). This ensures you cover every inch and lift dirt from all angles.
- Brush Roll On: Ensure your brush roll is engaged. This is crucial for deep cleaning carpets.
- Adjust Height (if applicable): Many uprights have a height adjustment setting. Set it appropriately for your carpet pile. Too low, and it’s hard to push; too high, and it won’t pick up effectively.
Vacuuming Hard Floors (Hardwood, Tile, Laminate)
Hard floors require a gentler touch to avoid scratches and scattering debris:
- Brush Roll Off: This is critical! If your vacuum has a brush roll, make sure it’s turned OFF. The spinning bristles can scratch delicate hard floors and often just scatter debris instead of collecting it.
- Use Hard Floor Setting/Attachment: Many canister and stick vacuums come with specialized hard floor nozzles or a dedicated setting that lowers suction and uses softer brushes.
- Gentle, Consistent Movement: Move the vacuum in a smooth, steady motion. You don’t need to press down hard.
- Watch for Debris: On hard floors, larger debris can sometimes get pushed around. Use your crevice tool or a quick sweep for these if needed.
Vacuuming Upholstery and Curtains
This is where attachments truly shine! Learning how do you use a vacuum cleaner with its specialized tools can make your furniture look new.
- Upholstery Tool: This wider, flat tool often has felt strips or bristles. Gently glide it over fabric surfaces in overlapping strokes.
- Dusting Brush: For curtains or delicate lampshades, the soft bristles of the dusting brush are perfect for gently removing dust without damaging the material.
- Crevice Tool: For seams, crevices, and between cushions, the narrow crevice tool is indispensable.
- Test First: On delicate fabrics, always test an inconspicuous area first to ensure the suction isn’t too strong or the attachment isn’t causing any damage.
Mastering Attachments: Your Vacuum’s Best Friends
Many people neglect their vacuum’s attachments, but these small tools are designed to solve specific cleaning challenges. Understanding and utilizing them effectively is key to knowing how do you use a vacuum cleaner to its full potential for a truly comprehensive clean.
The Essential Vacuum Attachments
- Crevice Tool: This narrow, angled nozzle is your best friend for tight spots. Use it for:
- Between couch cushions.
- Along baseboards and in corners.
- In car interiors (under seats, console gaps).
- Behind radiators or appliances.
- Dusting Brush: A round brush with soft bristles, perfect for delicate surfaces. Use it for:
- Dusting shelves, blinds, and window sills.
- Cleaning lampshades and delicate ornaments.
- Ventilation grilles and ceiling fan blades.
- Computer keyboards and screens (with caution).
- Upholstery Tool: A wider, flat nozzle often with a lint-collecting strip or velour edges. Use it for:
- Sofas, chairs, and other fabric furniture.
- Mattresses.
- Stairs (especially carpeted ones).
- Pet beds.
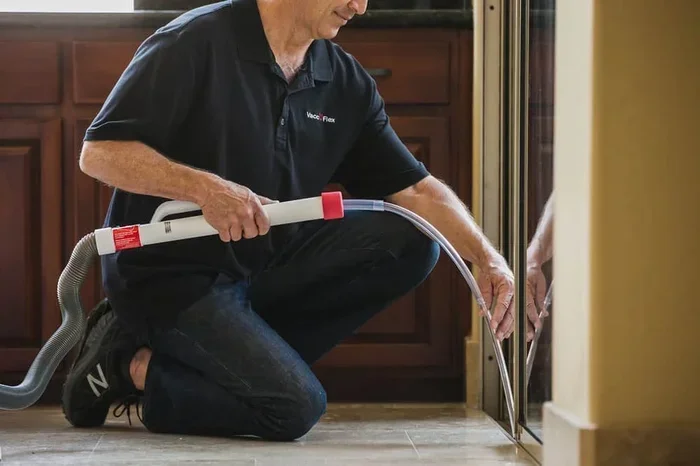
- Extension Wand: Not technically an “attachment” but a crucial accessory. It extends the reach of your hose, allowing you to attach tools and clean high-up areas without a ladder. Use it for:
- Cobwebs on ceilings and corners.
- Dusting crown molding and high shelves.
- Cleaning air vents.
- Pet Hair Tool (Turbo Brush): Many vacuums designed for pet owners come with a smaller, air-driven brush roll. This is fantastic for:
- Removing stubborn pet hair from upholstery and stairs.
- Small rugs and car interiors.
Tips for Using Attachments
- Connect Securely: Ensure attachments are firmly connected to the hose or wand to prevent loss of suction.
- Test Suction: Sometimes, powerful suction can be too much for delicate items. Use a lighter touch or, if your vacuum has variable suction, adjust it down.
- Clean Attachments: Periodically wipe down your attachments, especially the dusting brush, to remove accumulated grime and ensure they’re effective.
Post-Vacuum Care and Maintenance
Your vacuum works hard for you, so give it a little love back! Regular maintenance is not just about keeping your vacuum running well; it’s about extending its lifespan, ensuring optimal performance, and making sure that learning how do you use a vacuum cleaner effectively pays off in the long run.
Emptying and Cleaning the Dustbin/Bag
Bagless Vacuums: Empty the dustbin after every few uses, or when it reaches the “max fill” line. Tap out excess dust, and periodically wash the dustbin with warm, soapy water (if safe for your model, check manual!) and let it air dry completely before reattaching.
Bagged Vacuums: Replace the bag when it’s about two-thirds full or when you notice a significant drop in suction. Don’t overfill bags, as this strains the motor and reduces efficiency.
Cleaning or Replacing Filters
Refer to your vacuum’s manual for specific instructions, as filter types vary widely:
- Washable Filters: Many pre-motor foam or pleated filters can be rinsed under cold water until the water runs clear. Crucially, let them air dry for at least 24-48 hours until completely dry before putting them back. A damp filter can damage the motor.
- HEPA Filters: These are typically not washable and need to be replaced periodically, usually every 6-12 months, depending on usage.
- Post-Motor Filters: Some vacuums have these to further clean the air expelled. Check if yours is washable or needs replacement.
Checking and Cleaning the Brush Roll
This is a common culprit for poor performance. At least once a month (more often if you have pets or long hair in the household):
- Unplug the vacuum.
- Carefully remove the bottom plate or access panel (refer to your manual).
- Use scissors or a seam ripper to cut away any hair, string, or fibers wrapped around the brush roll. Be careful not to cut the bristles themselves.
- Remove any debris from the brush roll housing.
- Ensure the belt (if applicable) is intact and properly seated.
Inspecting the Hose and Nozzles
Clogs in the hose or nozzles are another major cause of lost suction. If you notice a sudden drop in performance:
- Unplug the vacuum.
- Detach the hose and carefully look through it for any blockages. Use a broom handle or a long, blunt object to gently dislodge anything stuck.
- Check all attachments for blockages as well.
Cord Care and Storage
- Avoid Running Over the Cord: This can damage the cord and create a safety hazard.
- Proper Wrapping: Don’t yank the cord when unplugging. Wrap it neatly around the designated hooks or use the auto-retract feature gently.
- Store in a Dry Place: Keep your vacuum in a dry, safe place to protect its electrical components.
Safety First: Important Reminders
While using a vacuum cleaner seems straightforward, a few safety precautions can prevent accidents and injuries:
- Always Unplug Before Maintenance: Before emptying, cleaning, or inspecting any part of your vacuum, always disconnect it from the power outlet.
- Never Vacuum Liquids: Unless you have a specific wet/dry vacuum, never attempt to suck up water or any other liquids. This can cause severe electric shock and damage your machine.
- Avoid Sharp Objects: Be careful not to vacuum up large, sharp objects like broken glass, pins, or screws, as they can damage the internal components, hose, or dustbag.
- Don’t Overextend Cords: Use an extension cord only if absolutely necessary and ensure it’s rated for the vacuum’s power.
- Keep Away from Children and Pets: Ensure your vacuum is stored safely and out of reach when not in use.
There you have it! What once might have seemed like a mundane task now has a clear path to efficiency and effectiveness. By understanding your vacuum, preparing your space, mastering different techniques for various surfaces, and embracing the power of attachments, you’re well on your way to becoming a vacuuming virtuoso. Regular maintenance will keep your machine humming along happily for years, ensuring your home stays consistently clean.
So next time you reach for your vacuum, remember these tips. You’re not just moving dirt around; you’re actively engaging in a process that contributes to a healthier, cleaner, and more comfortable living environment. Enjoy the satisfaction of a job truly well done, all because you learned exactly how do you use a vacuum cleaner the right way!
Frequently Asked Questions
How do you use a vacuum cleaner effectively on pet hair?
To effectively clean pet hair, use a vacuum with strong suction and a dedicated pet hair attachment or turbo brush. Go over affected areas slowly, in multiple overlapping passes, and regularly clean the brush roll and empty the dustbin, as pet hair can quickly clog these components.
What’s the best way to clean vacuum filters?
The best way to clean vacuum filters depends on their type. Washable filters can be rinsed under cold water until clear and must be air-dried completely for 24-48 hours. HEPA filters and other non-washable types usually need to be tapped clean or replaced periodically according to your vacuum’s manual.
How often should I deep clean my carpets with a vacuum cleaner?
For most households, deep cleaning carpets with a vacuum cleaner (using slow, overlapping passes) at least once a week is recommended. In high-traffic areas or homes with pets and children, you might consider vacuuming more frequently, perhaps every few days, to prevent dirt and allergens from settling deep into the fibers.
Why is my vacuum losing suction, even after emptying the dustbin?
If your vacuum is losing suction despite an empty dustbin, check for clogs in the hose, brush roll, or attachments. Additionally, inspect and clean or replace all filters (pre-motor and post-motor), as clogged filters are a common cause of reduced suction.
Can I vacuum water spills with my regular vacuum cleaner?
No, you should never vacuum water spills with a regular dry vacuum cleaner. Doing so can cause severe electrical shock, damage your vacuum’s motor, and create a fire hazard. Only use a specialized wet/dry vacuum cleaner designed to handle liquids.
What are the benefits of using vacuum attachments?
Vacuum attachments significantly enhance your cleaning capabilities by allowing you to tackle specific tasks and reach areas a standard vacuum head cannot. They help clean upholstery, crevices, dusty surfaces, stairs, and even delicate items, ensuring a more thorough and comprehensive clean of your entire home.