How to Unclog a Vacuum Cleaner
A clogged vacuum cleaner can be frustrating, but fixing it is often simpler than you think. Our comprehensive guide walks you through the essential steps, from checking the dustbin and filters to inspecting the hose and brush roll. Prioritizing safety and methodical checks will help you effectively unclog a vacuum cleaner and restore its powerful suction in no time, making your cleaning tasks much easier and more efficient.
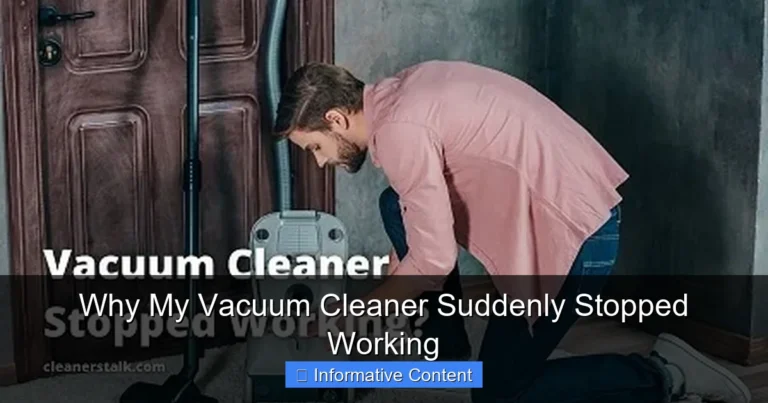
There’s nothing quite as frustrating as gearing up for a thorough cleaning session, only to have your trusty vacuum cleaner suddenly lose its oomph. That powerful suction you rely on vanishes, leaving behind a trail of dirt and a growing sense of exasperation. A weak vacuum is almost always a sign of one thing: a clog. But don’t despair! Before you consider buying a new one or calling in a professional, know that learning how to unclog a vacuum cleaner is often a straightforward task you can handle yourself with a little patience and the right approach.
Whether it’s an accumulation of pet hair, a rogue sock, a tangled mass of string, or just years of everyday dust and grime, clogs happen to even the best vacuum cleaners. The good news is that most blockages occur in easily accessible areas. This guide will walk you through a systematic, step-by-step process to identify and remove common clogs, helping you restore your vacuum’s full suction power and get back to a sparkling clean home. We’ll cover everything from the initial safety precautions to troubleshooting the trickiest spots, ensuring you have all the knowledge you need to effectively unclog a vacuum cleaner.
Key Takeaways
- Safety First: Always unplug your vacuum cleaner before attempting any inspection or repair to prevent electrical shock or injury.
- Start with the Obvious: Begin by checking and emptying the dustbin or changing the bag, then inspect and clean all accessible filters, as these are common culprits for reduced suction.
- Hose Inspection is Crucial: Detach and visually inspect the vacuum hose for blockages. Use a long, blunt object like a broom handle to gently dislodge anything stuck deep inside.
- Brush Roll Maintenance: Turn the vacuum over and meticulously remove any hair, string, or debris wrapped around the brush roll. Ensure the area leading into the vacuum head is clear.
- Systematic Approach: Work methodically through your vacuum cleaner, checking each component (dustbin, filters, hose, brush roll, internal pathways) one by one until the clog is located and removed.
- Prevention is Key: Regular emptying, avoiding large or wet debris, and routine filter and brush roll cleaning will significantly reduce the likelihood of future clogs, extending your vacuum’s life.
Quick Answers to Common Questions
What are the most common places for a vacuum cleaner to clog?
The most common places for a vacuum cleaner to clog are the dustbin or bag (when full), the filters (when dirty), the main vacuum hose, and the brush roll/beater bar due to tangled hair and debris.
How often should I clean my vacuum’s filters?
For washable filters, aim to clean them at least once a month, or more frequently if you have pets or vacuum often. Non-washable filters should be replaced every 3-6 months, depending on usage and manufacturer recommendations.
Can a clogged vacuum cleaner damage the motor?
Yes, a severe clog or continuously running a vacuum with restricted airflow can force the motor to work harder than intended, leading to overheating and potential damage, shortening its lifespan.
What’s the best tool to remove a clog from the vacuum hose?
A long, blunt object like a broom handle, a sturdy yardstick, or a straightened wire coat hanger (with a small hook bent at the end) are effective for gently pushing or pulling out clogs from the hose.
Is it safe to use water to clear a vacuum clog?
No, it is generally not safe to use water to clear clogs in most household vacuum cleaners, as it can damage electrical components or internal filters. Only use water if you have a specialized wet/dry vacuum designed for liquids, and even then, ensure all components are completely dry before reassembly.
📑 Table of Contents
Safety First! Preparation is Key
Before you even think about poking around inside your vacuum cleaner, safety must be your absolute top priority. Skipping this crucial step can lead to serious injury or damage to your appliance. Taking a few moments to prepare properly will make the whole unclogging process much smoother and safer.
Always Unplug Your Vacuum
This cannot be stressed enough: always unplug your vacuum cleaner from the wall outlet before you begin any inspection or repair. This prevents accidental startups, which could cause severe electrical shock or entangle your fingers or tools in moving parts like the brush roll. Think of it as the golden rule of vacuum maintenance.
Gather Your Tools
You don’t need a professional toolkit to unclog a vacuum cleaner. Most of what you need is likely already around your house. Here’s a list of helpful items:
- Gloves: Protect your hands from dirt, dust, and any sharp objects.
- Scissors or a Seam Ripper: Essential for cutting away tangled hair and string from the brush roll.
- Flashlight: Crucial for peering into dark hoses and internal pathways.
- Long, Blunt Object: A broom handle, a sturdy yardstick, a straightened wire coat hanger, or even a plumbing snake can be useful for pushing out stubborn clogs in hoses. Make sure it’s not sharp or pointy, as it could puncture the hose.
- Screwdriver (Phillips and Flathead): Some models might require you to remove a few screws to access certain areas, like the brush roll housing.
- Trash Can or Bag: For disposing of all the delightful gunk you’re about to remove.
Find a Good Workspace
Choose a well-lit area, preferably where you won’t mind getting a bit dirty. A garage, a utility room, or even just laying down some old newspapers or a tarp on the floor will work. Having good lighting is key to spotting those hidden clogs, and a clear, flat surface makes disassembly and reassembly much easier.
The Easiest Checks: Canister/Bag and Filters
Often, the problem isn’t a deep-seated clog but something much simpler. Many people forget that the most common culprits for reduced suction are often right in front of them. This is where you should always start when you notice your vacuum losing power. These initial checks are quick and can save you a lot of time.
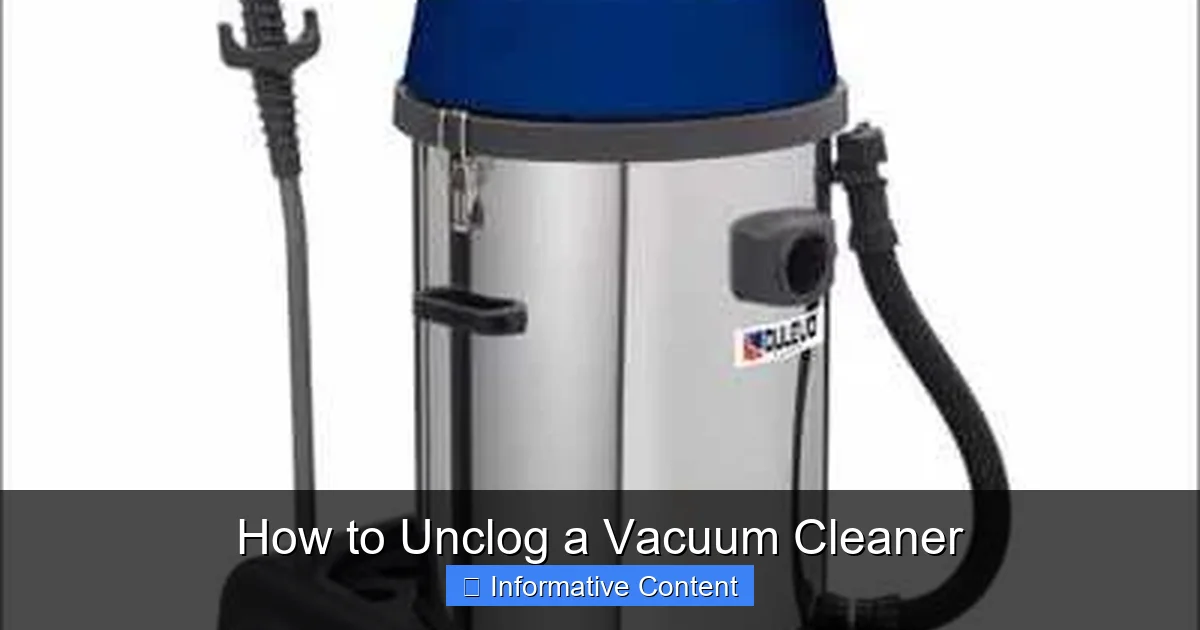
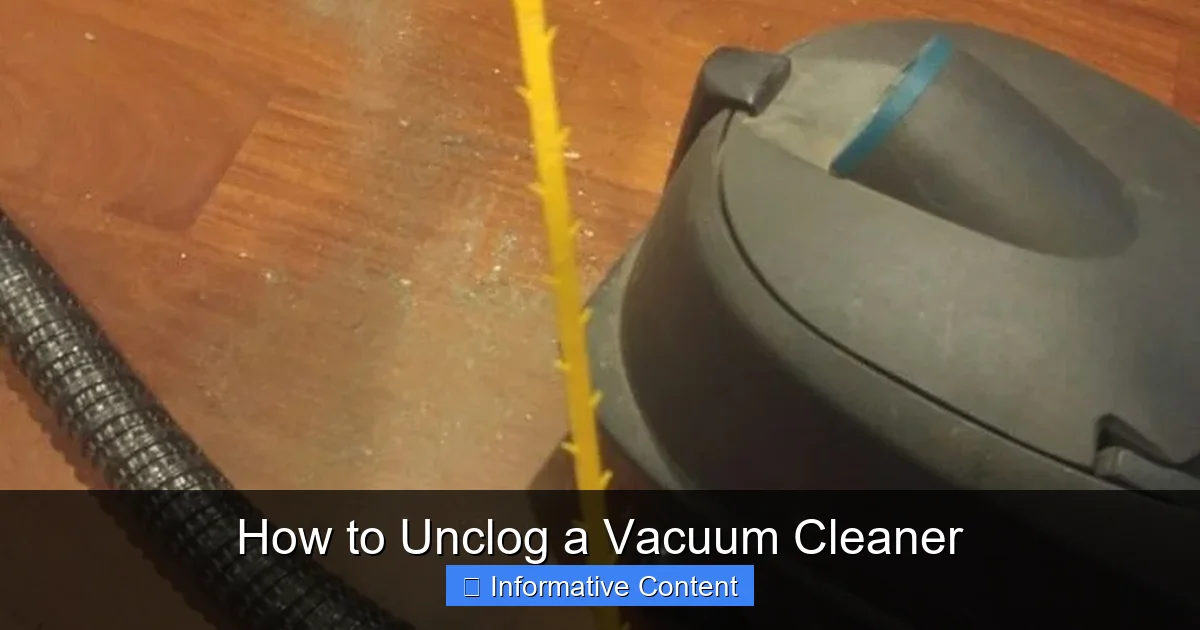
Visual guide about How to Unclog a Vacuum Cleaner
Image source: unclogadrain.com
Empty the Dustbin or Change the Bag
It sounds obvious, right? But you’d be surprised how often a nearly full or overflowing dustbin or vacuum bag is the sole cause of diminished suction. When the collection area is too full, there’s no longer enough space for air to flow properly, which directly impacts the vacuum’s ability to pick up dirt. Always check this first. If you have a bagless model, empty the canister completely and give it a good wipe down. For bagged vacuums, replace the bag with a fresh one, even if it doesn’t look completely full, as compacted dust can still restrict airflow.
Inspect and Clean the Filters
Vacuum cleaners typically have one or more filters designed to trap fine dust and allergens, protecting the motor and ensuring cleaner exhaust air. These filters can become heavily caked with dirt over time, drastically reducing airflow. Most vacuums have at least two types of filters:
- Pre-Motor Filter: Usually located near the dustbin, this filter protects the motor from larger particles. Many are washable. If yours is, rinse it thoroughly under cool water until the water runs clear. Allow it to air dry completely (for at least 24 hours) before putting it back. Never put a damp filter back into your vacuum!
- Post-Motor (HEPA) Filter: Often located near the exhaust vent, this filter catches the finest particles before air is expelled back into your room. Some are washable, while others are designed for replacement only. Check your vacuum’s manual for specific instructions. If it’s a replaceable type, a dirty filter means it’s time for a new one.
A good rule of thumb is to clean or check your filters monthly, or more often if you vacuum frequently or have pets. A clean filter dramatically improves a vacuum’s performance and prevents it from having to work harder, which can extend its lifespan.
Inspecting the Hose for Blockages
Once you’ve cleared the dustbin and checked the filters, the hose is the next most likely place to find a clog. Vacuum hoses are notorious for trapping larger debris, pet toys, or even socks that get accidentally sucked up. Learning how to unclog a vacuum cleaner often means tackling a stubborn hose blockage.
Detach the Hose Completely
For a thorough inspection, it’s best to remove the vacuum hose from both ends – the vacuum body and any attachments (like the wand or floor head). Most hoses have simple latches or twist-lock mechanisms. Consult your owner’s manual if you’re unsure how to safely detach it.
Visual and Manual Inspection
Hold the detached hose up to a light source. You should be able to see through it. If not, there’s a blockage. Try flexing the hose gently along its length; sometimes, you can feel a hard lump indicating where the clog is located. You can also try dropping a small coin or marble through one end to see if it comes out the other. If it stops, you’ve found your clog.
For flexible hoses, gently try to squeeze the hose at the location of the suspected clog. This can sometimes break up or loosen the obstruction, making it easier to remove.
Use a Long, Blunt Object to Push it Out
If you can’t see or feel the clog easily, take your long, blunt object (like a broom handle or a straightened coat hanger). From one end of the hose, gently push the object through, trying to dislodge the blockage. Be careful not to use excessive force, as you could damage the hose. If the object hits something solid, try pushing from the other end as well. Sometimes, pushing from the opposite direction can be more effective. If you’re using a coat hanger, bend a small hook at one end to try and pull the clog out.
Important Tip: Never use anything sharp or pointed that could puncture the hose and create a new problem. Also, avoid using your hand to reach deep into the hose; you might get stuck or cut.
Checking Hose Attachments and Connections
Don’t forget to check the smaller connecting pieces too. The wand, extension tubes, and even the main floor head where the hose attaches can also get clogged. Detach these and inspect them separately, pushing through any blockages with your long object.
Addressing Clogs in the Brush Roll and Head
The brush roll (also called a beater bar) is a workhorse, picking up dirt and debris from carpets. Because it’s constantly spinning and agitating, it’s a prime target for hair, string, and fibers to get tangled around it, hindering its ability to spin and pick up. This can significantly impact your vacuum’s performance.
Turn the Vacuum Over
Carefully lay your vacuum cleaner on its side or back so that the underside, where the brush roll is located, is easily accessible. Again, confirm it’s unplugged!
Remove Hair and Debris from the Brush Roll
Using your scissors or seam ripper, carefully cut away any tangled hair, string, carpet fibers, or other debris wrapped around the brush roll. Be thorough! Even a small amount of tangled material can reduce the brush roll’s effectiveness. Try to gently pull the debris away as you cut. You might need to use your fingers or a stiff brush to clear everything completely.
Some brush rolls are removable, which makes cleaning much easier. Check your manual to see if yours can be taken out. If so, it will usually involve twisting a cap or releasing clips.
Inspect the Intake Port
Once the brush roll itself is clean, look at the opening right behind it, where dirt is sucked up into the main body of the vacuum. This “intake port” can also become clogged with compacted dirt, pet hair, or larger items. Use your flashlight to peer into this area and, if safe to do so, use your gloved fingers or a blunt tool to pull out any obstructions. If your vacuum has a removable base plate, unscrewing it can provide better access to this area.
Check the Belt
While you’re inspecting the brush roll, also take a moment to check the belt that drives it. If the brush roll isn’t spinning, a broken or slipped belt could be the issue, not necessarily a clog. Replace the belt if it’s broken or stretched. This is not strictly a clog issue, but it’s a common cause of poor performance in the same area.
The Internal Pathways and Ductwork
If you’ve checked the dustbin, filters, hose, and brush roll, and your vacuum is still struggling, the clog might be deeper inside the machine. These internal pathways can be a bit trickier to access, but with a methodical approach, you can often locate and resolve the issue.
Following the Airflow
Think about the path that dirt takes from the brush roll to the dustbin or bag. There’s usually a short, rigid tube or duct that connects the floor head to the main body of the vacuum, or from the hose connection point to the filter housing. These internal tubes can sometimes get blocked, especially if your vacuum sucked up something dense or particularly voluminous.
Look for access panels or removable sections on your vacuum’s body. Some upright vacuums, for instance, have a transparent tube that runs from the base up to the canister; these are perfect candidates for visual inspection with a flashlight. For canister vacuums, check the connection point where the hose attaches to the body of the machine.
Gentle Prodding and Disassembly (If Necessary)
If you suspect a clog in one of these internal pathways, and you can see it or reach it, try to dislodge it with your long, blunt tool. Exercise caution here, as you don’t want to damage internal components. If necessary, you may need to consult your vacuum’s manual to see if specific panels or sections can be safely removed to gain better access to these deeper clogs. Always follow the manufacturer’s instructions for disassembly to avoid voiding warranties or damaging the machine.
Sometimes, a really stubborn clog might require a bit more effort. For highly inaccessible areas, some people have had success with a powerful shop vac used in reverse (blower mode) to try and force air through a blocked path, or using another vacuum to try and suction out the clog from the opposite direction. However, these methods should be used with extreme caution and only if you are confident you won’t damage your vacuum. If you’re unsure, it’s always best to err on the side of caution.
When to Call a Professional
If you’ve systematically checked every accessible area, removed all visible clogs, and your vacuum still isn’t performing well, the issue might be more complex. It could be an internal motor problem, a broken seal, or a clog in a truly inaccessible part of the vacuum. At this point, it might be time to consider taking it to a professional vacuum repair shop. They have specialized tools and expertise to diagnose and fix deeper issues safely.
Prevention is Better Than Cure
Once you’ve successfully learned how to unclog a vacuum cleaner and restored its suction, the best way to keep it that way is through regular maintenance and preventative habits. A little effort now can save you a lot of frustration later.
Regular Emptying and Bag Changes
Don’t wait until your dustbin is overflowing or your bag is completely bursting. Empty your bagless canister after every use, or when it reaches the “max fill” line. Change vacuum bags before they’re completely full. This ensures optimal airflow and prevents dirt from compacting, which can lead to clogs and reduced efficiency.
Pre-Sweep Large Debris
Before vacuuming, quickly pick up any larger items on the floor, such as small toys, coins, paper clips, or significant clumps of pet hair. Your vacuum is designed for fine dust and small debris, not for swallowing large objects that can easily get stuck in the hose or internal pathways.
Avoid Wet Messes
Unless you have a specialized wet/dry vacuum, never use your regular vacuum cleaner to pick up liquids or damp debris. Wet materials can gum up the internal workings, damage filters, promote mold growth, and create incredibly stubborn clogs.
Routine Filter Cleaning
Make filter cleaning a regular part of your cleaning routine. Check washable filters at least once a month and clean them as per the manufacturer’s instructions. Replace non-washable filters regularly (every 3-6 months, depending on use) to maintain peak performance and air quality.
Maintain the Brush Roll
After a few vacuuming sessions, flip your vacuum over and quickly snip away any hair or string that has wrapped around the brush roll. This takes only a minute or two but makes a huge difference in how effectively the brush can agitate and lift dirt from your carpets.
By incorporating these simple habits into your cleaning routine, you’ll significantly extend the life of your vacuum cleaner, maintain its powerful suction, and drastically reduce the chances of encountering frustrating clogs in the future. A well-maintained vacuum isn’t just a convenience; it’s an investment in a cleaner, healthier home.
Conclusion
Learning how to unclog a vacuum cleaner is a valuable skill that empowers you to keep your cleaning routine running smoothly. From the moment you notice a dip in suction, remember to approach the problem systematically: ensure safety by unplugging, then work your way through the dustbin, filters, hose, brush roll, and finally, any internal pathways. Most clogs are easy to find and remove, requiring only basic tools and a bit of patience.
By understanding how your vacuum works and performing these simple troubleshooting steps, you can save money on repairs and extend the lifespan of your appliance. More importantly, adopting preventative measures like regular emptying, filter cleaning, and brush roll maintenance will help you avoid clogs altogether. A powerful, efficient vacuum makes household chores less of a burden and ensures your home remains beautifully clean, all thanks to your newfound expertise in fixing common vacuum woes!
Frequently Asked Questions
What are the first steps to take when my vacuum loses suction?
The very first steps when your vacuum loses suction are to ensure it’s unplugged for safety, then check and empty the dustbin or replace the bag. Next, inspect and clean all accessible filters, as these are the most common and easiest culprits for reduced airflow.
Can pet hair cause a vacuum to clog easily?
Absolutely, pet hair is one of the most common causes of vacuum clogs. It can quickly accumulate and tangle around the brush roll, pack densely in the hose, or clog filters, significantly reducing suction power.
How can I prevent my vacuum cleaner from clogging in the future?
To prevent future clogs, regularly empty the dustbin, clean/replace filters, pre-sweep large debris before vacuuming, avoid picking up wet messes, and routinely cut tangled hair and strings from the brush roll. These habits maintain optimal airflow and performance.
What if I can’t find the clog after checking the usual spots?
If the clog isn’t in the dustbin, filters, hose, or brush roll, it might be in the internal pathways or ductwork connecting these components. Use a flashlight to trace the airflow path and gently prod with a blunt object, consulting your vacuum’s manual for specific access points.
My vacuum smells burnt when it’s clogged. What does that mean?
A burnt smell often indicates that the vacuum’s motor is overheating due to excessive strain caused by a severe clog or a non-spinning brush roll. This means the motor is working too hard to compensate for the restricted airflow. Unplug it immediately, find and clear the clog, and allow the motor to cool down before using it again.
Should I ever use a chemical drain cleaner to unclog my vacuum?
No, you should absolutely never use chemical drain cleaners to unclog your vacuum cleaner. These harsh chemicals can severely damage plastic and rubber components within your vacuum, create toxic fumes, and pose a significant safety risk. Stick to manual methods for clog removal.