How Do I Make a Pizza Oven at Home Easy Step by Step Guide
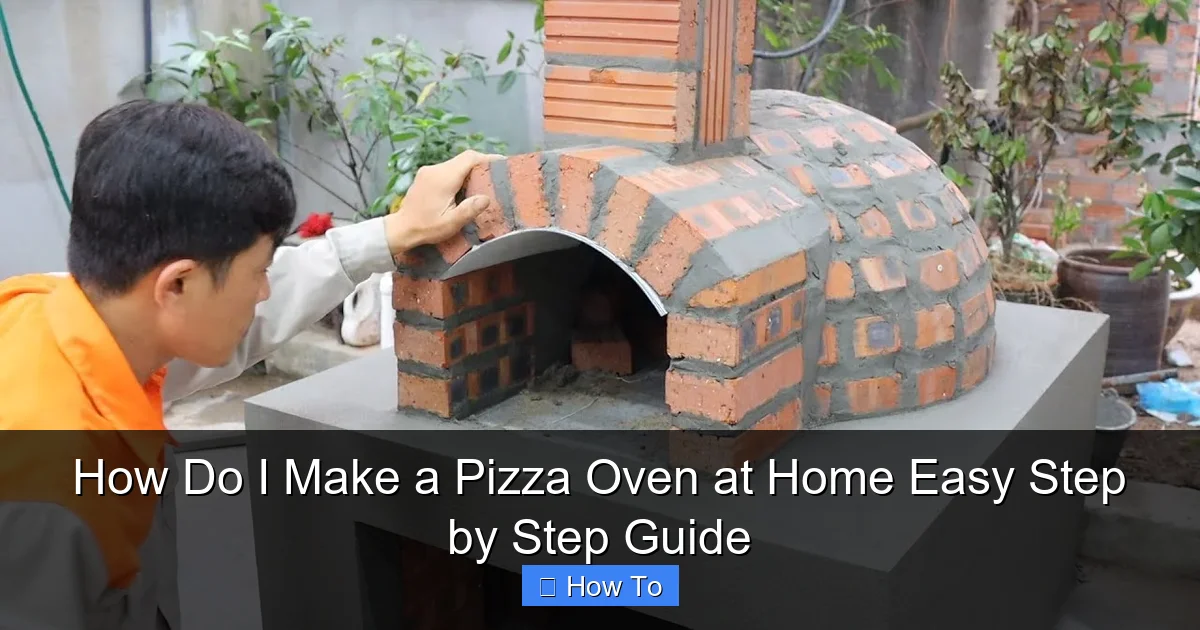
Featured image for how to make a pizza oven
Image source: i.ytimg.com
Building a pizza oven at home is easier than you think—start with a simple brick or clay design using basic tools and affordable materials. This step-by-step guide walks you through creating a durable, heat-efficient oven that delivers restaurant-quality pizzas in your backyard, all in under a weekend. No prior masonry skills required!
How to How Do I Make a Pizza Oven at Home Easy Step by Step Guide
Why This Matters / Understanding the Problem
Have you ever taken a bite of wood-fired pizza and thought, “I want to make this at home”? You’re not alone. Many home cooks dream of that perfect charred crust, smoky aroma, and bubbling cheese—but assume a real pizza oven is too expensive or complex.
The truth? You don’t need a $5,000 commercial oven to get professional results. With a little DIY spirit, you can build a high-heat, efficient outdoor pizza oven using simple materials. This How Do I Make a Pizza Oven at Home Easy Step by Step Guide shows you how to do it safely, affordably, and with real results.
Whether you’re a backyard chef, a family cook, or a grill enthusiast, a homemade pizza oven lets you experiment with flavors, host unforgettable gatherings, and enjoy restaurant-quality pizza without leaving your patio. And the best part? It’s easier than you think.
What You Need
Before you start, gather these tools and materials. This How Do I Make a Pizza Oven at Home Easy Step by Step Guide focuses on a refractory clay oven—a popular, durable, and heat-retaining design. You can complete it in a weekend with basic skills.
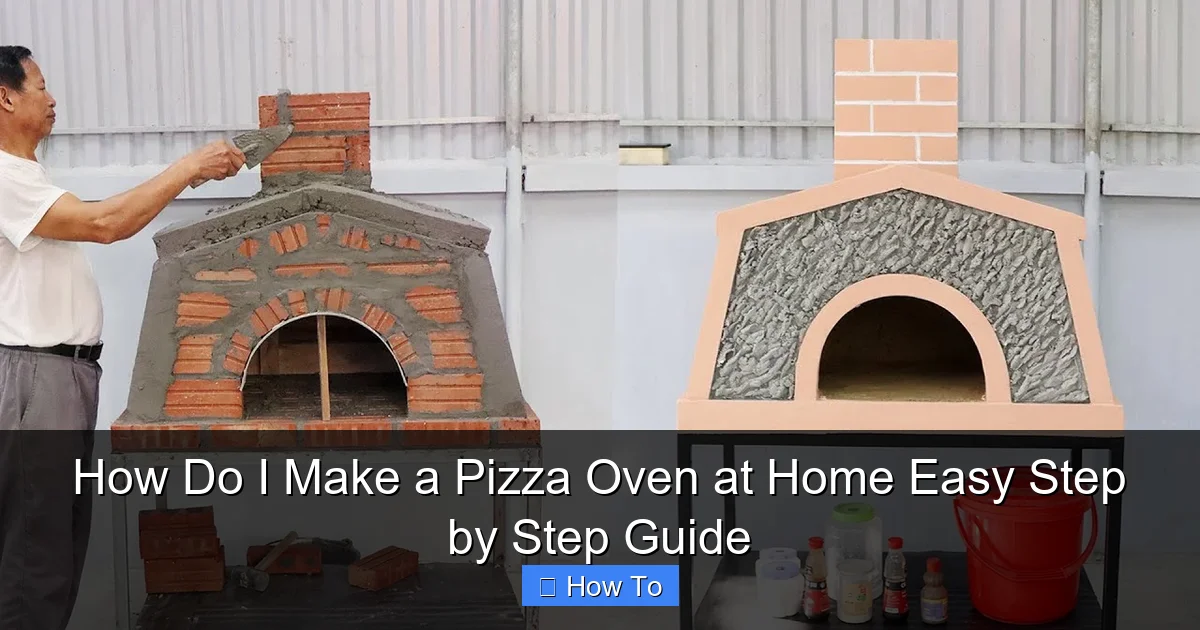
Visual guide about how to make a pizza oven
Image source: i.ytimg.com
Materials
- Refractory bricks (firebricks) – 100+ (for dome and floor)
- Fireclay mortar (heat-resistant)
- Insulating blanket or vermiculite (for dome insulation)
- Concrete pavers or cinder blocks (for base)
- Metal mesh or rebar (for dome support)
- Stainless steel flue pipe (4–6 inches diameter)
- Fireproof sealant
- Wood or propane burner (optional, for faster heat-up)
- Outdoor-rated plywood or metal sheet (for door)
Tools
- Trowel (for mortar)
- Measuring tape
- Spirit level
- Angle grinder (for cutting bricks)
- Drill with masonry bit
- Work gloves and safety goggles
- Staple gun (for insulation)
Pro Tip: Buy firebricks from a masonry supplier or online. Regular bricks crack under high heat. Look for “kiln bricks” or “insulating firebricks” rated for 1,800°F+.
Step-by-Step Guide to How Do I Make a Pizza Oven at Home Easy Step by Step Guide
Step 1: Choose Your Location and Build the Base
Pick a flat, level spot in your yard—ideally on stone, concrete, or a fireproof pad. Keep it at least 10 feet from trees, fences, or structures.

Visual guide about how to make a pizza oven
Image source: thegardener.co.za
Stack cinder blocks or lay concrete pavers to create a 36–42 inch high base. Use a spirit level to ensure it’s perfectly flat. This base holds your oven and keeps it safe from ground moisture.
Top the base with a layer of firebricks for extra heat resistance. This foundation is crucial for even cooking and long-term durability in your How Do I Make a Pizza Oven at Home Easy Step by Step Guide.
Step 2: Lay the Oven Floor
Arrange firebricks tightly on the base to form the oven floor. Leave a 1/8-inch gap between bricks for thermal expansion. Use a rubber mallet to gently tap them into place.
Cut bricks with an angle grinder if needed to fit around the edges. The floor should be about 30 inches wide—big enough for two 12-inch pizzas.
Warning: Don’t skip the gaps! Without expansion space, bricks can crack when heated.
Step 3: Build the Oven Door Frame and Support
Create a door opening using two upright firebricks at the front. The opening should be about 20 inches wide and 10–12 inches tall—just enough for your peel to fit.
Behind this, place a temporary sand or cardboard form (called a “formwork”) that mimics the dome shape. This supports the bricks as you build the arch.
Use fireclay mortar to secure the first layer of bricks around the form. Let it cure for 24 hours before removing the form.
Step 4: Construct the Dome (The Heart of the Oven)
This is the trickiest part, but don’t worry—it’s doable with patience. Starting from the back, lay firebricks in a spiral pattern, each slightly overlapping the last.
Use fireclay mortar between each brick. As you move toward the front, angle bricks upward to form the dome. The top bricks will meet at the center, forming a keystone.
Once the dome is complete, let it cure for 48 hours. Then, remove the formwork and check for stability. The dome should feel solid and symmetrical.
Pro Tip: For extra strength, insert stainless steel rebar through the back wall and into the dome. This acts like a “spine” for your oven.
Step 5: Add Insulation and Outer Layer
Wrap the entire dome with a 1-inch layer of ceramic fiber blanket or pack vermiculite (mixed with water) around it. This insulation keeps heat inside and prevents heat loss.
Secure the blanket with stainless steel wire or a mesh cage. Then, apply a thin layer of refractory cement or stucco over the insulation for weather protection.
This outer shell also gives your oven a polished, professional look—perfect for your next backyard cookout.
Step 6: Install the Flue and Door
Cut a hole in the top front of the dome (about 6 inches wide) and insert the stainless steel flue pipe. Angle it slightly upward to improve airflow.
Seal around the pipe with fireproof sealant. A good flue pulls smoke up and out, creating strong convection—key for even cooking.
For the door, use a metal sheet or cut firebrick to fit the front opening. Attach it with hinges or use a removable wood door. The door helps retain heat and control temperature during baking.
Step 7: Cure the Oven (Don’t Skip This!)
Before cooking, you must cure the oven to remove moisture and prevent cracking. Start with small fires and gradually increase heat over 5–7 days.
- Day 1–2: 200°F (small twigs, 1 hour)
- Day 3–4: 500°F (larger wood, 2 hours)
- Day 5+: 800°F+ (full fire, 3+ hours)
After each burn, let the oven cool slowly. This process strengthens the mortar and bricks, ensuring your How Do I Make a Pizza Oven at Home Easy Step by Step Guide lasts for years.
Step 8: Fire It Up and Cook!
Now the fun begins! Build a wood fire inside the oven and let it burn for 1–2 hours until the floor and dome are white-hot (1,000–1,200°F).
Push the coals to one side, sweep the floor, and slide in your pizza. Close the door or partially cover the opening to trap heat. A Neapolitan pizza cooks in 90 seconds at this temperature!
Rotate the pizza halfway for even browning. Use a pizza peel with cornmeal to prevent sticking.
Pro Tips & Common Mistakes to Avoid
Even the best How Do I Make a Pizza Oven at Home Easy Step by Step Guide can fail if you skip the details. Here’s how to succeed:
- Use dry wood: Wet or green wood creates smoke, not heat. Use seasoned hardwoods like oak, maple, or hickory.
- Don’t rush curing: Skipping the slow heat-up causes cracks. Be patient—it’s worth it.
- Keep the door handy: Use it to control heat. Open it to cool, close it to retain heat.
- Maintain the flue: Clean it every few months to prevent creosote buildup.
- Protect from rain: Add a simple roof or cover when not in use. Moisture damages insulation and mortar.
Common Mistake: Overloading the oven with fuel. Too much wood causes sooty, bitter pizza. Aim for steady, clean-burning coals.
Another pro tip: Try different fuels. Propane burners heat up faster and are great for weeknights. But for authentic flavor, nothing beats real wood.
And remember—your oven can cook more than pizza! Try roasting vegetables, baking bread, or even slow-cooking meats. The high heat and radiant energy make it a versatile outdoor kitchen tool.
FAQs About How Do I Make a Pizza Oven at Home Easy Step by Step Guide
1. How much does it cost to build a homemade pizza oven?
Expect to spend $300–$600, depending on materials. Firebricks and insulation are the biggest costs. You can save money by using recycled cinder blocks or buying bricks in bulk. This How Do I Make a Pizza Oven at Home Easy Step by Step Guide keeps it budget-friendly without sacrificing performance.
2. Can I build it indoors?
No. This design is for outdoor use only due to fire risk, smoke, and carbon monoxide. Even with a flue, indoor ovens require professional ventilation and permits.
3. How long does it take to heat up?
With a wood fire, 60–90 minutes to reach 800–1,000°F. Propane burners can do it in 30–45 minutes. The insulation helps retain heat, so once hot, it stays hot for hours.
4. What’s the best fuel?
Hardwood (like oak or maple) gives the best flavor. Avoid softwoods (pine, cedar)—they burn too fast and produce resin. Propane is cleaner and faster, but lacks the smoky taste.
5. Can I use regular bricks?
No. Regular bricks crack under high heat. Firebricks are specially made to handle 2,000°F+ without breaking. They’re essential for safety and performance.
6. How do I clean the oven?
Let it cool completely. Use a stiff brush to sweep out ash. For stuck-on residue, scrape gently with a metal scraper. Never use water—it can crack the bricks.
7. Can I build a smaller version?
Yes! A 24-inch floor works for single pizzas and takes less material. Just keep the dome height proportional (about 12 inches tall). Smaller ovens heat up faster and use less fuel.
🎥 Related Video: Pizza Stone Oven under $40!! #shorts #pizza #stoneoven #diy #easydiy #pizzastoneoven
📺 Patrick Zeinali
Final Thoughts
Building a pizza oven at home isn’t just about cooking—it’s about creating memories. Imagine pulling a golden, bubbling margherita from your own oven while friends gather around the fire. That’s the magic of a DIY pizza oven.
This How Do I Make a Pizza Oven at Home Easy Step by Step Guide proves you don’t need fancy tools or a contractor. With basic materials, a weekend of work, and a little patience, you can enjoy authentic, wood-fired pizza year-round.
Start small. Follow the steps. Cure your oven properly. And most of all—have fun! Once you master the heat, you’ll be experimenting with calzones, garlic knots, and even desserts like apple galettes.
So grab your trowel, light that first fire, and take the first step toward becoming your neighborhood’s pizza legend. Your dream oven is closer than you think.
Now go build it—and don’t forget to share the first slice!