How to Use a Bissell Vacuum Cleaner
Discover the easy way to achieve a spotless home by mastering how to use a Bissell vacuum cleaner. This comprehensive guide walks you through setup, optimal cleaning techniques for various surfaces, essential maintenance, and helpful troubleshooting tips. Get the most out of your Bissell and enjoy a cleaner living space effortlessly.
How to Use a Bissell Vacuum Cleaner
A clean home feels fantastic, doesn’t it? Stepping onto freshly vacuumed carpets or seeing gleaming hard floors can truly uplift your spirits. For many households, a Bissell vacuum cleaner is a trusted partner in achieving this sparkling cleanliness. Bissell has been around for ages, earning a reputation for making reliable and effective cleaning tools. Whether you’ve just bought your first Bissell or you’re looking to get more out of your current model, understanding how to use a Bissell vacuum cleaner properly is key to maximizing its performance and lifespan.
You might think vacuuming is straightforward, but there’s a real art to it! Knowing the nuances of your specific Bissell model, from adjusting settings to using its specialized attachments, can make a huge difference in your cleaning results. This guide is designed to be your friendly companion, walking you through everything you need to know. We’ll cover how to prepare, how to clean different surfaces effectively, and even how to keep your vacuum in tip-top shape. By the time you’re done reading, you’ll be a Bissell vacuuming pro, ready to tackle any mess with confidence.
So, let’s dive in and unlock the full potential of your cleaning machine. We’ll explore the different types of Bissell vacuums, walk through pre-cleaning steps, discuss effective vacuuming techniques, and share essential maintenance tips. Get ready to transform your cleaning routine and enjoy a cleaner, healthier living space. Let’s learn how to use a Bissell vacuum cleaner like a true expert!
Key Takeaways
- Understand Your Model: Familiarize yourself with your specific Bissell vacuum type (upright, stick, handheld) and its unique features before you start.
- Prepare for Cleaning: Always clear the area of small objects and adjust your vacuum’s settings, like brush height, to match the surface you’re cleaning.
- Master Cleaning Techniques: Use slow, overlapping passes for deep cleaning, and utilize attachments for tight spaces and upholstery to ensure thoroughness.
- Prioritize Regular Maintenance: Empty the dirt bin, clean filters, and check the brush roll frequently to maintain strong suction and extend your vacuum’s lifespan.
- Troubleshoot Common Issues: Learn simple fixes for common problems like loss of suction or a non-spinning brush roll, saving you time and potential repair costs.
- Store Properly: Keep your Bissell vacuum cleaner in a dry, safe place to protect it from damage and keep it ready for your next cleaning task.
Quick Answers to Common Questions
How often should I clean my Bissell vacuum’s filter?
You should clean your Bissell vacuum’s washable filters every 3-6 months, or more frequently if you have pets or use your vacuum heavily. Always refer to your specific model’s manual for exact recommendations.
Can I use my Bissell upright vacuum on hard floors?
Many Bissell upright vacuums are designed to work on both carpets and hard floors. However, it’s crucial to turn off the brush roll (if your model has this feature) when vacuuming hard floors to prevent scattering debris or scratching the surface.
What does it mean if my Bissell vacuum has lost suction?
Loss of suction often indicates a full dirt bin, clogged filter, or a blockage in the hose or brush roll. Start by checking and clearing these common culprits to restore your vacuum’s performance.
How do I untangle hair from my Bissell vacuum’s brush roll?
First, always unplug the vacuum. Then, turn the vacuum over and carefully use a pair of scissors or a seam ripper to cut away any hair or threads wrapped around the brush roll. Be gentle to avoid damaging the bristles or belt.
Is it okay to vacuum liquid spills with my regular Bissell dry vacuum?
Absolutely NOT. Using a dry vacuum cleaner on liquid spills can cause severe damage to the motor and pose a significant electrical shock hazard. Only use Bissell wet/dry models (like the CrossWave or SpotClean) for liquid messes.
📑 Table of Contents
Understanding Your Bissell Vacuum
Before you even plug in your vacuum, it’s a great idea to get acquainted with your specific Bissell model. Bissell makes a wide range of vacuums, each designed with different needs in mind. Knowing which type you have will help you understand its capabilities and how best to use a Bissell vacuum cleaner effectively.
Different Types of Bissell Vacuums
Bissell offers several popular categories of vacuums.
- Upright Vacuums: These are the classic workhorses, excellent for carpets and often versatile enough for hard floors. They typically feature powerful suction and a wide cleaning path. Examples include the Bissell CleanView or Pet Hair Eraser Upright.
- Canister Vacuums: Canister models separate the motor and dirt collection from the cleaning head. This design often makes them lighter to maneuver and great for stairs, upholstery, and hard-to-reach areas, along with various floor types.
- Stick Vacuums: Lightweight and slender, stick vacuums are perfect for quick clean-ups, bare floors, and area rugs. Many are cordless, offering ultimate flexibility. The Bissell FeatherWeight or Icon series are good examples.
- Handheld Vacuums: These compact, portable units are ideal for small messes, car interiors, and quick spot cleaning. They’re super convenient for pet hair on furniture.
- Robot Vacuums: For hands-free cleaning, Bissell’s robot vacuums, like the SpinWave or EV675, autonomously navigate your home, cleaning floors while you do other things.
- Wet/Dry Vacuums (e.g., CrossWave, SpotClean): While primarily known for their vacuum cleaners, Bissell also offers innovative wet/dry machines that can vacuum and wash floors simultaneously, or spot-clean carpets and upholstery. When learning how to use a Bissell vacuum cleaner of this type, remember they handle both dry debris and liquid messes.
Key Components and Controls
Regardless of the type, most Bissell vacuums share some common components and controls.
- Power Button: Usually a foot pedal on uprights or a button on the handle or body.
- Brush Roll (Beater Bar): This rotating brush helps agitate carpet fibers to lift dirt. It can often be turned on or off for different floor types.
- Height Adjustment: For uprights, a dial or lever allows you to raise or lower the brush roll for different carpet pile heights or bare floors.
- Dirt Container/Bag: Where dust and debris are collected. This will either be a removable bagless canister or a disposable bag.
- Filters: Essential for trapping fine dust and allergens. Most Bissell vacuums have washable filters.
- Hose and Attachments: A flexible hose with various tools like a crevice tool, dusting brush, and upholstery tool for specialized cleaning tasks.
Taking a moment to locate these on your specific model, perhaps even consulting your owner’s manual, will make it much easier to effectively use a Bissell vacuum cleaner.
Pre-Vacuuming Preparations for Optimal Cleaning
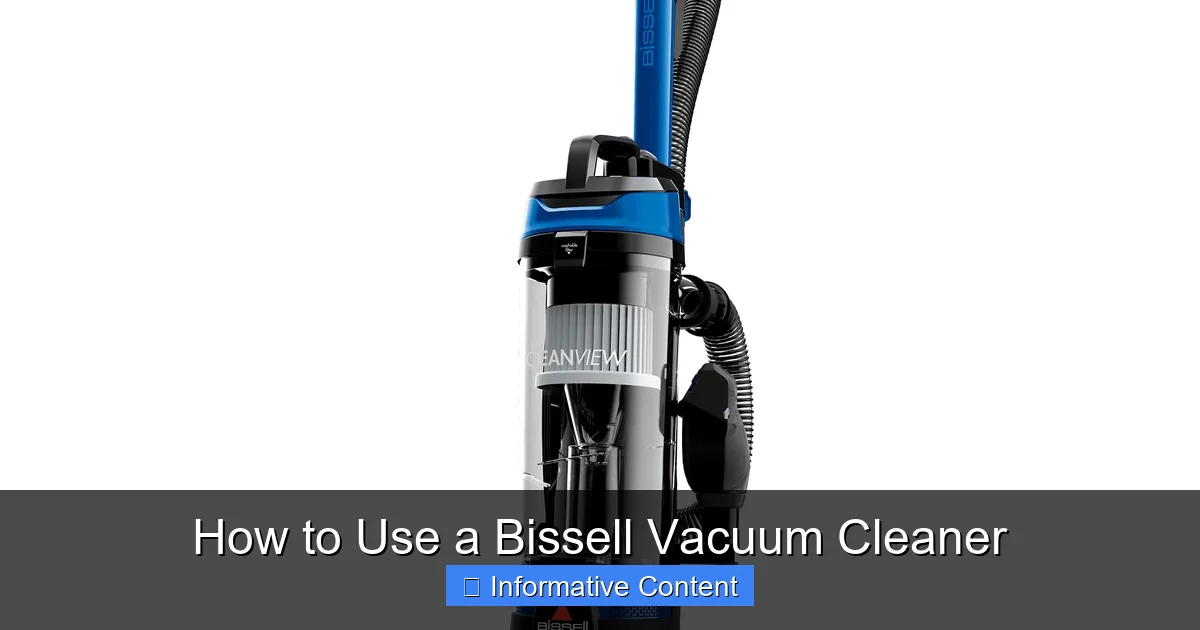
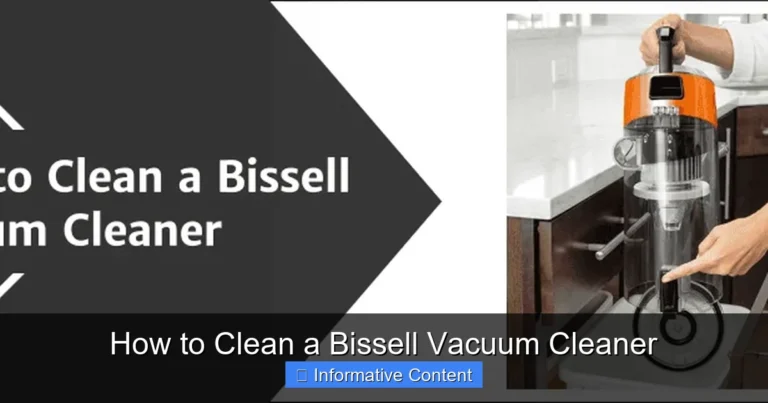
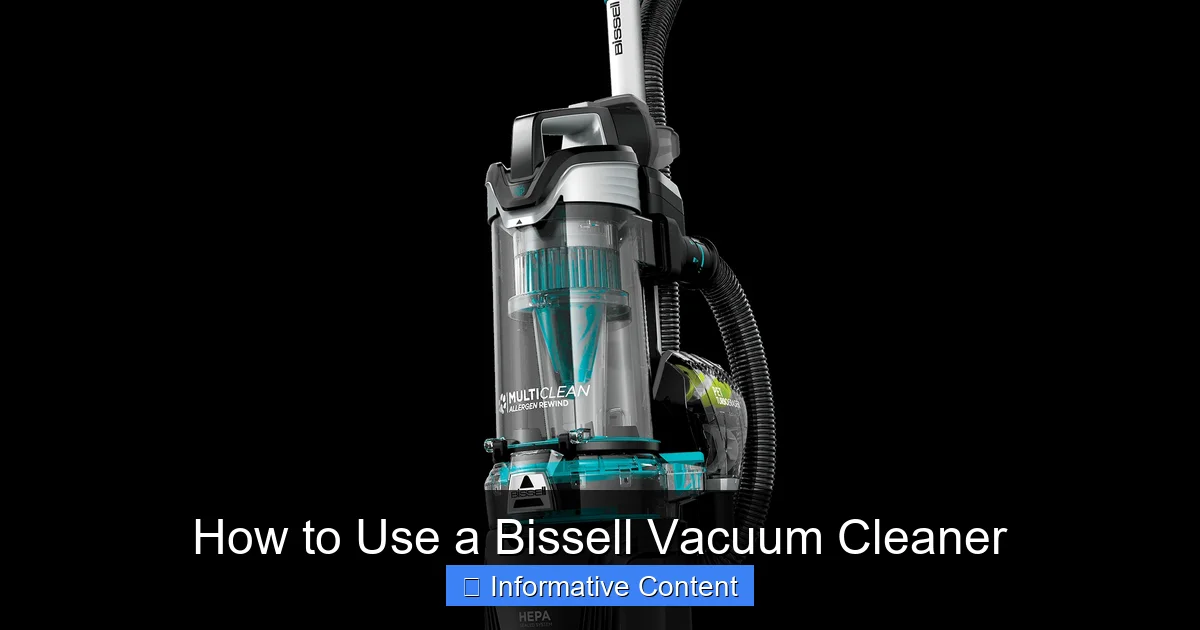
Visual guide about How to Use a Bissell Vacuum Cleaner
Image source: m.media-amazon.com
Before you even press the power button, a little preparation goes a long way. These steps ensure your vacuum works efficiently and prevents damage to both your vacuum and your belongings.
Clearing the Area
Think of this as setting the stage for a great performance.
- Remove Obstacles: Pick up small items like toys, socks, loose papers, or charging cables. These can get tangled in the brush roll or obstruct suction, potentially damaging your vacuum or the items themselves.
- Move Light Furniture: If possible, shift lightweight chairs, side tables, or rugs to get to those hidden dirt traps underneath.
- Shake Out Small Rugs: For small throw rugs, take them outside and give them a good shake or beat them to remove loose dirt and grit before vacuuming them indoors.
Checking the Vacuum
A quick pre-check helps ensure your Bissell vacuum cleaner is ready for action.
- Empty the Dirt Container or Change the Bag: A full dirt bin or bag reduces suction power significantly. Always start with an empty or nearly empty container for the best performance. This is a crucial step when learning how to use a Bissell vacuum cleaner effectively.
- Inspect Filters: Check if your filters are clogged. Many Bissell filters are washable, but if they’re too dirty or damaged, they might need cleaning or replacement. Dirty filters restrict airflow, leading to weaker suction.
- Examine the Brush Roll: Turn your vacuum over (when unplugged!) and check the brush roll. Hair, strings, and debris often get wrapped around it, hindering its ability to agitate carpets. Clear any obstructions with scissors.
Adjusting Settings
Your Bissell isn’t a one-trick pony; it has settings for a reason!
- Height Adjustment (for Uprights): If your vacuum has a height setting, adjust it according to your floor type.
- High Pile Carpets: Set to a higher setting to prevent the brush roll from digging in too deep and making it hard to push.
- Low Pile Carpets/Area Rugs: Use a medium setting.
- Hard Floors: Use the lowest setting, or the specific “hard floor” setting if available. This often turns off the brush roll to prevent scattering debris and scratching delicate surfaces. If your vacuum doesn’t have a specific hard floor setting, consider turning the brush roll off manually if that option is available.
- Suction Power Control: Some advanced Bissell models offer adjustable suction power. Use higher suction for deeply embedded dirt in carpets and lower suction for delicate rugs or lightweight items that might get sucked up easily.
The Art of Effective Vacuuming with Your Bissell
Now that you’re prepped, it’s time for the main event! Proper technique is key to thoroughly clean your floors and extend the life of your carpets and hard surfaces.
Starting the Vacuum
Once your vacuum is plugged in (for corded models) or fully charged (for cordless), ensure the power button is easily accessible. If it’s an upright model, gently step on the base and tilt the handle back to engage the cleaning position. Press the power button and listen for the motor to hum to life. If your model has a brush roll on/off switch, ensure it’s in the correct position for your floor type (on for carpets, off for hard floors).
Proper Technique for Different Surfaces
Learning how to use a Bissell vacuum cleaner effectively means adapting your technique to the surface.
For Carpets and Area Rugs
- Slow and Overlapping Passes: Don’t rush! Push the vacuum slowly forward and pull it back in overlapping rows. This allows the brush roll and suction to properly agitate and lift dirt from deep within the carpet fibers. Fast, haphazard passes leave dirt behind.
- Multiple Directions: For heavily trafficked areas, vacuum in a crisscross pattern (e.g., once horizontally, then once vertically). This helps to lift flattened carpet fibers and remove more embedded dirt.
- Edge Cleaning: Many Bissell uprights have edge cleaning capabilities. Angle the side of the vacuum along baseboards to capture dirt that collects there.
- Small Area Rugs: If a small rug tends to get sucked into the vacuum, turn off the brush roll (if possible) or use a lower suction setting. You might also consider using a handheld attachment or simply taking the rug outside to shake it.
For Hard Floors (Hardwood, Tile, Laminate)
- Brush Roll Off: This is crucial. If your Bissell vacuum cleaner has a brush roll, make sure it’s turned OFF for hard floors. A spinning brush roll can scatter debris, scratch delicate surfaces, and isn’t necessary for picking up dirt from smooth floors.
- Gentle Suction: Use steady, even passes. You don’t need to press down hard; the suction will do the work.
- Crevice Tool for Grout Lines: For tiled floors, the crevice tool can be surprisingly effective at cleaning dirt from grout lines.
- Vacuuming Dust: Bissell stick vacuums are often excellent for hard floors due to their lighter weight and typically softer brush rolls designed not to scratch.
Using Attachments for Nooks and Crannies
Your vacuum’s attachments aren’t just for show! They are vital for a truly thorough clean.
- Crevice Tool: This long, narrow tool is perfect for tight spaces like between couch cushions, along baseboards, in corners, and around radiators. It’s also great for cleaning car interiors.
- Dusting Brush: With soft bristles, this attachment is ideal for delicate surfaces that collect dust, such as lampshades, bookshelves, window blinds, and computer keyboards.
- Upholstery Tool: Designed with a wide, flat head, this tool helps remove pet hair, crumbs, and dust from furniture, curtains, and stairs. Some have fabric strips to help lift hair more effectively.
- Extension Wand: Many Bissell vacuums come with an extension wand that connects to the hose, allowing you to reach high places like ceiling corners, cobwebs, or the tops of doorframes.
Remember to turn off your main vacuum and connect the hose and chosen attachment firmly before resuming cleaning.
Tackling Spills and Pet Hair
Bissell is known for its pet-focused products, so many models excel here.
- Pet Hair: Use specialized pet hair attachments if your model has them. These often have rubber nubs or unique brush designs to lift stubborn pet hair from carpets and upholstery. Regular, slow passes are key.
- Small Dry Spills: For dry spills like cereal or crumbs, simply use the appropriate vacuum setting and method for the surface.
- Liquid Spills: NEVER use a dry vacuum cleaner for liquid spills. This can damage the motor and create a serious electrical hazard. For liquid spills, you need a wet/dry vac (like a Bissell CrossWave or SpotClean Pro) designed for that purpose.
Post-Vacuuming Care and Maintenance
Once your floors are spotless, your job isn’t quite done. Regular maintenance after each use is crucial for keeping your Bissell vacuum cleaner performing its best and extending its lifespan. Neglecting these steps can lead to decreased suction, unpleasant odors, and even costly repairs.
Emptying the Dirt Container or Changing the Bag
This is the most frequent maintenance task.
- Bagless Canisters: Most modern Bissell vacuums are bagless. After each significant use, empty the dirt collection canister into a trash can. Many have a “max fill” line; avoid overfilling. Tap the canister to dislodge any stuck debris, and occasionally wipe the inside with a damp cloth to prevent odor buildup.
- Bagged Vacuums: Check the bag regularly. Once it’s two-thirds full, replace it with a new, genuine Bissell bag. Don’t wait until it’s completely bursting, as this reduces airflow and suction.
Cleaning Filters
Filters are your vacuum’s lungs, trapping dust and allergens.
- Pre-Motor Filter: This filter protects the motor from large debris. Most Bissell pre-motor filters are washable. Check your manual for specific instructions, but generally, you rinse them under cold water until the water runs clear. Allow them to air dry completely for at least 24 hours before putting them back. Never put a damp filter into your vacuum.
- Post-Motor Filter (HEPA Filter): Some Bissell models have a post-motor filter, often a HEPA filter, which traps very fine particles. These are typically not washable and need to be replaced periodically (e.g., every 6-12 months), depending on usage. Consult your manual.
Inspecting and Cleaning the Brush Roll
The brush roll can become a tangle of hair and threads, which significantly reduces its effectiveness.
- Unplug First: Always unplug your vacuum before performing any maintenance on the brush roll.
- Remove Debris: Turn the vacuum over and carefully use scissors or a seam ripper to cut away any hair, strings, or threads wrapped around the brush roll. Be careful not to cut the bristles or the belt.
- Check for Damage: While you’re there, inspect the brush roll for any worn-out bristles or damage. Check the drive belt that spins the brush roll; if it’s stretched or broken, it will need to be replaced.
Cleaning the Hose and Attachments
The hose and attachments can also accumulate dust and blockages.
- Check for Blockages: If you notice a sudden loss of suction, check the hose for clogs. Use a broom handle or a long, blunt object (never your hand) to dislodge blockages.
- Wipe Down Attachments: Periodically wipe down your attachments with a damp cloth to remove accumulated dust and grime.
Storing Your Bissell Vacuum
Proper storage helps protect your vacuum.
- Cord Management: Wrap the power cord neatly around the designated cord hooks (for corded models).
- Attachment Storage: Store attachments securely in their designated slots on the vacuum or in a nearby cabinet to prevent them from getting lost.
- Dry Place: Store your Bissell vacuum cleaner in a cool, dry place, away from extreme temperatures or moisture.
Troubleshooting Common Bissell Vacuum Issues
Even the most reliable appliances can have a hiccup now and then. Don’t panic if your Bissell vacuum cleaner isn’t performing as expected. Many common issues have simple solutions you can try yourself.
Loss of Suction
This is perhaps the most common complaint.
- Check the Dirt Container/Bag: Is it full? Empty or replace it.
- Clogged Filters: Are your filters dirty? Clean or replace them. This is often the culprit for reduced suction.
- Hose/Attachment Blockage: Detach the hose and attachments and visually inspect them for clogs. Use a broom handle or a non-sharp object to carefully push through any obstructions.
- Brush Roll Blockage: If the brush roll is heavily tangled with hair, it can impede airflow. Clean the brush roll as described above.
- Loose Connections: Ensure all parts, including the dirt bin, filters, and hose, are securely attached and sealed.
Brush Roll Not Spinning
A non-spinning brush roll means your carpet isn’t getting agitated, reducing cleaning effectiveness.
- Brush Roll On/Off Switch: Is the brush roll simply turned off? Many Bissell models have a switch to deactivate it for hard floors.
- Belt Broken or Stretched: This is a common issue. If the drive belt (which connects the motor to the brush roll) is broken or stretched, the brush roll won’t spin. You’ll need to purchase a replacement belt specific to your Bissell model and install it.
- Hair/Debris Entanglement: Excessive hair and debris can seize the brush roll. Unplug the vacuum and carefully remove all obstructions.
- Overload Protection: Some vacuums have an automatic shut-off for the brush roll if it senses too much resistance. Turn off the vacuum, clear the obstruction, and restart.
Unusual Noises
Any strange noises should be investigated.
- High-Pitched Whine: Often indicates a clogged filter or a blockage in the hose or air path, causing the motor to strain. Check filters and for blockages.
- Grinding/Rattling: Could be an object caught in the brush roll or fan, or a sign of motor trouble. Unplug immediately and check the brush roll and impeller area. If it persists after clearing, it might be a mechanical issue requiring professional attention.
- Squealing: Could indicate a worn-out belt or bearings in the brush roll assembly. Inspect the belt and brush roll ends.
For any issues that persist after basic troubleshooting, consult your Bissell owner’s manual for model-specific advice or contact Bissell customer support. Knowing how to use a Bissell vacuum cleaner also involves knowing when to seek help!
Conclusion
Congratulations! You’ve just learned how to use a Bissell vacuum cleaner like a true expert. From understanding the different models and their unique features to mastering effective cleaning techniques for various surfaces, you’re now equipped with the knowledge to achieve a beautifully clean home. Remember, the journey doesn’t end with a spotless floor; regular maintenance is crucial for keeping your Bissell running smoothly and extending its life.
By consistently emptying the dirt bin, cleaning filters, and inspecting the brush roll, you’ll ensure optimal suction and prevent common issues. And should a problem arise, you now have the foundational troubleshooting skills to identify and often fix minor hiccups. Your Bissell vacuum cleaner is a powerful tool, and with the right care and technique, it will serve you faithfully for years to come. So go ahead, plug in, power on, and enjoy the satisfaction of a truly clean space, thanks to your newfound expertise! Happy vacuuming!
Frequently Asked Questions
How do I know which height setting to use for my carpet?
A good rule of thumb is to choose a setting where the brush roll gently skims the carpet surface without digging in too deeply or sitting too high. If the vacuum is hard to push, raise the height setting. If it feels like it’s not picking up dirt, lower it slightly.
My Bissell vacuum smells bad, what should I do?
A bad smell usually indicates trapped pet hair, food particles, or mold/mildew in the dirt bin, filters, or brush roll. Empty and clean the dirt bin thoroughly, wash and fully dry all washable filters, and clear any debris from the brush roll. Using a vacuum deodorizer can also help.
Can I wash my Bissell vacuum’s HEPA filter?
Most HEPA filters are designed to trap very fine particles and are generally not washable. Attempting to wash a non-washable HEPA filter can damage its delicate fibers and reduce its effectiveness. Always check your owner’s manual; if it’s not explicitly labeled as washable, it likely needs to be replaced.
Why is my Bissell vacuum making a high-pitched noise?
A high-pitched noise often signifies that the motor is working harder than it should due to restricted airflow. This is commonly caused by a full dirt bin, clogged filters, or a blockage in the hose or main air pathway. Check and clear these areas to resolve the issue.
How often should I replace the belt on my Bissell upright vacuum?
The frequency of belt replacement depends on your vacuum usage. Generally, it’s recommended to replace the belt every 6 to 12 months, or sooner if you notice a burning smell, the brush roll isn’t spinning, or the belt appears stretched or broken. Keeping an eye on it during brush roll cleaning is a good practice.
My Bissell vacuum’s power cord is damaged, what should I do?
If your power cord is frayed, cut, or otherwise damaged, stop using the vacuum immediately. A damaged cord is an electrical hazard. Do not attempt to repair it yourself; instead, contact Bissell customer service for a replacement cord or to arrange for professional repair to ensure safety.