How to Clean Your Vacuum Cleaner
Is your vacuum struggling to pick up dirt? It might be time to give it a good clean! Learning how to clean your vacuum cleaner regularly can significantly improve its suction, prevent breakdowns, and extend its lifespan. Our comprehensive guide walks you through essential steps like cleaning the brush roll, emptying the dustbin, and washing filters, ensuring your vacuum works like new.
You probably think of your vacuum cleaner as the ultimate cleaning warrior, tackling dust bunnies, pet hair, and crumbs with relentless power. But have you ever stopped to consider who cleans the cleaner? Just like any other hard-working appliance, your vacuum needs a little TLC to keep performing at its best. Over time, hair gets tangled, filters clog, and dustbins accumulate more than just dirt – they become a haven for grime that can severely impact your vacuum’s efficiency and even its lifespan.
A well-maintained vacuum isn’t just about sparkling floors; it’s about a healthier home environment and saving money on repairs or premature replacements. If you’ve noticed your vacuum isn’t picking up like it used to, or if it’s emitting strange odors, it’s a clear sign that it’s time to learn how to clean your vacuum cleaner. Don’t worry, it’s not as daunting as it sounds! With a few simple steps and a little elbow grease, you can restore your vacuum to its former glory.
In this comprehensive guide, we’ll walk you through everything you need to know to give your vacuum cleaner a thorough cleaning, from emptying the dirt bin to untangling the brush roll and washing those crucial filters. Get ready to revitalize your cleaning routine and ensure your trusty vacuum is always ready for action!
Key Takeaways
- Safety First: Always unplug your vacuum cleaner before starting any cleaning or maintenance to prevent accidents.
- Empty Regularly: For bagless models, empty the dustbin after every use or when it’s two-thirds full. For bagged models, change the bag before it’s completely full to maintain suction.
- Clean the Brush Roll: Hair, string, and debris often get tangled around the brush roll. Regularly cut and remove these obstructions to ensure optimal carpet agitation and prevent motor strain.
- Maintain Filters: Check your vacuum’s filters regularly. Washable filters should be rinsed and thoroughly air-dried, while non-washable or HEPA filters need tapping out or replacement according to manufacturer guidelines.
- Clear Hoses and Attachments: Blockages in hoses or wands can drastically reduce suction. Periodically detach and inspect them, using a thin object to gently clear any clogs.
- Don’t Forget the Exterior: Wipe down the vacuum’s body, wheels, and inspect the power cord for any damage. A clean exterior reflects good overall maintenance.
Quick Answers to Common Questions
How often should I clean my vacuum cleaner?
It depends on usage, but generally, empty the dustbin/change bag after every use. Clean the brush roll monthly, wash filters every 1-3 months (if washable), and perform a full deep clean every 6-12 months.
Can I use water to clean all vacuum filters?
No, only filters explicitly labeled as “washable” by the manufacturer should be rinsed with water. HEPA filters and many pleated filters are non-washable and must be tapped clean or replaced.
What happens if I don’t clean my vacuum’s brush roll?
A brush roll tangled with hair and debris won’t agitate carpets effectively, leading to poor cleaning performance. It can also strain the vacuum motor, potentially causing it to overheat or burn out.
How do I know if my vacuum hose is clogged?
Signs of a clogged hose include significantly reduced suction, a whistling sound, or the vacuum motor working harder than usual. Detach and visually inspect or gently push a long object through the hose to check.
Is it really important to let washed filters air dry completely?
Absolutely! Reinserting a damp filter can lead to mold and mildew growth inside your vacuum, causing unpleasant odors and potentially damaging the motor if moisture gets into electrical components. Always allow 24-48 hours for complete air drying.
📑 Table of Contents
- 1. Safety First! Pre-Cleaning Checklist and Supplies
- 2. Emptying and Cleaning the Dustbin or Replacing the Bag
- 3. Untangling and Cleaning the Brush Roll (Beater Bar)
- 4. Deep Cleaning or Replacing Your Vacuum Filters
- 5. Clearing Hoses, Attachments, and Blockages
- 6. Exterior Shine and Cord Care
- Conclusion
1. Safety First! Pre-Cleaning Checklist and Supplies
Before you dive into cleaning your vacuum cleaner, safety should always be your number one priority. Working with an unplugged appliance is crucial to prevent electrical shocks or accidental starts. Think of it as putting on your seatbelt before driving – it’s a non-negotiable step.
Unplug Your Vacuum!
This cannot be stressed enough: always, always unplug your vacuum cleaner from the wall outlet before you start any cleaning or maintenance. No exceptions! This simple action protects you from potential hazards and allows you to work confidently.
Gather Your Cleaning Arsenal
You won’t need a professional toolkit, but having a few basic items on hand will make the job much easier and more effective. Here’s a list of what you’ll find most useful:
- Scissors or a Seam Ripper: Essential for cutting tangled hair and threads from the brush roll. A seam ripper is particularly handy for getting into tight spaces without damaging bristles.
- Screwdriver (Phillips or Flathead): Some vacuum models require a screwdriver to remove brush roll covers or access certain components. Check your manual.
- Microfiber Cloths: Great for wiping down surfaces, both inside and out.
- Mild Dish Soap: For washing dustbins, some filters, and attachments.
- Warm Water: For rinsing and washing.
- Gloves: Optional, but recommended for hygiene, especially when dealing with dusty components.
- Compressed Air (Optional): Can be useful for blasting dust out of crevices, but use sparingly and away from electrical components.
- Long, Thin Object (e.g., Broom Handle or Yard Stick): Helpful for dislodging stubborn blockages in hoses.
- Your Vacuum’s User Manual: Your best friend for model-specific instructions on how to clean your vacuum cleaner components.
Consult Your Vacuum’s Manual
Every vacuum cleaner is a little different. While this guide provides general advice, your vacuum’s user manual contains specific instructions for disassembling, cleaning, and reassembling its unique parts. It will tell you which filters are washable, how to remove the brush roll, and any special care instructions. If you can’t find the physical copy, most manufacturers have PDFs available on their websites.
2. Emptying and Cleaning the Dustbin or Replacing the Bag
This is often the first step when you decide to clean your vacuum cleaner, and it’s a vital one. A full dustbin or bag significantly reduces suction power and can make your vacuum work harder than it needs to.
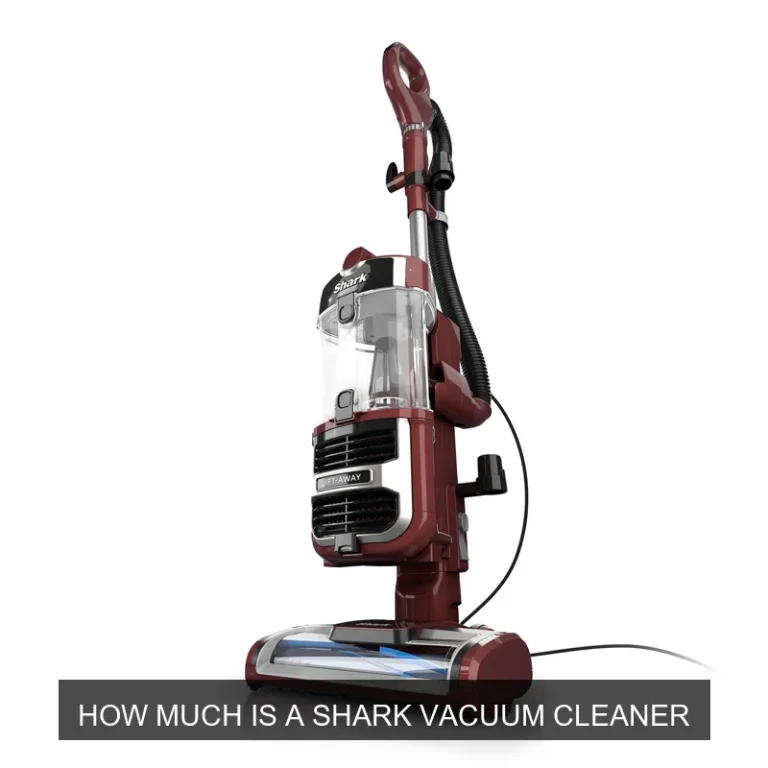
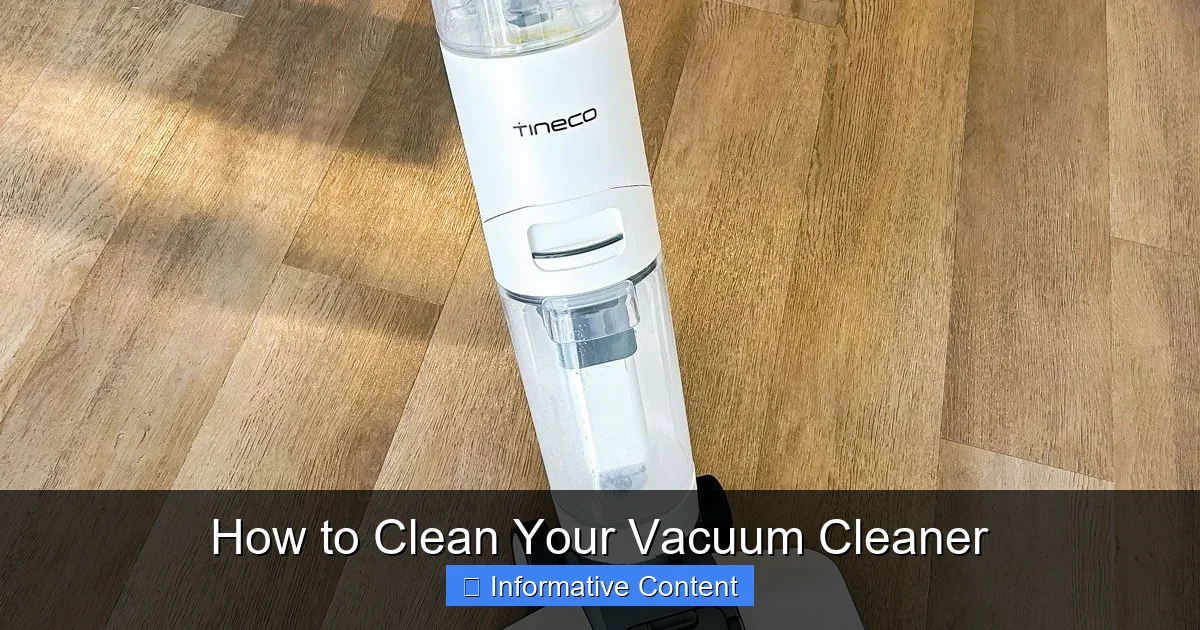
Visual guide about How to Clean Your Vacuum Cleaner
Image source: cleanerstalk.com
For Bagless Vacuums (Canisters/Dustbins)
Bagless vacuums are popular for their convenience, but that convenience comes with a need for regular emptying and cleaning. The dustbin can get incredibly dirty, impacting air circulation and suction.
- Emptying: Most manufacturers recommend emptying the dustbin after every use or when it’s about two-thirds full, never letting it overflow. Find the release button (usually near the handle or base of the canister) and carefully remove the bin. Empty the contents into a trash can, preferably outdoors to avoid re-releasing dust into your home.
- Washing the Bin: Many bagless dustbins are washable. If yours is, rinse it thoroughly under cool or lukewarm water. For stubborn grime or odors, use a small amount of mild dish soap and a brush to scrub the inside. Make sure to rinse until all soap residue is gone.
- Drying is Critical: This step is paramount! Any moisture left in the dustbin can lead to mold, mildew, or damage to your vacuum’s motor. Let the bin air dry completely for at least 24 hours, or until absolutely no moisture remains, before reattaching it to the vacuum.
- Wiping Seals: While the bin is drying, use a damp cloth to wipe down any rubber seals or gaskets on the vacuum itself where the bin connects. This helps maintain a tight seal for optimal suction.
For Bagged Vacuums
Bagged vacuums are often perceived as cleaner because the dirt is contained, but changing the bag is still an essential part of knowing how to clean your vacuum cleaner.
- Safe Removal and Disposal: Locate the bag compartment (often behind a door on uprights or within the canister body). Release the bag according to your manual’s instructions – many have self-sealing collars. Carefully remove the full bag and immediately place it in a trash can. Again, doing this outdoors can prevent dust from recirculating.
- Check Bag Housing: With the old bag removed, peek into the bag compartment. Sometimes, small debris or dust can collect here. Use a damp cloth to wipe it clean.
- Install a New Bag: Always use the correct type and size of bag for your specific vacuum model. Incorrect bags can impede airflow or even damage the vacuum. Ensure it’s securely seated in the bag collar and that the compartment door latches properly.
3. Untangling and Cleaning the Brush Roll (Beater Bar)
The brush roll is the workhorse of your vacuum, digging into carpets to loosen dirt and sweep debris into the suction path. It’s also a magnet for hair, string, and fibers, which can severely hinder its performance.
Accessing the Brush Roll
This step varies slightly depending on your vacuum type:
- Upright Vacuums: Lay the vacuum on its back so the underside is exposed. You’ll usually see a cover plate over the brush roll, often secured by screws or latches.
- Canister or Stick Vacuums: The brush roll is typically in the power nozzle or head. You’ll need to remove the nozzle from the wand to access it.
- Refer to your manual: It will clearly show you how to remove the cover plate and the brush roll itself.
Removing Debris from the Brush Roll
Once you have access, you’ll likely find a tangled mess. Here’s how to clean your vacuum cleaner’s brush roll:
- Cut Away Tangled Hair: Use your scissors or seam ripper to carefully cut through the hair, threads, and fibers wrapped around the brush roll. Be gentle to avoid cutting the bristles or damaging the brush roll itself. Cut in small sections across the length of the roll.
- Pull Out Debris: Once cut, the tangled mess should be easier to pull off by hand. Work from one end to the other, making sure to remove every strand.
- Check for Trapped Items: Look closely for any small coins, paperclips, or other objects that might be caught within the bristles or stuck in the brush roll housing. These can cause damage or create blockages.
Cleaning the Brush Roll Itself
After untangling, the brush roll might still look a bit grimy:
- Wipe Down Bristles: Use a damp cloth to wipe down the bristles, removing any remaining dust or dirt. If the bristles are heavily matted, gently comb through them with an old comb or brush.
- Inspect End Caps and Bearings: Check the ends of the brush roll for any debris trapped in the bearings or end caps. These components need to spin freely for the brush roll to work effectively. Clean them if necessary.
Reassembling the Brush Roll
Once clean, carefully put the brush roll back into its housing. Ensure it’s properly seated and spins freely before reattaching any cover plates and tightening screws. If it doesn’t spin smoothly, something might be misaligned.
4. Deep Cleaning or Replacing Your Vacuum Filters
Filters are your vacuum’s lungs, trapping microscopic dust and allergens to prevent them from recirculating into your home. Neglecting them is a common reason for decreased suction and poor air quality. Knowing how to clean your vacuum cleaner filters is crucial.
Types of Vacuum Filters
Most vacuums have at least one filter, and many have multiple:
- Pre-Motor Filters: These protect the motor from larger debris and are often made of foam, felt, or pleated material. They are usually located near the dustbin.
- Post-Motor (Exhaust) Filters: These clean the air before it’s expelled from the vacuum. HEPA filters (High-Efficiency Particulate Air) are a common type of post-motor filter, designed to trap very fine particles like pollen and pet dander.
Washing Washable Filters
Many foam and felt filters are washable. Your manual will specify if yours are. If they are:
- Remove and Tap: Gently remove the filter(s) and tap them against a trash can to dislodge loose dust.
- Rinse Thoroughly: Rinse the filter under cool, running water. Squeeze foam filters or gently massage pleated filters until the water runs clear. Avoid using hot water, as it can damage some filter materials.
- NO Soap (Unless Specified): Generally, avoid using soap unless your manual explicitly states it’s safe. Soap residue can clog the filter’s pores.
- CRITICAL: AIR DRY COMPLETELY! This is the most important step. A damp filter will breed mold and mildew and can ruin your vacuum’s motor if reinserted wet. Place the filter in a well-ventilated area for at least 24 to 48 hours, or until it is bone dry. You can test by pressing it against a dry paper towel to check for any moisture.
Cleaning Non-Washable Filters
Some pleated filters and most HEPA filters are not washable. Attempting to wash them will destroy their ability to filter effectively. For these:
- Tap Out Dust: Remove the filter and gently tap it against the inside of a trash can to release trapped dust. Do this outdoors if possible.
- Compressed Air (Carefully): You can use compressed air to blow dust out of pleated filters, but do so away from your living space, as it will create a cloud of fine dust.
- Know When to Replace: Non-washable filters need to be replaced periodically. Your manual will recommend a schedule, usually every 6-12 months, depending on usage. HEPA filters are particularly important to replace as recommended to maintain air quality.
5. Clearing Hoses, Attachments, and Blockages
Even with clean filters and a clear brush roll, a vacuum with a clogged hose or attachment will still suffer from poor suction. These hidden blockages are common culprits when your vacuum isn’t performing.
Detaching Hoses and Wands
Most vacuum hoses and wands are designed to be easily detachable for storage or to use with different attachments. Locate the release buttons or twisting mechanisms and carefully remove the hose from both the vacuum body and the power nozzle (if applicable). Do the same for extension wands and other accessories.
Checking for Blockages
This is where your long, thin object comes in handy:
- Visual Inspection: Look through the hose from both ends. If your hose is clear or translucent, you might be able to spot the blockage immediately.
- Feel for Obstructions: Carefully thread a broom handle, yard stick, or a stiff piece of wire (like a coat hanger straightened out, with a small hook bent at the end to prevent scratching) through the hose. Gently push any blockages through until they come out. Be careful not to puncture the hose.
- Check All Angles: Blockages often occur at bends or connections. Check the hose where it connects to the vacuum body, the wand, and the floor nozzle.
- Listen for Suction Changes: If you suspect a blockage but can’t see it, listen carefully when you turn on the vacuum (after reassembling everything, of course). A change in pitch or a struggling motor sound can indicate a blockage.
Cleaning Attachments
Your vacuum attachments also accumulate dust and grime, especially those used for pet hair or upholstery:
- Wash with Soap and Water: Most plastic attachments can be washed with mild dish soap and warm water. Use a small brush or old toothbrush to scrub away stubborn dirt.
- Rinse and Dry: Rinse them thoroughly and allow them to air dry completely before reattaching them to your vacuum. Just like with the dustbin, moisture can cause issues.
- Clear Bristle Attachments: If your attachments have bristles (like a dusting brush), check for tangled hair or debris and remove it.
6. Exterior Shine and Cord Care
While often overlooked, giving the outside of your vacuum a little attention contributes to its overall longevity and appearance. It’s the final touch in learning how to clean your vacuum cleaner comprehensively.
Wiping Down the Body
The exterior of your vacuum collects dust, fingerprints, and scuff marks. A simple wipe-down can make it look new again:
- Damp Cloth Cleaning: Use a slightly damp microfiber cloth to wipe down all exterior surfaces. For stubborn grime, a tiny bit of mild all-purpose cleaner on the cloth can help.
- Avoid Electrical Components: Be very careful to avoid getting any moisture into electrical vents, buttons, or charging ports.
- Dry Thoroughly: Finish by wiping with a dry cloth to prevent streaks.
Cleaning the Wheels
Vacuum cleaner wheels are notorious for collecting hair, carpet fibers, and other debris, making your vacuum harder to maneuver. Take a moment to inspect them:
- Remove Trapped Debris: Use tweezers, small scissors, or your seam ripper to carefully pull out any hair or gunk wrapped around the wheel axles. If the wheels are removable, take them off for a more thorough clean.
- Wipe Wheels Clean: Wipe the wheels themselves with a damp cloth.
Power Cord Inspection
The power cord is essential for your vacuum’s operation and a potential safety hazard if damaged:
- Check for Damage: Unwind the entire cord and inspect it for any cuts, nicks, exposed wires, or frays. If you find any damage, have the cord professionally repaired or replaced, or consider replacing the vacuum if it’s an older model and the repair isn’t cost-effective.
- Proper Wrapping: Always wrap the cord neatly after use, whether manually or using a retractable mechanism. Avoid yanking the cord from the outlet, as this can damage the plug or the internal wiring of the vacuum.
Conclusion
Phew! You’ve done it. You’ve successfully learned how to clean your vacuum cleaner from top to bottom. It might seem like a lot of steps, but remember that many of these tasks only need to be done occasionally, while emptying the dustbin and checking the brush roll are more frequent chores.
By regularly performing these maintenance steps, you’ll notice a significant improvement in your vacuum’s suction power, a reduction in strange odors, and a healthier home environment. Not only will your floors be cleaner, but your vacuum cleaner will also last longer, saving you money and hassle in the long run. Think of it as an investment in your home and your cleaning efficiency.
So, the next time your trusty cleaning companion seems a bit sluggish, you’ll know exactly how to clean your vacuum cleaner and get it back to peak performance. Happy vacuuming!
Frequently Asked Questions
How do I improve my vacuum’s suction power?
To improve your vacuum’s suction, start by ensuring the dustbin is empty or the bag is fresh. Then, check the brush roll for tangled hair, clean or replace the filters, and inspect the hose and attachments for any blockages. These are the most common reasons for reduced suction.
Can I vacuum up water with my regular vacuum cleaner?
No, regular household vacuum cleaners are not designed to pick up water or other liquids. Doing so can cause severe electrical damage to the motor and pose a significant safety hazard. Only use a wet/dry vacuum specifically designed for liquid spills.
My vacuum smells bad, what should I do?
A bad smell usually indicates trapped debris, mold, or mildew. Start by emptying and thoroughly cleaning the dustbin, including washing it if it’s washable and allowing it to dry completely. Clean the brush roll, wash washable filters, and check for any blockages in the hose or attachments that might be harboring old, smelly dirt or food particles.
How often should I replace my vacuum filters?
The replacement frequency depends on your vacuum model and filter type, as well as your usage. As a general guideline, non-washable filters (like HEPA filters) should be replaced every 6 to 12 months, while washable filters can last longer if cleaned regularly, but should still be replaced if they show signs of wear or damage.
What tools are best for cleaning a vacuum cleaner brush roll?
For cleaning a vacuum cleaner brush roll, a pair of sharp scissors is essential for cutting through tangled hair and fibers. A seam ripper is also incredibly useful for getting into tight spaces around the bristles without damaging them. A sturdy comb or brush can help dislodge stubborn debris from the bristles themselves.
How do I properly store my vacuum cleaner after cleaning?
After cleaning your vacuum cleaner, ensure all components are completely dry before reassembling. Store it in a cool, dry place away from extreme temperatures. Coil the power cord neatly, and consider storing attachments in an organized manner, either on the vacuum itself or in a designated accessory bag, to keep them ready for your next cleaning session.