How to Repair Vacuum Cleaner Motor
📑 Table of Contents
- Introduction: The Hum of a Happy Home (or the Silence of a Sad One)
- Safety First: Your Number One Priority
- Tools You’ll Need
- Diagnosing the Problem: Is It Really the Motor?
- Disassembling Your Vacuum Cleaner
- Common Motor Problems and How to Fix Them
- Reassembling Your Vacuum Cleaner
- When to Call a Professional (Or Buy a New One)
- Conclusion: The Sweet Sound of Success
- Frequently Asked Questions (FAQs)
Introduction: The Hum of a Happy Home (or the Silence of a Sad One)
Ever been there? You’re mid-clean, humming along, and suddenly – silence. Or worse, a grinding noise followed by smoke. Your trusty vacuum cleaner, once a beacon of clean, has called it quits. And the culprit? Often, it’s the motor.
It can feel daunting. A motor sounds like a job for a pro, right? But what if I told you that with a little patience, a few basic tools, and this friendly guide, you might just be able to bring your vacuum back to life? Trust me, the satisfaction of a DIY fix is immense!
This article will walk you through the common issues that plague vacuum cleaner motors. We’ll cover diagnostics, simple repairs, and when it’s time to call in the experts. Let’s get that hum back in your home!
Safety First: Your Number One Priority
Before we even think about touching a screw, let’s talk safety. You’re dealing with electricity, and motors have moving parts. Your well-being is far more important than a clean floor.
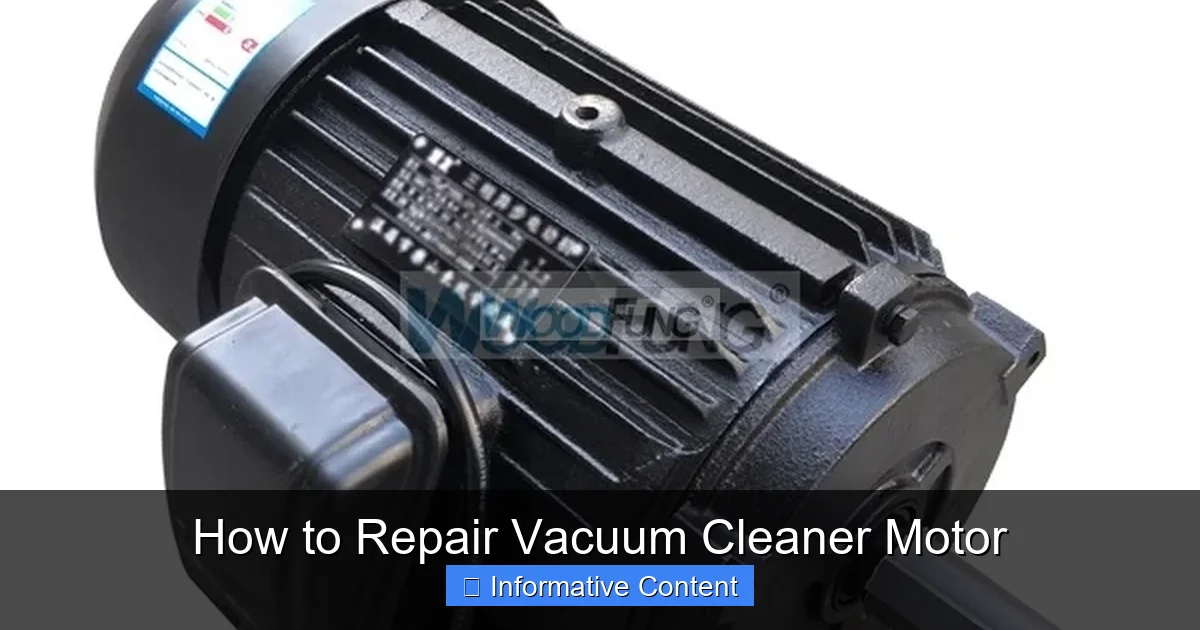
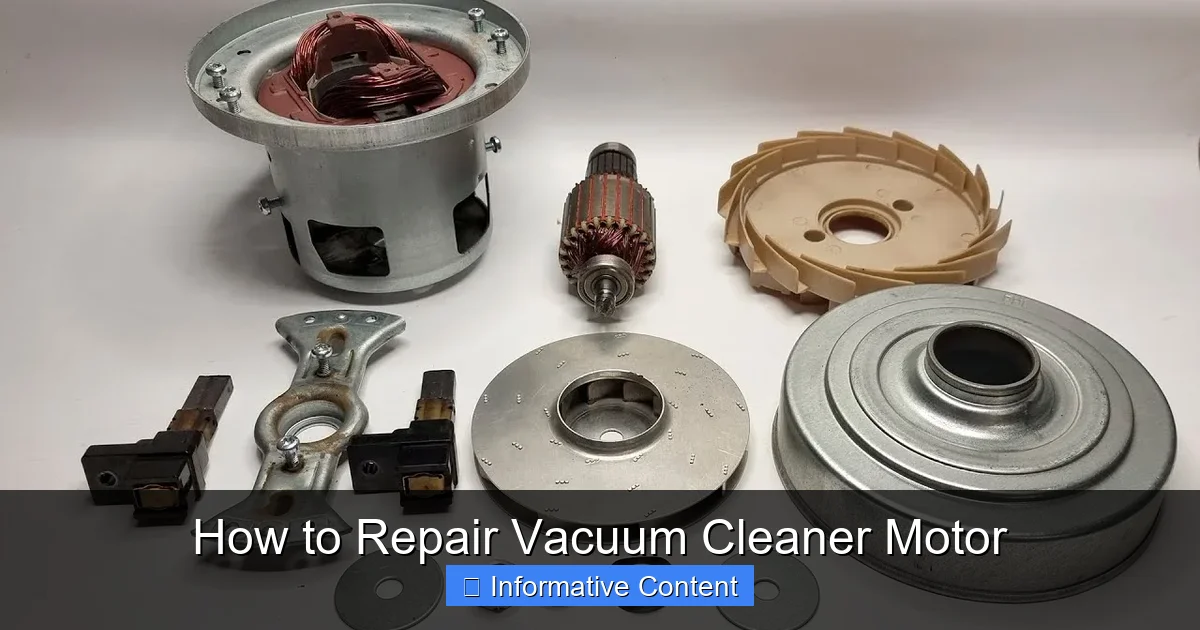
Visual guide about how to repair vacuum cleaner motor
Image source: ueeshop.ly200-cdn.com
Unplug It! (Always, Always, Always)
This is non-negotiable. Always disconnect your vacuum cleaner from the power outlet. Seriously, before you do anything else, pull that plug. It prevents accidental shocks and unexpected startups.
Wear Protective Gear
Think of it like a mini-construction zone. Small parts can fly. Dust will be present. Grab some safety glasses to protect your eyes. Gloves can shield your hands from sharp edges and dirt.
Understand Electrical Risks
While we’re unplugging the vacuum, be mindful that internal components might still hold a residual charge, though this is less common with small appliance motors. Treat all wiring with respect. If you’re ever unsure, pause and re-evaluate.
Tools You’ll Need
No need for a full workshop here. Most of these tools are probably already in your junk drawer or garage. Gathering them beforehand makes the process smoother.
Basic Screwdriver Set
You’ll likely need Phillips head and flathead screwdrivers. Some vacuums use Torx screws, so a multi-bit set can be handy.
Multimeter
This is your electrical detective. A multimeter helps you test for continuity and voltage. It’s crucial for diagnosing wiring issues.
Needle-Nose Pliers
Great for gripping small wires, pulling off connectors, and reaching into tight spaces.
Wire Strippers/Cutters
If you need to replace or repair any wiring, these tools are essential. They help you make clean, safe connections.
Vacuum Cleaner Manual (If Available)
Your owner’s manual often contains diagrams and specific disassembly instructions. It’s like a secret weapon for your repair mission.
Safety Glasses & Gloves
We already covered these, but they bear repeating. Seriously, wear them!
Diagnosing the Problem: Is It Really the Motor?
Before you dive deep into the motor, let’s rule out simpler issues. Sometimes, the problem isn’t the motor at all. It’s like checking the fuse before replacing a whole light fixture.
Check Power Supply
Is the vacuum plugged in securely? Did the circuit breaker trip? Try plugging another appliance into the same outlet to confirm it has power. Test the vacuum’s power cord for visible damage like cuts or kinks.
Clogged Hoses/Filters
This is surprisingly common. A heavily clogged hose or a completely blocked filter can make the motor strain. The vacuum might sound like it’s struggling, or it might just shut off. Clear out any blockages thoroughly.
Burning Smell or Smoke
If you notice a burning smell, often likened to burning rubber or plastic, it’s a strong indicator of motor trouble. Smoke is an even more urgent sign. Stop immediately and unplug the vacuum.
Loud Noises or No Power At All
Unusual grinding, screeching, or buzzing sounds could point to motor bearing issues. If there’s no power at all, even after checking the supply, the motor or its power circuit might be dead.
The "Hum" Test
Plug in the vacuum (briefly, carefully) and turn it on. If you hear a low hum but the motor doesn’t spin, it might be struggling. This often points to stuck components or major resistance, possibly within the motor itself.
Disassembling Your Vacuum Cleaner
This is where things start to get hands-on. Every vacuum is a bit different, but the general approach remains the same: careful and methodical.
Locate Motor Housing
The motor is typically enclosed within a plastic or metal housing. It’s usually near where the suction air flows. Consult your manual if you’re unsure.
Document Each Step
Take photos with your phone as you go. Make notes of where screws came from. Label wires. This will save you immense frustration when it’s time to put everything back together. Trust me, you’ll thank yourself later.
Carefully Remove Screws and Panels
Use the correct screwdriver bit to avoid stripping screws. Keep all removed screws in a small container. Work slowly, applying gentle pressure to pry open panels. Plastic tabs can be brittle.
Disconnect Wires (Label Them!)
Before disconnecting any wires leading to the motor, clearly label them. Masking tape and a marker work perfectly. This ensures they go back in the right place, preventing electrical mix-ups.
Common Motor Problems and How to Fix Them
Now that we’re inside, let’s look at the most frequent culprits behind a failing vacuum motor. These are the usual suspects!
Carbon Brush Wear
This is probably the most common vacuum motor issue. Carbon brushes are small, conductive blocks that transfer electricity to the spinning part of the motor (the armature).
What are Carbon Brushes?
Think of them as tiny pencils rubbing against a spinning commutator. They naturally wear down over time, just like a pencil gets shorter with use. When they get too short, they can’t make good contact, and the motor loses power.
Symptoms of Worn Brushes
You might notice intermittent power, lots of sparking from the motor area, or the motor failing to start at all. Sometimes there’s a distinct electrical burning smell.
How to Inspect and Replace Them
- Locate the Brushes: They are usually found in holders on the sides of the motor, often secured by small caps.
- Remove Old Brushes: Carefully unscrew the caps and pull out the old brushes. Note their orientation.
- Inspect: If they are worn down to less than a quarter inch, they need replacing. Look for chips or cracks.
- Install New Brushes: Insert the new brushes (ensure they are the correct size and type for your motor). Replace the caps. They might spark a bit initially as they seat, but this should subside.
Bearing Failure
Bearings allow the motor’s shaft to spin smoothly. When they wear out, they create friction and noise.
Symptoms of Bearing Failure
Loud grinding, screeching, or whining noises coming from the motor are classic signs. The motor might also feel hot to the touch. Sometimes, the shaft might even feel stiff when you try to turn it by hand.
Inspection
With the motor disassembled, try to gently spin the armature shaft. It should turn freely and smoothly. If you feel resistance, grinding, or excessive wobble, the bearings are likely failing.
Replacement (Difficulty, Professional Advice)
Replacing motor bearings is a more advanced repair. It often requires specialized tools to press the old bearings off and new ones on. Unless you’re comfortable with precision work, this might be a task best left to a professional or signify it’s time for a new motor.
Overheating Issues (Thermal Cutout)
Modern vacuum motors often have a thermal cutout switch. This is a safety feature that shuts the motor off if it gets too hot, preventing permanent damage.
Causes (Clogs, Prolonged Use)
Overheating is usually caused by reduced airflow (clogged filters or hoses) making the motor work harder, or simply prolonged, heavy use. Sometimes it’s a sign of internal motor friction (like bad bearings).
Resetting the Thermal Cutout
First, unplug the vacuum and let it cool down for at least 30 minutes. Clear any clogs and clean filters. Most thermal cutouts reset automatically once cooled. If it still won’t start, the switch itself might be faulty, or the underlying issue is severe.
Preventative Measures
Regularly empty the dust bin, clean/replace filters, and clear hose blockages. Don’t run your vacuum for excessively long periods. These simple steps significantly reduce motor strain.
Wiring Problems (Loose or Damaged Connections)
Sometimes, the motor itself is fine, but it’s not getting power due to a bad connection.
Visual Inspection
Look for frayed wires, loose connectors, or burnt insulation. Pay close attention to where wires connect to the motor and the power switch.
Using a Multimeter to Test Continuity
Set your multimeter to the continuity setting. Touch the probes to each end of a wire you suspect is faulty. If the multimeter beeps or shows a zero reading, the wire has continuity. If it shows ‘OL’ (open line) or no reading, the wire is broken. Test the power cord similarly, from the plug prongs to the internal connections.
Repairing/Replacing Wires
For minor frays, you might be able to snip, strip, and reconnect with a proper crimp connector. For damaged sections, you’ll need to cut out the bad part and splice in a new piece of wire, ensuring proper insulation with heat shrink tubing or electrical tape. Always match the wire gauge.
Armature or Field Coil Damage
These are the core components of the motor. The armature spins, and the field coils create the magnetic field.
Symptoms (Sparking, Weak Motor)
Excessive, constant sparking around the commutator (where the carbon brushes make contact) can indicate armature damage. A motor that runs very weakly, gets hot quickly, or makes unusual electrical humming noises without spinning might have damaged field coils.
Inspection (Visual, Multimeter)
Look for visible burn marks on the armature windings or the commutator segments. Use a multimeter to test continuity between commutator segments and for shorts to the armature shaft (which should show no continuity). Testing field coils involves checking their resistance, which should be relatively low and consistent across coils. Consult your motor’s specifications if available.
Repair vs. Replacement (Often Replacement Motor Needed)
Repairing armature or field coil damage is almost always impractical for a DIYer. It requires specialized winding tools and expertise. In most cases, if these components are faulty, it’s more cost-effective and simpler to replace the entire motor unit.
Reassembling Your Vacuum Cleaner
You’ve done the hard part! Now it’s time to put your vacuum back together. This is where those photos and notes you took come in handy.
Reverse the Disassembly Steps
Go backwards through your photos and notes. Reconnect wires exactly as you labeled them. Take your time, don’t rush.
Double-Check All Connections
Ensure all wire connectors are secure and fully seated. Make sure no wires are pinched or in the way of moving parts. A loose connection can cause future problems.
Secure All Screws and Panels
Fasten all screws firmly, but don’t overtighten, especially on plastic housings. Ensure all panels snap or screw back into place properly. You want a snug, secure fit to maintain proper suction and prevent rattles.
Test Before Full Use
Plug in your vacuum (safely!) and give it a quick test. Listen for unusual noises. Check for suction. If everything seems okay, great! Let it run for a few minutes to ensure stability before tackling a full cleaning job.
When to Call a Professional (Or Buy a New One)
Sometimes, despite your best efforts, a repair might be beyond your scope. And that’s perfectly okay!
Complex Internal Motor Damage
If you’ve diagnosed issues with the armature, field coils, or find that bearings are seized and you’re not comfortable replacing them, it’s often best to step back.
Lack of Specific Parts
For older or less common vacuum models, finding replacement parts like carbon brushes or specific motor units can be difficult or impossible. Without the right parts, the repair stalls.
Time vs. Cost Calculation
Factor in the cost of replacement parts and the time you’ve invested. Compare this to the cost of a brand new vacuum, or the price a professional repair shop would charge. Sometimes, a new appliance is the more economical choice.
Safety Concerns
If at any point you feel unsafe, unsure about electrical connections, or worried about causing further damage, please stop. Your safety is paramount. There’s no shame in knowing your limits.
Conclusion: The Sweet Sound of Success
Repairing a vacuum cleaner motor might seem like a big task at first glance. But by taking it step-by-step, understanding the common issues, and prioritizing safety, you can often tackle these problems yourself.
Not only do you save money and reduce waste, but you also gain invaluable confidence in your DIY skills. So, next time your vacuum goes quiet, remember this guide. You might just be a motor whisperer in the making!
Frequently Asked Questions (FAQs)
Q1: How long do vacuum cleaner motors typically last?
A1: A well-maintained vacuum cleaner motor can last anywhere from 5 to 10 years, or even longer. Factors like frequency of use, proper maintenance (cleaning filters, emptying dust bin), and avoiding clogs significantly impact its lifespan.
Q2: Can I use universal carbon brushes for my vacuum motor?
A2: While some carbon brushes are advertised as universal, it’s crucial to get brushes that match your motor’s specifications. They need to be the correct size (length, width, thickness), have the right spring tension, and often come with specific connectors. Using incorrect brushes can lead to poor performance or damage.
Q3: Why does my vacuum motor spark a lot?
A3: A small amount of sparking from the carbon brushes is normal. However, excessive or continuous sparking often indicates worn-out carbon brushes, a dirty or damaged commutator, or even an issue with the armature itself. Worn brushes are the most common cause.
Q4: My vacuum cleaner smells like burning, but it still works. What should I do?
A4: If you smell burning, immediately stop using the vacuum and unplug it. This often indicates a motor struggling, possibly due to a clog, worn-out brushes, or overheating. Continuing to use it can cause permanent damage or be a fire hazard. Diagnose the issue before using it again.
Q5: Is it worth repairing an old vacuum cleaner motor, or should I just buy a new vacuum?
A5: This depends on the specific issue, the cost of parts, and the age/condition of the vacuum. Simple fixes like replacing carbon brushes are usually cost-effective. More complex issues, like bearing or armature damage, might be too expensive or difficult. Consider the overall value and remaining lifespan of the vacuum.