Revive Your Suction Power: The Ultimate Guide to Cleaning Your Vacuum Cleaner Filter
Ever notice your trusty vacuum cleaner isn’t picking up dirt like it used to? Or maybe you’ve spotted a tell-tale trail of dust left behind?
More often than not, the culprit isn’t a dying motor, but a clogged, neglected filter. It’s a small component, but it plays a mighty role in your vacuum’s performance and the cleanliness of your home.
📑 Table of Contents
- Why Cleaning Your Vacuum Filter is Crucial
- Understanding Your Vacuum Filter Types
- When to Clean or Replace Your Filter
- Essential Tools and Supplies You’ll Need
- Step-by-Step Guide: Cleaning Different Filter Types
- Tips for Filter Maintenance and Longevity
- Common Mistakes to Avoid
- When to Replace Your Filter Entirely
- Conclusion
- Frequently Asked Questions (FAQs)
Why Cleaning Your Vacuum Filter is Crucial
Think of your vacuum’s filter as its lungs. Just like our lungs need clean air to function, your vacuum needs a clear filter to breathe effectively. Ignoring this simple maintenance step can lead to a host of problems.
Boosts Suction Power
A dirty filter chokes your vacuum’s airflow. This directly translates to a significant drop in suction power. Regular cleaning ensures your vacuum can tackle dirt, dust, and debris with maximum efficiency, making your cleaning tasks quicker and more effective.
Extends Vacuum Lifespan
When the filter is clogged, your vacuum’s motor has to work harder to pull air through. This overexertion can lead to overheating and premature wear and tear on internal components. Keeping your filter clean reduces strain, prolonging the life of your appliance and saving you money on repairs or replacements.
Improves Air Quality
A clean filter traps tiny dust particles, allergens, and pet dander, preventing them from being recirculated into your home’s air. If your filter is blocked, these pollutants can escape, worsening allergies and impacting indoor air quality. Breathing easy starts with a clean filter!
Saves Money
Regular cleaning can significantly extend the life of your filters. While some filters need eventual replacement, proper maintenance means you won’t be buying new ones every few months. This is a simple, cost-effective habit that benefits your wallet.
Understanding Your Vacuum Filter Types
Not all vacuum filters are created equal. Knowing what type of filter your vacuum uses is the first step to cleaning it correctly. Check your vacuum’s manual if you’re unsure.
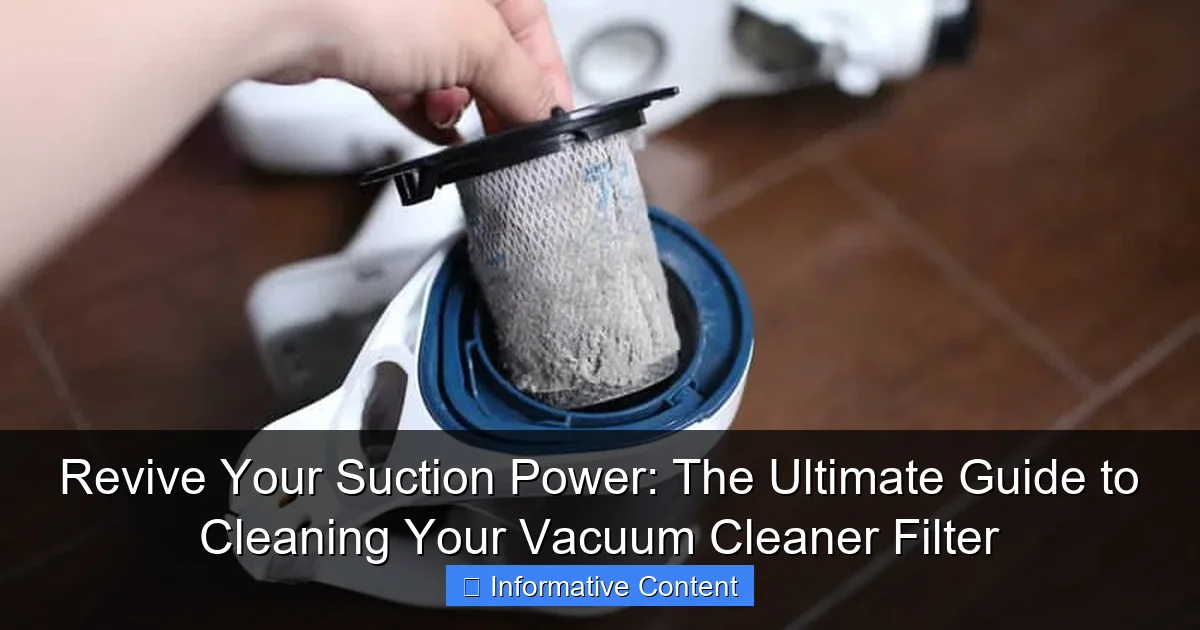
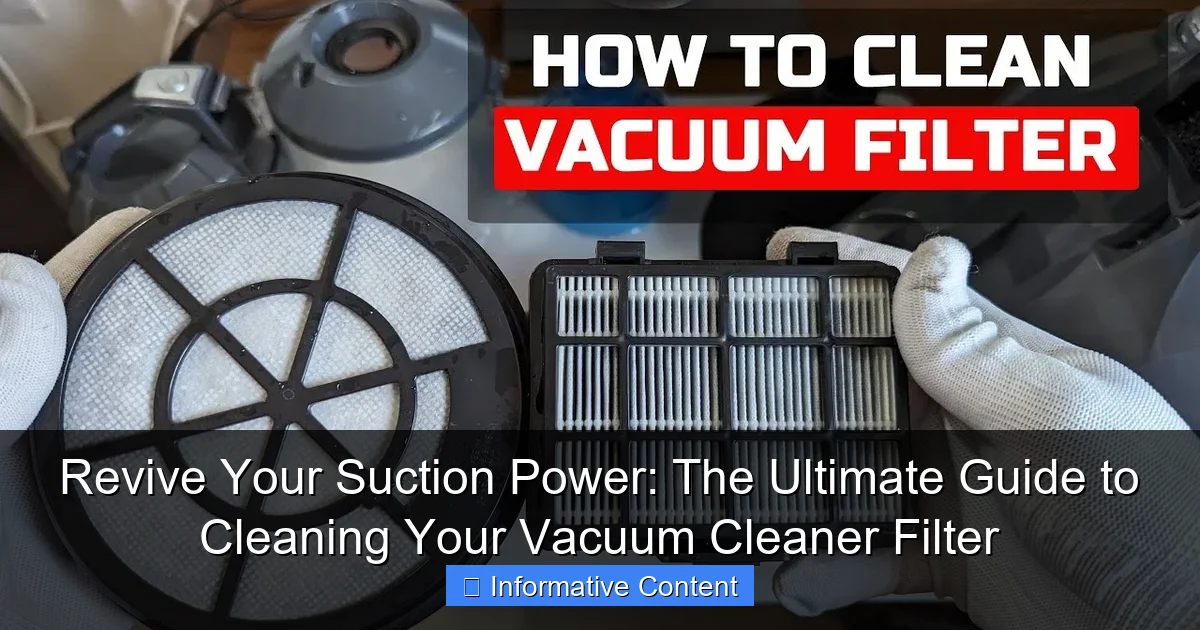
Visual guide about how to clean a vacuum cleaner filter
Image source: maid2match.com.au
HEPA Filters (High-Efficiency Particulate Air)
HEPA filters are the gold standard for trapping microscopic particles, including allergens, pollen, and pet dander. They are typically pleated and made from a dense fibrous material.
- True HEPA: These filters capture 99.97% of particles 0.3 microns in size. Some true HEPA filters are washable, but many are not. Always check your manual.
- “HEPA-type” or “HEPA-like”: These offer good filtration but don’t meet the strict HEPA standard. They are often washable.
Foam Filters
Often found as pre-motor filters, foam filters are spongy and designed to catch larger debris before it reaches finer filters or the motor. They are almost always washable and reusable.
Felt/Pleated Filters
These can vary widely in material and construction. Some are made of felt-like material, while others are pleated paper or synthetic fiber. Their washability depends on the specific design and manufacturer recommendations.
Cartridge Filters
Typically cylindrical or cone-shaped, cartridge filters often combine pleated material with a rigid frame. Some models feature washable cartridge filters, while others are designed for dry cleaning only.
Bagless Cyclonic Filters
Many bagless vacuums use a multi-stage filtration system that includes a cyclonic separator. These often have plastic or mesh components that separate larger debris before it reaches the main filters. These components are usually washable.
When to Clean or Replace Your Filter
Knowing when to clean your filter is just as important as knowing how.
General Guidelines
As a general rule of thumb, most washable filters should be cleaned every 1 to 3 months, or more frequently if you vacuum often, have pets, or deal with a lot of dust. Non-washable filters may need light cleaning (tapping, brushing) every few weeks and replacement every 6-12 months.
Signs It’s Time
Your vacuum will often tell you when its filter needs attention. Look out for:
- Loss of Suction: This is the most common and obvious sign.
- Visible Dirt or Dust: If the filter looks caked with grime, it’s time for a clean.
- Unpleasant Odors: A stale or musty smell during vacuuming can indicate a dirty filter trapping bacteria or mold.
- Warning Lights: Some modern vacuums have indicator lights that illuminate when the filter needs cleaning or replacement.
Manufacturer Recommendations
Always consult your vacuum cleaner’s user manual. It will provide the most accurate and specific guidelines for your particular model, including how often to clean or replace filters and whether they are washable.
Essential Tools and Supplies You’ll Need
Before you dive in, gather these simple items to make the cleaning process smooth and effective.
- Soft Brush or Old Toothbrush: Perfect for dislodging stubborn dust.
- Mild Dish Soap: (Optional) For heavily soiled washable filters, a tiny drop can help.
- Warm Water: For rinsing washable filters.
- Microfiber Cloth: For wiping down filter housings and components.
- Gloves: (Optional) To protect your hands from dust and grime.
- Dust Mask: (Optional) Recommended, especially when dry cleaning dusty filters, to avoid inhaling particles.
- Vacuum Cleaner Instruction Manual: Your best friend for specific model instructions.
Step-by-Step Guide: Cleaning Different Filter Types
Let’s get down to business! Remember to always prioritize safety and follow your vacuum’s manual.
General Pre-Cleaning Steps (for all types)
These steps apply no matter what type of filter you have.
- Unplug the Vacuum: Safety first! Always disconnect the power before performing any maintenance.
- Locate and Remove the Filter: Refer to your manual if you’re unsure where your filter is located. Filters are typically found near the dust bin or motor housing. Carefully remove it according to the instructions.
- Tap Out Loose Debris: Over a trash can, gently tap the filter to dislodge as much loose dust and dirt as possible. Be mindful not to tap too hard, which could damage delicate pleats.
Cleaning Washable Filters (Foam, some Pleated/Cartridge)
This method is for filters explicitly labeled as “washable” by your manufacturer.
- Rinsing Under Cool Water: Hold the filter under cool, running water. Allow the water to run through the filter from the clean side to the dirty side. This helps push debris out rather than embedding it further.
- Using Mild Soap (if heavily soiled): If the filter is particularly dirty, you can add a tiny drop of mild dish soap. Gently massage the soap into the foam or pleated material.
- Thorough Rinsing: Continue rinsing until the water runs completely clear and there are no suds visible. This is crucial; any remaining soap can affect filtration or leave residue.
- Squeezing Out Excess Water: For foam filters, gently squeeze to remove excess water. For pleated or cartridge filters, shake off as much water as possible. Do not wring or twist excessively, as this can damage the filter material.
- CRITICAL: Complete Drying Time (24-48 hours): This is arguably the most important step. NEVER re-install a damp filter. Place the filter in a well-ventilated area, away from direct sunlight or heat, and allow it to air dry completely. This can take anywhere from 24 to 48 hours. A damp filter can lead to mold growth, damage your vacuum’s motor, and emit unpleasant odors.
- Re-installing the Dry Filter: Once you are absolutely certain the filter is bone dry, carefully re-install it into your vacuum cleaner. Ensure it’s seated correctly before closing the housing and plugging in the vacuum.
Cleaning Non-Washable Filters (Most HEPA, some Pleated)
For filters that cannot be washed, the approach is different but equally important.
- Gentle Tapping: Over a trash can, firmly but gently tap the filter to dislodge loose dust. You might be surprised how much comes out!
- Brushing Away Dust: Use a soft brush (like an old toothbrush or a soft-bristled paint brush) to carefully brush away dust from the pleats or surface. Work gently to avoid damaging the filter material.
- Using a Secondary Vacuum: For stubborn dust trapped deep in pleats, you can use another vacuum (like a handheld or shop vac) on a low suction setting to carefully vacuum the dust off the filter.
- IMPORTANT: Never Get Wet!: These filters are not designed for water. Exposure to moisture can destroy the filter material, making it ineffective or even harmful to your vacuum.
- When to Replace: Since these filters cannot be deeply cleaned, they will eventually need to be replaced. Follow your manufacturer’s recommendation, typically every 6 to 12 months, or sooner if performance drops significantly.
Cleaning Bagless Cyclone Separator/Pre-Motor Filters
Many bagless vacuums have additional components designed to separate dirt before it reaches the main filter. These are often made of plastic or mesh.
- Disassembly (if applicable): Some cyclone units can be disassembled further for more thorough cleaning. Consult your manual.
- Wiping Down Components: Use a damp microfiber cloth to wipe away any dust or grime accumulated on the plastic or mesh parts.
- Rinsing (if washable): If the manual indicates these parts are washable, rinse them under cool water, ensuring all debris is washed away.
- Thorough Drying: Just like with main filters, ensure all components are completely dry before reassembling and re-installing.
Tips for Filter Maintenance and Longevity
A few simple habits can keep your filters performing better for longer.
- Regular Tapping Between Cleans: A quick tap over the trash can after each few uses can prevent heavy build-up and extend the time between full cleans.
- Avoid Overfilling Dust Bin: A full dust bin forces your filter to work harder. Empty it frequently to reduce strain on the filter and maintain suction.
- Use Correct Filter Type for Your Model: Always use genuine manufacturer replacement filters or high-quality compatible filters designed specifically for your vacuum. Incorrect filters can damage your machine or compromise air quality.
- Store Vacuum in a Clean, Dry Place: Storing your vacuum in a dusty or damp environment can contaminate the filter even when not in use.
- Consider Air Quality: If you have pets, allergies, or live in a dusty area, you might need to clean or replace your filters more frequently than recommended.
Common Mistakes to Avoid
Steer clear of these common pitfalls to protect your vacuum and your health.
- Not Unplugging the Vacuum: A crucial safety step that is often overlooked.
- Washing Non-Washable Filters: This is a guaranteed way to destroy a filter and potentially damage your vacuum. Always check your manual.
- Re-installing a Damp Filter: As emphasized, this can lead to mold, mildew, unpleasant odors, and motor damage. Patience is key!
- Using Harsh Chemicals: Never use harsh detergents, bleach, or abrasive cleaners on your filters. These can degrade the filter material and release harmful fumes. Mild dish soap is sufficient for washable filters.
- Forgetting to Clean: Procrastination leads to reduced performance, motor strain, and poor air quality.
- Ignoring Manufacturer’s Instructions: Your manual is your ultimate guide. Always consult it for specific care instructions for your model.
When to Replace Your Filter Entirely
Even with diligent cleaning, filters don’t last forever. Here’s when to say goodbye and install a fresh one.
- Visible Damage (Rips, Tears): Any rips, tears, or holes mean the filter can no longer effectively trap particles. Replace it immediately.
- Lingering Odors: If your vacuum still emits a musty or unpleasant smell even after a thorough cleaning and complete drying, bacteria or mold might be deeply embedded. Replace the filter.
- Significant Discoloration/Staining: Permanent discoloration or heavy staining that won’t come out with cleaning can indicate the filter’s material is compromised.
- Reduced Performance Despite Cleaning: If your vacuum’s suction power remains diminished even after a clean filter and emptying the dust bin, it might be time for a new filter.
- Manufacturer’s Recommended Replacement Interval: Many manufacturers provide a guideline for filter replacement, often every 6 to 12 months. Adhering to this helps maintain peak performance.
Conclusion
Cleaning your vacuum cleaner filter might seem like a small task, but its impact on your cleaning power, indoor air quality, and the longevity of your appliance is immense. It’s a simple, cost-effective habit that pays dividends in a cleaner, healthier home.
By understanding your filter type, following proper cleaning techniques, and recognizing when it’s time for a replacement, you can ensure your vacuum continues to perform at its very best, keeping your floors (and air!) spotless. Happy vacuuming!
Frequently Asked Questions (FAQs)
How often should I clean my vacuum filter?
For most washable filters, aim for every 1 to 3 months, or more frequently if you have pets or vacuum often. Non-washable filters benefit from gentle tapping every few weeks and usually need replacement every 6 to 12 months. Always check your vacuum’s manual for precise recommendations.
Can I put my vacuum filter in the dishwasher?
No, you should never put your vacuum filter in the dishwasher. The high heat, strong detergents, and intense water jets can damage the filter material, compromising its effectiveness and potentially destroying it. Always wash by hand with cool water and mild soap if your filter is washable.
What happens if I don’t clean my vacuum filter?
Neglecting your vacuum filter leads to reduced suction power, forcing your vacuum’s motor to work harder and potentially overheating it, shortening its lifespan. It also means dust and allergens can be recirculated into your home’s air, worsening air quality and allergies.
How do I know if my HEPA filter is washable?
Always refer to your vacuum cleaner’s user manual. The manual will explicitly state whether your specific HEPA filter is washable or if it requires dry cleaning and eventual replacement. Most true HEPA filters are non-washable, but some “HEPA-type” or specific brand filters can be rinsed.
Is it okay to use a hair dryer to speed up drying?
It’s generally not recommended to use a hair dryer or any direct heat source to speed up filter drying. High heat can damage the delicate filter material, warping it or breaking down its fibers, which can reduce its filtration efficiency. Air drying in a well-ventilated spot for 24-48 hours is the safest and most effective method to ensure complete dryness without damage.