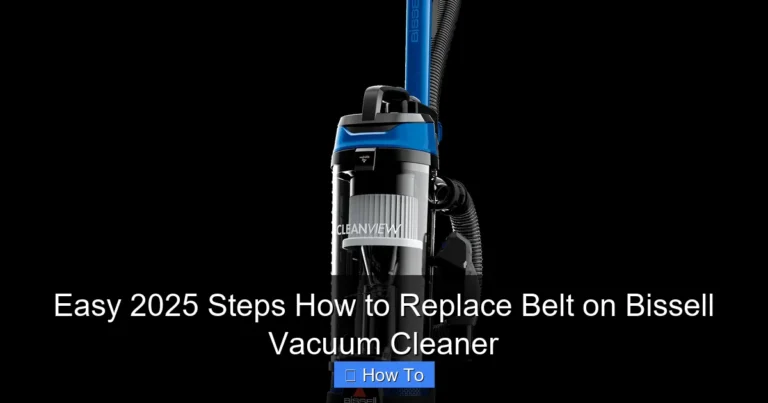
How to Replace Bissell Vacuum Cleaner Belt 2025 Guide
Is your Bissell vacuum losing suction, making strange noises, or has its brush roll stopped spinning? Replacing the drive belt is a common and surprisingly easy fix! This 2025 guide provides clear, step-by-step instructions to help you safely and effectively swap out your old Bissell vacuum cleaner belt for a new one, restoring your vacuum’s powerful cleaning performance in no time. Get your Bissell back to its best with our expert tips!
How to Replace Bissell Vacuum Cleaner Belt 2025 Guide
Is your trusty Bissell vacuum cleaner suddenly underperforming? Perhaps the brush roll isn’t spinning, or you’ve noticed a tell-tale burning rubber smell wafting through the air during your cleaning routine? Chances are, the problem lies with a worn-out or broken drive belt. Don’t worry, you’re not alone, and it’s a super common issue. The good news? Replacing a Bissell vacuum cleaner belt is a straightforward DIY task that can save you money on professional repairs and get your cleaner back to peak performance in no time.
Welcome to our comprehensive 2025 guide on how to replace a Bissell vacuum cleaner belt! In this guide, we’ll walk you through every step of the process, from identifying the right replacement belt to safely installing it and troubleshooting any minor hiccups along the way. We’ll use clear, simple language and practical tips to ensure even first-timers can confidently tackle this repair. By the end, you’ll not only have a fully functional Bissell vacuum but also the satisfaction of having fixed it yourself. Let’s get started and give your Bissell the new lease on life it deserves!
Key Takeaways
- Safety First: Always unplug your Bissell vacuum cleaner before attempting any maintenance or belt replacement to prevent electrical shock or accidental starting.
- Identify the Problem: Common signs of a worn or broken Bissell vacuum cleaner belt include a non-spinning brush roll, decreased suction, a burning rubber smell, or unusual noises.
- Get the Right Belt: Crucially, ensure you purchase the correct replacement Bissell vacuum cleaner belt specifically designed for your exact Bissell model number. Check your vacuum’s label for this information.
- Gather Your Tools: You’ll typically need a Phillips head screwdriver, possibly a flathead screwdriver, and the new replacement belt. Keeping screws organized is also a good tip.
- Clean While You’re There: Once the brush roll is accessible, take the opportunity to thoroughly clean accumulated hair, strings, and debris from the brush roll and its housing. This improves performance and extends belt life.
- Proper Installation is Key: Ensure the new belt is correctly routed around both the motor shaft and the brush roll, with no twists, to ensure proper tension and function.
- Test Thoroughly: After reassembling, plug in and test your vacuum on a flat surface, observing that the brush roll spins freely and the suction has returned to normal.
Quick Answers to Common Questions
Why did my Bissell vacuum cleaner belt break?
Bissell vacuum cleaner belts typically break due to normal wear and tear over time, becoming stretched or brittle. However, they can also snap if the brush roll gets jammed by a large object or excessive amounts of hair and debris, creating too much strain on the belt.
How often should I change my Bissell vacuum cleaner belt?
As a general guideline, it’s recommended to inspect and potentially replace your Bissell vacuum cleaner belt every 6-12 months, or immediately if you notice signs of wear, stretching, or breakage. Frequent use, especially on thick carpets, might necessitate more frequent replacements.
Can I use any belt for my Bissell vacuum cleaner?
Absolutely not! You must use a replacement Bissell vacuum cleaner belt specifically designed for your particular Bissell model number. Belts vary significantly in length, width, and material, and using the wrong one can lead to improper tension, poor performance, and even damage to your vacuum’s motor.
What if my brush roll still doesn’t spin after replacing the Bissell vacuum cleaner belt?
If your brush roll remains stationary, first re-check that the new Bissell vacuum cleaner belt is correctly installed, not twisted, and properly seated around both the motor shaft and the brush roll. Also, ensure there are no remaining hair clogs or debris jamming the brush roll or its bearings.
Should I clean my vacuum while I’m replacing the belt?
Yes, definitely! Replacing the Bissell vacuum cleaner belt provides an excellent opportunity to thoroughly clean the brush roll and the brush housing. Remove all tangled hair, threads, and debris, as this reduces strain on the new belt and improves overall cleaning efficiency.
Why Your Bissell Vacuum Cleaner Belt Matters So Much
The drive belt in your Bissell vacuum cleaner might seem like a small component, but it’s absolutely crucial for effective cleaning. This simple rubber band is what connects the vacuum’s motor to the brush roll (also known as the agitator brush or beater bar). When the motor spins, the belt transfers that rotational energy, causing the brush roll to spin rapidly. This spinning action is what agitates carpet fibers, lifting dirt, dust, and pet hair so the vacuum’s suction can whisk it away.
When the Bissell vacuum cleaner belt starts to wear out, stretch, or break, this vital connection is compromised. You might notice several tell-tale signs:
- Brush Roll Not Spinning: This is the most obvious sign. If your brush roll is stationary while the vacuum is running, the belt is likely broken or completely slipped off.
- Decreased Suction on Carpets: Even if the motor sounds normal, without the brush roll agitating, dirt won’t be dislodged as effectively, leading to poor cleaning performance, especially on carpets.
- Burning Rubber Smell: A stretched or slipping belt can generate a lot of friction and heat, causing a burning rubber smell. This is a clear indicator that the belt is failing and needs immediate attention before it causes further damage.
- Loud Noises: A worn or damaged belt might produce squealing, grinding, or flapping noises as it struggles to operate.
Understanding these symptoms will help you diagnose the problem quickly and determine that a Bissell vacuum cleaner belt replacement is indeed the solution.
Before You Begin: Safety First & Essential Prep
Before you even think about grabbing a screwdriver, it’s paramount to prepare properly. Safety is always the top priority when working with electrical appliances.
Safety Precautions
The single most important rule:
ALWAYS UNPLUG YOUR BISSELL VACUUM CLEANER FROM THE WALL OUTLET BEFORE STARTING ANY MAINTENANCE OR REPAIR. This prevents accidental activation, which could lead to serious injury or electric shock. Don’t just turn it off; unplug it!
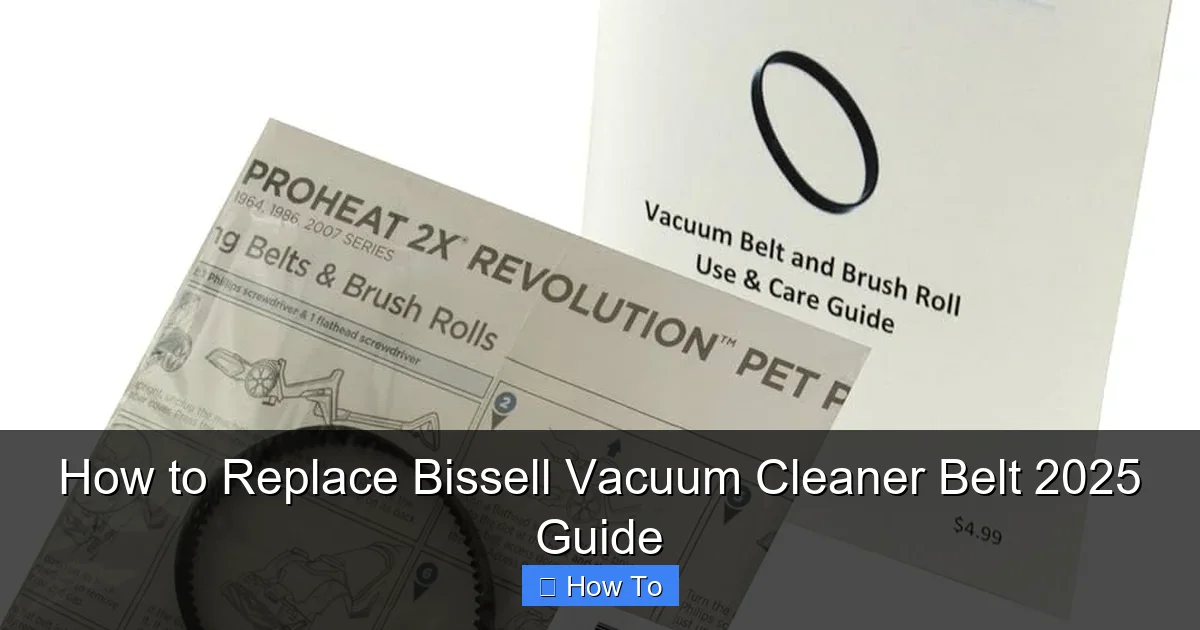
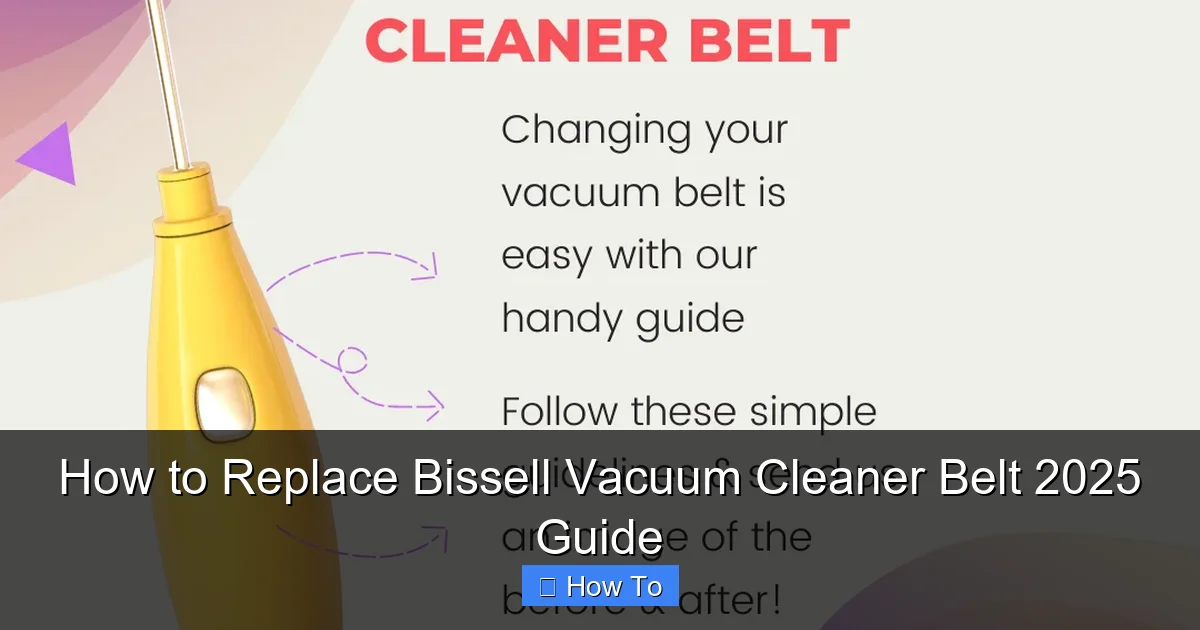
Visual guide about How to Replace Bissell Vacuum Cleaner Belt 2025 Guide
Image source: m.media-amazon.com
If your vacuum has recently been running, give it a few minutes to cool down before handling any internal components. Clear any obvious large debris or hair from the exterior of the brush roll area first, just to make the initial access easier and cleaner.
Gather Your Tools and Supplies
Having everything you need within reach will make the replacement process smooth and efficient. For a typical Bissell vacuum cleaner belt replacement, you’ll need:
- New Bissell Vacuum Cleaner Belt: This is non-negotiable! Make sure it’s the correct one for your model (more on this below).
- Screwdrivers: Most Bissell vacuums use Phillips head screws. You might also need a small flathead screwdriver for prying or a Torx head screwdriver for some specific models.
- Pliers (Optional): Handy for gripping stubborn parts or assisting with belt stretching if needed, but be gentle.
- Scissors or Utility Knife (Optional but Recommended): Excellent for cutting away tangled hair and string from the brush roll.
- Gloves (Optional): If you prefer to keep your hands clean or need a better grip on the new belt.
- Clean Cloth: Useful for wiping down components during the cleaning phase.
- Small Container or Magnetic Dish: To keep track of screws – trust us, you don’t want to lose them!
Identify Your Bissell Model & Get the Right Belt
This is perhaps the most critical preparatory step. Bissell manufactures a wide array of vacuum cleaners, and each model often requires a specific type and size of drive belt. Using the wrong belt can lead to poor performance, further damage, or immediate breakage.
- Locate Your Model Number: Your Bissell vacuum’s model number is typically found on a sticker or label on the back, side, or bottom of the main unit. It’s usually a combination of letters and numbers (e.g., “Bissell PowerForce Helix Bagless 1240,” or just “Model: 1240”).
- Purchase the Correct Belt: Once you have your model number, you can easily find the correct replacement Bissell vacuum cleaner belt. We recommend purchasing directly from Bissell’s official website or a reputable parts dealer. You’ll typically find belts labeled with specific model compatibility. Some models might even use multiple belts (e.g., one for the brush roll and one for specialized tools), but for this guide, we’re focusing on the main brush roll drive belt.
- OEM vs. Aftermarket: While aftermarket belts are available, opting for an Original Equipment Manufacturer (OEM) Bissell belt ensures the best fit, durability, and performance.
Step-by-Step Guide to Replacing Your Bissell Vacuum Cleaner Belt
Now that you’re prepared, let’s dive into the hands-on process of replacing your Bissell vacuum cleaner belt. Follow these steps carefully, and you’ll have your vacuum running like new.
Step 1: Prepare Your Workspace and Vacuum
Find a well-lit, flat, and clear surface to work on. A kitchen table or workbench is ideal. Lay down a towel or old newspaper to protect your surface from dirt and scratches. Once unplugged, lay your Bissell vacuum cleaner on its front, with the brush roll facing upwards. This gives you easy access to the bottom plate.
Step 2: Access the Brush Roll Area
The brush roll and belt are typically housed beneath a bottom plate or cover. This plate is usually secured by several screws.
- Locate the Screws: Identify all the screws holding the bottom plate in place. On most Bissell models, these are Phillips head screws.
- Unscrew and Remove the Plate: Using your screwdriver, carefully remove each screw. Place them immediately into your small container or magnetic dish to prevent them from getting lost. Once all screws are removed, gently lift off the bottom plate. Some models might have clips in addition to screws; carefully release these if present.
- Detaching Hoses (If Applicable): Some Bissell models, especially those with canister or multi-surface designs, might have a hose or other attachments that need to be carefully detached or moved out of the way to fully access the brush roll area. Take a mental note or even a quick photo of how everything is connected if you’re unsure.
Step 3: Remove the Brush Roll
With the bottom plate off, you should now see the brush roll and the old belt.
- Lift Out the Brush Roll: Gently lift the brush roll out of its housing. It might be slightly snug, but it should come out without excessive force.
- Clean the Brush Roll: This is an excellent opportunity for some crucial maintenance! The brush roll is often clogged with hair, string, and debris. Use your scissors or utility knife to carefully cut and remove all tangled material. A clean brush roll spins more efficiently, puts less strain on the motor, and extends the life of your new Bissell vacuum cleaner belt.
- Inspect End Caps/Bearings: While the brush roll is out, check the end caps or bearings for any damage or excessive wear. Ensure they spin freely. If they’re seized, this could be another reason your belt broke or is struggling.
Step 4: Remove the Old or Broken Belt
Now it’s time to take out the culprit.
- Locate the Belt: You’ll see the old belt either completely broken, stretched out, or still loosely looped around the motor shaft and brush roll housing.
- Pull Off the Old Belt: Gently pull the old Bissell vacuum cleaner belt off the motor shaft (the small metal post sticking out near the center) and then completely remove it from the vacuum. If it’s already snapped, simply remove the pieces.
- Inspect and Compare: Take a moment to compare the old belt (if still in one piece) with your new replacement belt. They should be very similar in size and appearance, though the old one might be stretched. This confirms you have the correct new Bissell vacuum cleaner belt.
Step 5: Install the New Bissell Vacuum Cleaner Belt
This is where your new belt goes in. It might feel a bit tight, which is normal as new belts are designed to have good tension.
- Loop Around the Motor Shaft First: Take your new Bissell vacuum cleaner belt and loop it around the small metal motor shaft. Ensure it’s seated properly in any grooves on the shaft.
- Stretch Onto the Brush Roll: Now, with the belt around the motor shaft, carefully place the brush roll back into its housing. As you seat the brush roll, stretch the new belt around the designated groove on the brush roll. This can sometimes be the trickiest part, requiring a bit of force to stretch the belt over the brush roll.
- Ensure Proper Positioning: Double-check that the belt is perfectly centered on both the motor shaft and the brush roll groove. It should not be twisted or rubbing against any plastic housing. The brush roll should be able to spin freely but with good tension from the belt.
Practical Tip: If you’re having trouble stretching the new belt, sometimes a pair of gloves can give you better grip. Some people also gently warm a new belt (e.g., by holding it in their hand for a minute) to make it slightly more pliable, but avoid any extreme heat.
Step 6: Reinstall the Brush Roll
This step is often integrated with step 5, but it’s important to ensure everything is seated correctly.
- Seat the Brush Roll: Confirm that the ends of the brush roll are correctly aligned and seated in their designated slots or bearings within the vacuum housing. The brush roll should spin smoothly by hand with the new Bissell vacuum cleaner belt in place.
- Check Belt Tension: Give the brush roll a few spins by hand. The belt should feel taut and move the brush roll without slipping.
Step 7: Reattach the Bottom Plate and Test
You’re almost done!
- Align and Reattach the Bottom Plate: Carefully align the bottom plate back onto the vacuum cleaner. Ensure all tabs and edges fit snugly into place.
- Insert and Tighten Screws: Reinsert all the screws you removed earlier and tighten them securely. Be careful not to overtighten, as this can strip the plastic threads.
- Plug In and Test: Once everything is reassembled, plug your Bissell vacuum cleaner back into the wall outlet. Turn it on and listen. You should hear the brush roll engage and spin. Visually confirm it’s spinning freely. Test it on a small section of carpet or a rug to ensure it’s picking up debris effectively.
Troubleshooting Common Bissell Belt Replacement Issues
Sometimes, things don’t go perfectly the first time. Here are some common issues you might encounter and how to resolve them after replacing your Bissell vacuum cleaner belt:
Brush Roll Not Spinning After Replacement
- Belt Misalignment or Twist: Unplug the vacuum, reopen the bottom plate, and check the belt. Ensure it’s not twisted and is perfectly seated in the grooves of both the motor shaft and the brush roll.
- Wrong Belt Size: If the belt is too loose, it won’t engage the brush roll. If it’s too tight, it might be preventing the motor from turning or could break quickly. Double-check your vacuum model and the belt part number.
- Debris Still Present: A stubborn clog of hair or string might still be preventing the brush roll from turning. Re-remove the brush roll and inspect its ends and bearings, as well as the housing itself.
- Motor Issues (Less Common): If the belt is correctly installed and there’s no obstruction, but the brush roll still doesn’t spin, there might be a deeper motor issue. This usually requires professional service.
Burning Smell After Replacement
- Belt Rubbing: Unplug and check that the new Bissell vacuum cleaner belt isn’t rubbing against any part of the plastic housing. It should only be in contact with the motor shaft and brush roll.
- Too Much Friction: Ensure the brush roll itself is spinning freely. If its bearings are seized or there’s still a blockage you missed, the belt will be under excessive strain, causing friction and heat.
- Incorrect Belt Material: Less likely with OEM belts, but some aftermarket belts might be made of inferior material that heats up faster.
Difficulty Stretching New Belt
New belts are designed to be tight to provide proper tension. If you’re struggling, try these tips:
- Gloves for Grip: Rubber gloves can provide extra grip.
- Leverage: Use a flathead screwdriver or a sturdy, blunt tool to gently pry the belt over the brush roll while holding the other end on the motor shaft. Be careful not to puncture the belt.
- Even Pressure: Apply steady, even pressure rather than jerking the belt.
Screws Won’t Go Back In or Plate Doesn’t Fit
- Misalignment: Ensure the bottom plate is perfectly aligned before attempting to reinsert the screws. All holes should match up.
- Cross-Threading: Start screws by hand to ensure they catch properly before using the screwdriver. Never force a screw, as this can strip the plastic.
Conclusion
Congratulations! By following this 2025 guide, you’ve successfully learned how to replace a Bissell vacuum cleaner belt. You’ve tackled a common vacuum repair, saved yourself money, and restored your cleaning machine to its full potential. Regular maintenance, including periodic checks of your belt and brush roll for wear and tear, will help prolong the life of your Bissell vacuum and keep it performing at its best.
Remember, a little DIY know-how goes a long way. Keep your vacuum’s brush roll clean, listen for unusual noises, and don’t hesitate to replace that Bissell vacuum cleaner belt when the time comes. Enjoy your freshly maintained, powerfully cleaning Bissell vacuum!
🎥 Related Video: How to Replace a Vacuum Cleaner Belt
📺 Breakdown
Replacing a vacuum cleaner belt is super easy & usually inexpensive. Instead of buying a new vacuum or paying someone, you …