Boost Suction How to Clean Your Vacuum Cleaner 2025 Guide
Is your vacuum losing its oomph? Our 2025 guide reveals how to deep clean your vacuum cleaner, ensuring it runs like new. Learn to tackle dustbins, filters, brush rolls, and hoses to restore peak suction power and improve your home’s air quality. A little maintenance goes a long way in extending your vacuum’s lifespan and making cleaning less of a chore.
Boost Suction How to Clean Your Vacuum Cleaner 2025 Guide
Is your trusty vacuum cleaner struggling to pick up crumbs? Does it smell a little funky when you turn it on? Or maybe it just doesn’t have the same suction power it used to? You’re not alone! Over time, dirt, dust, hair, and debris accumulate inside your vacuum, clogging filters, tangling brush rolls, and ultimately reducing its effectiveness. But don’t worry, giving your vacuum cleaner a good clean is easier than you think, and it can dramatically improve its performance, extend its lifespan, and even boost the air quality in your home.
Welcome to our comprehensive “How to Clean Your Vacuum Cleaner 2025 Guide”! This friendly, step-by-step manual will walk you through everything you need to know to deep clean virtually any type of vacuum cleaner – from uprights and canisters to stick vacuums and even some robot models. We’ll cover all the essential components, share practical tips, and help you troubleshoot common issues, so your vacuum can get back to doing what it does best: making your home sparkling clean. Let’s roll up our sleeves and get that suction back!
Key Takeaways
- Safety First: Always unplug your vacuum cleaner before attempting any cleaning or maintenance to prevent electrical hazards.
- Empty Regularly, Deep Clean Annually: While you should empty your dustbin after every use, a full deep clean of your vacuum cleaner is recommended at least once a year, or more often if you have pets.
- Don’t Forget the Filters: Filters are crucial for air quality and suction. Know if yours are washable or need replacing, and ensure they are completely dry before reinstallation.
- The Brush Roll is Key: Hair and debris tangled around the brush roll significantly reduce effectiveness. Regularly remove and clear this build-up to maintain optimal carpet cleaning.
- Hose Blockages Are Common: Reduced suction often points to a clog in the hose. Inspect and clear any obstructions using a broom handle or specialized tool.
- All Parts Must Be Dry: Any washable components, especially filters and dustbins, must be completely air-dried before reassembling your vacuum cleaner to prevent mold, mildew, and damage.
- Listen to Your Vacuum: Unusual noises, smells, or persistent loss of suction even after cleaning indicate a potential issue that might require professional attention or part replacement.
Quick Answers to Common Questions
Why is my vacuum cleaner losing suction?
The most common reasons for reduced suction are a full dustbin/bag, clogged filters, a tangled brush roll, or a blockage in the hose. Regularly checking and cleaning these components will usually resolve the issue.
Can I wash all vacuum filters?
No, only filters specifically labeled as “washable” should be rinsed with water. Foam and felt filters are often washable, while pleated paper or HEPA filters usually need to be replaced. Always check your vacuum’s manual.
How often should I clean my vacuum’s brush roll?
If you have pets or long hair, inspect and clean the brush roll for tangles at least once a month. For average households, a deep clean every 2-3 months is usually sufficient to maintain effectiveness.
What’s the best way to remove a clog from the vacuum hose?
First, detach the hose. Then, try to visually locate the clog. Use a broom handle, a long stick, or a flexible cleaning brush to gently push the blockage through. Never use sharp objects that could damage the hose.
How long does a vacuum filter need to dry?
Washable filters need to air dry completely, which can take 24-48 hours depending on humidity and airflow. Reinstalling a damp filter can lead to mold, mildew, and damage to your vacuum’s motor.
Safety First: Essential Pre-Cleaning Steps
Before you even think about disassembling your vacuum, safety is paramount. Overlooking these initial steps can be dangerous.
Unplug Your Vacuum Cleaner
This is the most critical step. Always, always, *always* unplug your vacuum cleaner from the wall socket before performing any maintenance or cleaning. This eliminates any risk of electric shock or accidental startup while your hands are inside the machine. Think of it as hitting the “off” switch for real.
Prepare Your Workspace
Cleaning a vacuum can be a dusty job! Choose an area that’s easy to clean afterward, like a garage, utility room, or even outdoors if the weather permits. Lay down old newspapers, a tarp, or a large towel to catch any dust and debris that will inevitably escape. Gloves are also a good idea to keep your hands clean.
Gather Your Tools
Having everything ready before you start will make the process much smoother. You won’t need anything fancy for most vacuums. Here’s a basic list:
- Scissors or a seam ripper (for cutting hair from the brush roll)
- Small brush (an old toothbrush works great)
- Microfiber cloths or rags
- Mild dish soap or all-purpose cleaner
- Warm water
- A small utility knife or box cutter (optional, for stubborn tangles)
- A broom handle or a long, flexible rod (for clearing hose clogs)
- Gloves (optional, but recommended)
- A garbage can or dustbin
Step 1: Empty the Dustbin or Replace the Bag
This might seem obvious, but it’s the first physical step in cleaning your vacuum cleaner.
For Bagless Vacuums: Empty and Wash the Dustbin
Most modern vacuums are bagless. Carefully remove the dustbin from your vacuum. Take it to a garbage can, preferably outside, to minimize dust dispersal inside your home. Open the bottom flap and vigorously shake out all the dirt, dust, and debris. Don’t be afraid to tap it against the inside of the trash can to dislodge stubborn clumps.
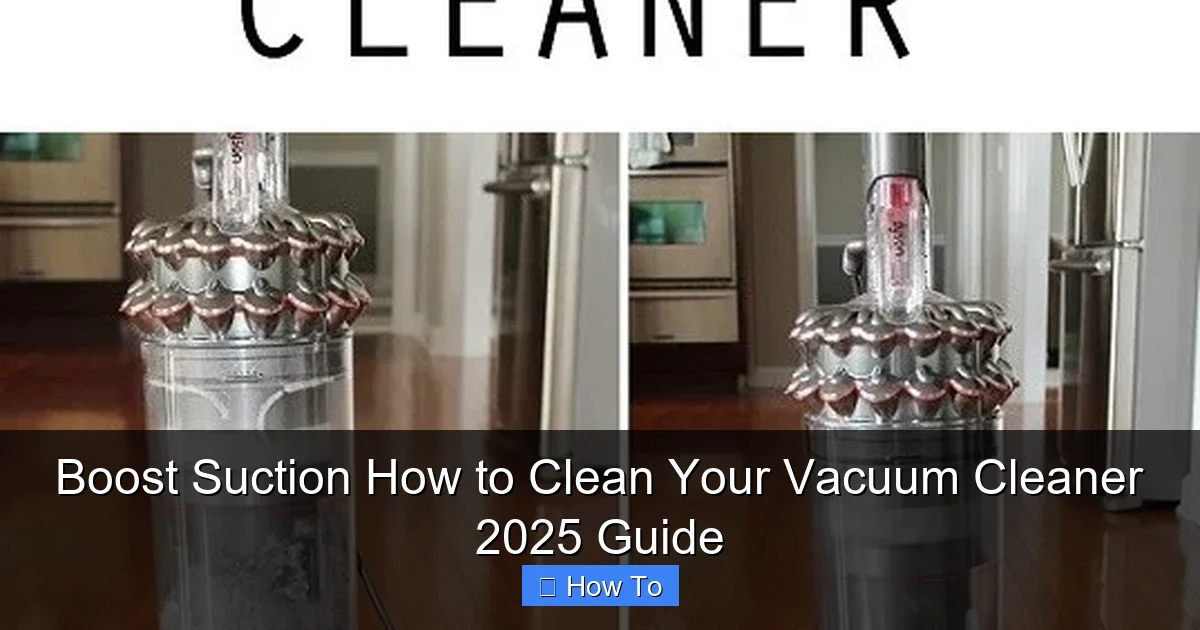
Visual guide about Boost Suction How to Clean Your Vacuum Cleaner 2025 Guide
Image source: thehomesteadsurvival.com
Once empty, you can usually wash the dustbin with warm water and a little mild dish soap. Use your small brush to scrub away any caked-on grime or sticky residue. Rinse thoroughly until the water runs clear. It’s vital that you let the dustbin air dry completely before reattaching it to your vacuum. Moisture can lead to mold and mildew growth, which will make your vacuum smell and potentially damage components.
For Bagged Vacuums: Replace the Bag
If your vacuum uses bags, now’s the time to replace the old one. Follow your vacuum’s instructions for safely removing and disposing of the full bag. Ensure the new bag is properly seated according to the manufacturer’s guidelines. Don’t try to reuse a full bag; it significantly reduces suction and traps allergens inside the machine.
Step 2: Clean or Replace the Filters
Filters are the lungs of your vacuum cleaner. Clogged filters are one of the main reasons for reduced suction and poor air quality. Knowing how to clean your vacuum cleaner filters correctly is crucial.
Locate Your Filters
Most vacuums have at least one, often two, filters: a pre-motor filter and a post-motor (or HEPA) filter. Consult your vacuum’s manual to find their exact locations. They are typically near the dustbin or exhaust.
Determine Filter Type: Washable vs. Replaceable
Not all filters are created equal! Your vacuum’s manual will tell you if your filters are washable or if they need to be replaced. Attempting to wash a non-washable filter can damage it and your vacuum.
- Washable Filters: These are usually foam or felt filters. Gently tap them over a trash can to remove loose debris. Then, rinse them under cool, running water until the water runs clear. Squeeze out excess water and, again, let them air dry completely for at least 24 hours (or as directed by the manufacturer) before putting them back. Never use soap or detergents unless specifically instructed, as residues can damage the filter material.
- Replaceable Filters: If your filter isn’t washable, it needs to be replaced regularly. Check your vacuum’s manual for recommended replacement schedules, usually every 6-12 months, depending on usage and household conditions (e.g., pets, allergies).
Remember, a thoroughly dry filter is non-negotiable. Reinstalling a damp filter can lead to mold, mildew, and potential electrical issues.
Step 3: Detangle and Clean the Brush Roll (Beater Bar)
The brush roll is the workhorse of your vacuum, especially on carpets. Hair, strings, and fibers constantly get tangled around it, hindering its ability to agitate and pick up debris. This is a crucial step when you clean your vacuum cleaner for optimal carpet cleaning.
Remove the Brush Roll
Turn your vacuum cleaner over so the bottom is facing up. You’ll usually find a cover plate held in place by screws or latches. Remove these to access the brush roll. Gently lift or slide the brush roll out from its housing. Pay attention to how it’s installed; taking a quick photo can help with reassembly.
Cut Away Tangled Debris
This is where your scissors or seam ripper come in handy. Carefully cut through any hair, thread, or string wrapped around the brush roll. Be cautious not to cut the bristles themselves or the belt if it’s still attached. Once cut, you can often pull the loosened debris right off. Use your small brush to clean any stubborn dust and dirt from between the bristles and around the brush roll ends.
Inspect and Clean the Brush Roll Housing and Belt
While the brush roll is out, take a moment to inspect its housing. Use a damp cloth to wipe away any accumulated dust or grime. Check the drive belt (if your vacuum has one) for any signs of wear, stretching, or damage. If it looks worn, consider replacing it, as a loose belt can lead to poor brush roll performance. You can often buy replacement belts online or from appliance stores.
Clean Wheels and Axles
Often overlooked, the small wheels on the vacuum head can also get gummed up with hair and debris. Use your scissors or a small utility knife to carefully clean around the axles, ensuring the wheels spin freely.
Step 4: Clear Blockages in the Hose and Attachments
A clogged hose is a very common culprit for sudden loss of suction. Learning how to clean your vacuum cleaner’s hose can make a huge difference.
Remove the Hose
Detach the main hose from both ends of your vacuum cleaner. This usually involves twisting or pressing release buttons.
Visually Inspect for Blockages
Hold the hose up to a light source and look through it. You’ll often be able to spot larger clogs like socks, toys, or clumps of hair and dust.
Dislodge Blockages
If you see a clog, try to dislodge it. For flexible hoses, gently squeeze the hose around the blockage. If it’s stubborn, carefully push a broom handle, a long stick, or a specialized flexible cleaning tool through the hose from one end to the other. Never use anything sharp that could puncture the hose. Once the blockage is out, give the hose a good shake to ensure nothing else is stuck.
Clean Attachments
Your vacuum’s attachments (crevice tool, upholstery brush, dusting brush) also collect dust and grime. Wipe them down with a damp cloth. For stubborn dirt, you can wash them in warm soapy water, then rinse and let them air dry completely.
Step 5: Wipe Down the Exterior
Now that the internal components are clean, give the outside of your vacuum cleaner some love.
Clean the Body
Use a damp microfiber cloth, possibly with a small amount of all-purpose cleaner, to wipe down the entire exterior of your vacuum. Pay attention to handles, buttons, and seams where dust can accumulate. Avoid spraying water or cleaner directly onto electronic components or openings.
Clean the Wheels
Wipe down the larger wheels on the vacuum body. Use an old toothbrush to clean around their axles if they have picked up hair or debris, ensuring they roll smoothly.
Step 6: Reassemble Your Vacuum Cleaner
Once all parts are completely dry – and we mean *completely* dry – it’s time to put everything back together.
Reinstall Components
Carefully reattach the filters, making sure they are seated correctly. Replace the brush roll, ensuring the belt (if applicable) is properly aligned. Reattach the cover plate. Finally, put the dustbin back in place and reattach the hose and any cleaned attachments.
Perform a Test Run
Plug your vacuum cleaner back in. Turn it on and listen. Does it sound normal? Test the suction by trying to pick up a small amount of debris. If everything sounds and feels right, congratulations, you’ve successfully learned how to clean your vacuum cleaner!
Troubleshooting Common Issues After Cleaning
Even after a thorough clean, you might encounter a few hiccups. Here’s what to do:
Still Low Suction?
If suction hasn’t improved, re-check these areas:
- Filters: Are they completely dry? Are they installed correctly? Could they be damaged and need replacing?
- Hose and Attachments: Double-check for any remaining blockages.
- Brush Roll: Is it spinning freely? Is the belt intact and properly tensioned?
- Seals and Gaskets: Over time, rubber seals can wear down, causing air leaks. Inspect the seals around the dustbin and hose connections for any visible cracks or gaps.
Strange Noises?
Unusual noises often point to something rubbing or a component not being seated correctly.
- Rattling: Check the brush roll for anything caught inside its housing. Ensure the dustbin is securely latched.
- Whining: This can indicate a motor issue (especially if it’s a high-pitched whine that wasn’t there before) or a severe air leak.
Vacuum Still Smells?
A persistent odor usually means there’s still something lingering inside.
- Dustbin/Bag: Ensure it’s truly empty and clean. If washable, was it thoroughly dried?
- Filters: If they were washable, did they dry completely? Replace if necessary.
- Hose: Sometimes odors can get trapped in the hose, especially if you’ve vacuumed up pet accidents or moldy debris. Try flushing the hose with water (only if it’s completely detachable and can be fully dried afterward) or spraying a deodorizer through it.
- Deep Inside: Sometimes odors can be from internal components not easily accessible. If all else fails, a professional cleaning might be needed.
Tips for Regular Vacuum Cleaner Maintenance
Preventative care is key to keeping your vacuum cleaner in top shape and reducing the frequency of deep cleans.
- Empty the Dustbin/Bag Often: Don’t wait until it’s overflowing. A full dustbin restricts airflow and reduces suction. Empty it after every significant use.
- Inspect Brush Roll Regularly: Quick visual checks for tangled hair or debris after a few uses can prevent major build-ups.
- Don’t Vacuum Liquids: Unless your vacuum is specifically designed for wet pickup, never vacuum liquids. This can damage the motor and electrical components.
- Avoid Large Objects: Try to pick up large debris (coins, paper clips, small toys) by hand before vacuuming to prevent clogs.
- Check for Wear and Tear: Periodically inspect the power cord, hose, and attachments for any cracks, fraying, or damage.
- Consider Professional Servicing: For high-end models or if you’re uncomfortable doing a deep clean yourself, an annual professional service can ensure your vacuum lasts for years.
Conclusion
Cleaning your vacuum cleaner might not be the most glamorous chore, but it’s undoubtedly one of the most rewarding. By following this 2025 guide, you’ve not only boosted your vacuum’s suction power and improved its efficiency, but you’ve also extended its life and contributed to a healthier home environment. A clean vacuum means a cleaner home, with less dust, fewer allergens, and that satisfying feeling of a job well done. So, go forth and enjoy your revitalized cleaning machine!
🎥 Related Video: Shark vacuum cleaner NO SUCTION! Why?
📺 Vacuum Help
Customer was going to buy a new vacuum cleaner when her shark stopped sucking #sharkvacuum #sharkclean.