2025 Expert Tips How to Clean Filter on Dyson Vacuum Cleaner
Keeping your Dyson vacuum cleaner’s filters clean is essential for optimal performance and extending its lifespan. This 2025 guide provides straightforward, step-by-step instructions on how to clean filter on your Dyson vacuum cleaner, ensuring maximum suction, improved air quality, and a healthier home. It’s a simple maintenance task that makes a big difference, preventing odors and maintaining peak efficiency for your valued appliance.
2025 Expert Tips How to Clean Filter on Dyson Vacuum Cleaner
Hello there, fellow clean home enthusiast! Are you noticing your trusty Dyson vacuum cleaner isn’t quite as powerful as it used to be? Perhaps it’s emitting a strange odor, or maybe the suction just isn’t what it once was? Before you consider buying a new one, the solution might be much simpler and more cost-effective than you think: it’s time to learn how to clean filter on your Dyson vacuum cleaner.
In 2025, with our homes becoming smarter and our appliances more advanced, maintaining them properly is key to longevity and peak performance. Your Dyson is an investment in a cleaner, healthier living space, and its filters are the unsung heroes working tirelessly to capture dust, allergens, and microscopic particles. Over time, these filters get clogged, directly impacting your vacuum’s efficiency and air quality. A well-maintained filter means your Dyson works harder, lasts longer, and keeps your air cleaner.
This comprehensive guide will walk you through everything you need to know about cleaning your Dyson filters. We’ll cover identifying different filter types, step-by-step cleaning instructions for both pre-motor and post-motor filters, practical tips, and even a troubleshooting section. Our goal is to make this process easy, effective, and perhaps even a little enjoyable. Let’s get that Dyson roaring back to life!
Key Takeaways
- Regular Cleaning is Crucial: Cleaning your Dyson filters every 1-3 months (depending on usage) is vital for maintaining powerful suction, preventing motor strain, and extending the life of your vacuum.
- Identify Your Filter Types: Most modern Dyson vacuums have at least one washable pre-motor filter. Some also have a washable post-motor (HEPA) filter. Always consult your specific model’s manual for confirmation on filter type and washing instructions.
- Cold Water Only & No Detergents: Only use cold tap water to rinse your filters. Avoid using soap, detergents, or putting them in a dishwasher, as these can damage the filter material and reduce effectiveness.
- Absolute Dryness is Non-Negotiable: Allow your filters to air-dry completely for a minimum of 24-48 hours. Reinstalling a damp filter can lead to mold growth, bad odors, and severe damage to your Dyson’s motor.
- Know When to Replace: Even with regular cleaning, filters have a finite lifespan. If a filter remains discolored, smells, or if your vacuum’s performance doesn’t improve after cleaning, it’s time for a replacement.
- Safety First: Always unplug your Dyson vacuum cleaner from the power outlet before attempting to remove or clean any filters to prevent accidental startup or electrical hazards.
- Patience Pays Off: Filter cleaning is a simple process, but it requires patience, especially during the drying phase. Rushing this step can cause more problems than it solves.
Quick Answers to Common Questions
What happens if I don’t clean my Dyson filter?
Not cleaning your Dyson filter leads to reduced suction power, increased motor strain which can shorten the vacuum’s lifespan, and poor air quality as dust and allergens are no longer effectively trapped. You might also notice a foul odor from the exhaust.
Can I put my Dyson filter in the washing machine or dishwasher?
Absolutely NOT. Dyson filters should only be rinsed under cold running tap water. Washing machines or dishwashers use hot water, detergents, and aggressive cycles that can damage the delicate filter material, leading to irreparable harm and voiding your warranty.
How long does a Dyson filter typically last before needing replacement?
Even with regular cleaning, Dyson filters have a finite lifespan, typically lasting 12-18 months depending on usage and model. If a filter remains discolored, develops a persistent odor, or if suction doesn’t improve after cleaning, it’s time for a genuine replacement.
Is it okay to dry my Dyson filter with a hairdryer or in direct sunlight?
No, avoid using a hairdryer, placing it in direct sunlight, or near any heat source like a radiator. High heat can warp, melt, or damage the filter material, compromising its ability to filter effectively. Always allow it to air dry naturally in a well-ventilated area.
My Dyson has multiple filters; do I clean them all the same way?
Most modern Dyson models have at least one washable pre-motor filter. If your model also has a washable post-motor (HEPA) filter, the cleaning process is generally similar (cold water rinse, air dry). However, always consult your specific Dyson model’s user manual, as some post-motor filters are sealed and non-washable, requiring replacement.
Understanding Your Dyson Filters: The Heart of Clean Air
Before we dive into the cleaning process, it’s crucial to understand what kind of filters your specific Dyson model uses. Most modern Dyson vacuums, including popular models like the V10, V11, V15 Detect, Outsize, and Ball series, come with at least one washable filter. Knowing your model is the first step.
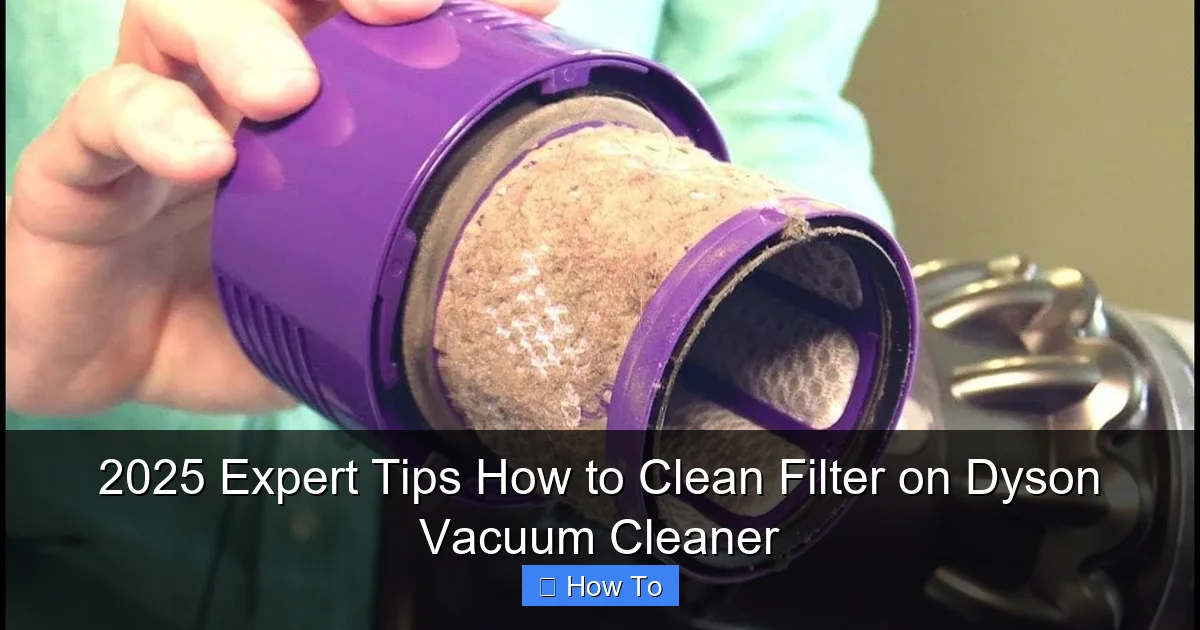
- Pre-Motor Filter: This is the most common washable filter found in virtually all Dyson vacuums. It’s usually located near the dust bin or motor housing and traps larger dust and debris before it reaches the motor. Cleaning this filter regularly is paramount for maintaining suction.
- Post-Motor Filter (HEPA Filter): Many newer Dyson models also feature a post-motor filter, often a HEPA (High-Efficiency Particulate Air) filter, designed to capture even finer particles and allergens, ensuring the air exhausted from your vacuum is cleaner. Some of these are washable, while others are sealed and require replacement. Always check your Dyson’s manual to confirm if your post-motor filter is washable.
When to Clean? Dyson generally recommends cleaning your filters once a month for optimal performance, especially with regular use. If you have pets, allergies, or use your vacuum frequently, you might need to clean them more often. Many Dyson models have an indicator light that illuminates when the filter needs attention – pay heed to this!
Tools You’ll Need for Filter Cleaning
Good news! You won’t need any specialized tools to clean your Dyson filter. Everything you need is likely already in your home:
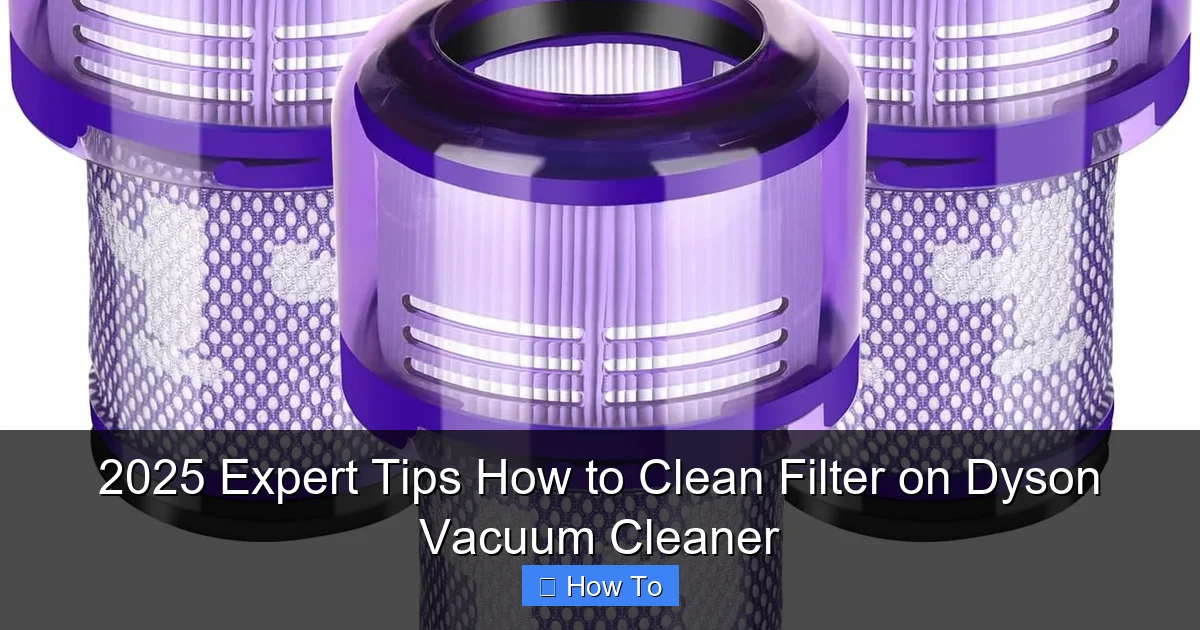
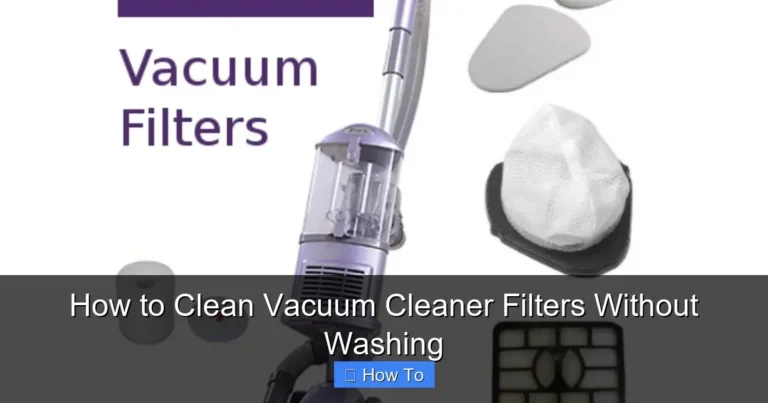
Visual guide about 2025 Expert Tips How to Clean Filter on Dyson Vacuum Cleaner
Image source: m.media-amazon.com
- Running cold tap water (a sink or tub works perfectly).
- A clean towel or drying rack.
- Patience (this is the most important tool!).
Step-by-Step Guide: Cleaning Your Washable Pre-Motor Filter
This is the most common filter you’ll be cleaning. Follow these steps carefully to ensure a thorough and safe clean.
Step 1: Power Down and Disassemble Safely
Safety first! Before you even touch your Dyson, make sure it’s completely disconnected from power.
- Unplug Your Dyson: If you have a corded model, unplug it from the wall outlet. For cordless models, ensure it’s not on its charging dock and turn it off completely.
- Locating the Pre-Motor Filter: This filter is usually easy to find. On stick vacuums (V-series), it’s often located at the top of the main body, usually twists out. On upright or canister models (Ball series), it might be inside the cyclone assembly or near the dust bin. Consult your manual if you’re unsure. You’ll typically twist or pull to release it.
- Empty the Dust Bin: While not directly part of filter cleaning, it’s good practice to empty your dust bin before cleaning your filter. This prevents any loose dust from falling out during filter removal.
Step 2: Rinse Thoroughly Under Cold Water
Now that you have your filter in hand, it’s time for its bath!
- Technique for Effective Rinsing: Hold the filter under a cold, running tap. Direct the water into the open end of the filter and let it run out until the water coming out is clear. Gently squeeze the filter (if it’s a foam-like material) or tap it against the sink to dislodge stubborn dirt.
- No Soap, No Detergents: This is a critical rule. Dyson filters are designed to capture microscopic particles using specialized materials. Soap or detergents can damage these materials, leaving residues that can impair filtration and even cause foaming when the vacuum is used again. Stick to plain cold water.
- Squeezing Out Excess Water: Once the water runs clear, gently shake the filter to remove excess water. If your filter is made of a spongy material, gently squeeze it multiple times to expel as much water as possible. Do this over the sink until no more water drips out.
Step 3: Allow for Complete Air Drying
This is arguably the most crucial step in the entire process. Do not rush this!
- The Importance of Patience: Place your clean filter in a well-ventilated area to air dry. A windowsill, near an open window, or on a drying rack away from direct sunlight or heat sources is ideal. Do NOT use a tumble dryer, microwave, oven, or hair dryer, as extreme heat can melt or damage the filter material, rendering it useless.
- Minimum Drying Time: Dyson recommends a minimum of 24 hours for complete drying, but 48 hours is often safer, especially in humid environments or for thicker filters. The filter must be absolutely, completely, 100% dry before you even think about putting it back into your Dyson.
- Checking for Dryness: How do you know it’s truly dry? It should feel light and stiff again, just like when it was new. It should also be completely odorless. If there’s any dampness or musty smell, it’s not ready. Reinstalling a damp filter can lead to mold growth inside your vacuum and severe damage to the motor, voiding your warranty.
Step 4: Reassemble and Test
Once your filter is bone-dry, it’s time to put your Dyson back together.
- Putting It Back Together: Carefully reinsert the dry filter into its housing. Ensure it clicks or twists firmly into place, just as it was before removal. Misplacing it can prevent proper sealing and reduce suction.
- Running a Quick Test: Plug your Dyson back in or turn it on. Run it for a few seconds. You should notice an immediate improvement in suction power. The filter indicator light (if your model has one) should also be off.
Cleaning Your Washable Post-Motor (HEPA) Filter (if applicable)
If your Dyson model has a washable post-motor filter (often a cylindrical filter at the very end of the machine), the cleaning process is very similar to the pre-motor filter.
- Identifying Post-Motor Filters: These are typically found at the back or end of the main body of the vacuum. They might be twisted off or pulled out. Again, refer to your specific model’s manual for exact location and removal instructions.
- Washing and Drying Process: Like the pre-motor filter, rinse it under cold running water until the water runs clear. Absolutely no soap. Gently squeeze out excess water if possible (some HEPA filters are more rigid). Then, allow it to air dry for a full 24-48 hours in a well-ventilated area. It must be completely dry before reinstallation.
Important Note: Some Dyson models have sealed, non-washable HEPA filters. These cannot be cleaned and must be replaced periodically according to Dyson’s recommendations. Always verify your filter type in your user manual.
General Tips for Optimal Filter Maintenance
Beyond the cleaning process, here are some extra tips to keep your Dyson in top shape:
- Don’t Overlook Visual Checks: Even if your filter indicator isn’t on, give your filters a quick visual check every few weeks. If they look visibly dirty or grey, it’s probably time for a wash.
- Address Pet Hair Promptly: If you have pets, filters can clog much faster. Consider more frequent cleaning cycles (e.g., every 2-3 weeks).
- Avoid Harsh Chemicals: We’ve said it before, but it bears repeating – stick to water only. Chemical cleaners can break down filter fibers.
- Maintain a Clean Environment: Regularly emptying your dust bin and avoiding vacuuming up large debris or liquids can reduce the strain on your filters.
- Know When to Replace: Filters, even washable ones, don’t last forever. Over time, the materials can degrade, losing their effectiveness. If your filter remains discolored, smells, or if you notice a persistent drop in suction even after a thorough cleaning, it’s likely time to purchase a genuine Dyson replacement filter. This is usually recommended every 12-18 months, depending on usage.
Troubleshooting Common Filter Cleaning Issues
Even with the best intentions, you might run into a snag or two. Here are some common problems and their solutions:
Vacuum Still Smells Musty After Cleaning
- Problem: A persistent musty or damp smell coming from the vacuum.
- Solution: This almost always indicates that the filter was not completely dry before being reinstalled. Mold or mildew can start to grow. Remove the filter immediately and give it another 48-hour air dry cycle. If the smell persists, the filter might be compromised and require replacement. Also, check inside the dust bin and cyclone assembly for any trapped damp debris.
Reduced Suction Even After Cleaning the Filter
- Problem: Your Dyson still isn’t sucking powerfully after you’ve cleaned the filter.
- Solution:
- Is the filter truly dry? Recheck for any dampness.
- Is the filter correctly reinstalled? Ensure it’s fully seated and sealed.
- Check for blockages: The most common cause of reduced suction after filter cleaning is a blockage elsewhere in the vacuum – in the wand, hose, brush bar, or cyclone assembly. Disassemble and check all parts for obstructions.
- Time for a new filter? Your filter might have reached the end of its lifespan. If it’s been several years or many cleanings, it might be time for a fresh one.
- Check other filters: If your model has multiple filters (e.g., a post-motor filter), ensure all are clean and functioning.
Filter Indicator Light Still On After Cleaning
- Problem: The filter cleaning indicator light remains illuminated even after you’ve cleaned and reinstalled the filter.
- Solution:
- Dryness is key: The sensor might be detecting residual moisture. Give the filter more time to dry, ideally another 24 hours.
- Reset the vacuum: For some models, unplugging the vacuum (or removing the battery on cordless models) for 30 minutes can reset the system.
- Reinstall properly: Ensure the filter is clicked firmly into place. If it’s loose, the sensor might not register it correctly.
- Check for damage: Inspect the filter for any tears or damage that might be affecting airflow.
- Sensor issue or replacement needed: If all else fails, the sensor might be faulty, or the filter itself might be so old or degraded that it’s no longer performing effectively, warranting a replacement.
Conclusion
There you have it! Learning how to clean filter on your Dyson vacuum cleaner is a straightforward, yet incredibly impactful maintenance task. By following these 2025 expert tips, you’re not just ensuring your vacuum runs at peak performance; you’re also protecting your investment, improving your home’s air quality, and extending the lifespan of an appliance you rely on. Regular filter maintenance is a small effort that yields big rewards, making your cleaning routine more efficient and your home a healthier place to live. So, go ahead, give those filters a good wash, let them dry completely, and enjoy the renewed power and freshness of your Dyson!
🎥 Related Video: How to clean a Dyson vacuum filter #shorts
📺 LiTT Tech (mostly!)
Doing this on the Dyson V12 Detect Slim: https://littwebsite.com/2021/11/08/dyson-v12-detect-slim-review/ Get one for yourself …