Master How to Clean a Shark Vacuum Cleaner 2025 Now
Keeping your Shark vacuum cleaner spotless is crucial for its longevity and peak performance. This comprehensive 2025 guide provides easy-to-follow, step-by-step instructions on how to clean every essential part of your machine, from dust cup to brush-rolls. Learn the best techniques to maintain suction power, prevent clogs, and ensure your Shark keeps your home pristine for years to come. Regular cleaning improves efficiency and extends your vacuum’s life.
Master How to Clean a Shark Vacuum Cleaner 2025 Now
Welcome to your ultimate guide for 2025! You want to keep your home sparkling clean. Your Shark vacuum cleaner is a powerful tool. But even the best tools need care. Over time, dirt, dust, and hair build up. This buildup can make your vacuum less effective. It can even shorten its life. A well-maintained Shark vacuum works like new. It keeps your air cleaner and your floors spotless.
This comprehensive guide will show you exactly how to clean a Shark vacuum cleaner. We cover every important part. You will learn simple, step-by-step methods. We offer practical tips and tricks. This guide applies to many popular Shark models. This includes Navigator, Rotator, Apex, Stratos, and more. The principles for how to clean a Shark vacuum cleaner are largely the same. Get ready to give your trusty cleaning companion the TLC it deserves!
Key Takeaways
- Safety First: Always unplug your Shark vacuum cleaner from the power outlet before starting any cleaning or maintenance.
- Prioritize Dust Cup Care: Empty the dust cup after every use. Wash and air-dry it monthly to prevent dirt buildup and odors.
- Filter Maintenance is Crucial: Regularly clean or replace your pre-motor (foam/felt) and post-motor (HEPA) filters to maintain strong suction power. Always ensure filters are completely dry before reinserting.
- De-Tangle Brush-Rolls: Frequently remove hair, strings, and debris from the brush-rolls to prevent blockages and ensure effective cleaning.
- Check for Clogs: Inspect hoses, wands, and nozzles for obstructions if you notice a loss of suction. Clearing clogs is vital for performance.
- Gentle Cleaning Only: Use mild soap and water for washable components. Avoid harsh chemicals, which can damage plastic and seals.
- Follow Manufacturer Guidelines: Always refer to your specific Shark model’s user manual for precise instructions on filter types, washing recommendations, and disassembly steps.
Quick Answers to Common Questions
How often should I clean my Shark vacuum filters?
For optimal performance, clean your pre-motor foam and felt filters monthly, or more often if you have pets or use your vacuum frequently. Post-motor HEPA filters, if washable, should be cleaned every 3-6 months. Always check your specific model’s manual for precise guidelines.
Can I wash my Shark vacuum dust cup in the dishwasher?
No, it is generally not recommended to wash your Shark vacuum’s dust cup in a dishwasher. The high heat and harsh detergents can warp the plastic or damage seals. It’s best to hand wash it with mild soap and lukewarm water, then allow it to air dry completely.
Why does my Shark vacuum smell bad after cleaning?
A persistent bad smell usually means there’s still trapped debris or moisture. Ensure your dust cup and filters are completely dry before reassembling. Check for any remaining hair or pet dander in the brush-rolls or hose that might be harboring odors.
My brush-roll isn’t spinning, even after clearing hair. What next?
First, ensure the brush-roll access cover is securely latched. Many Shark models have a safety feature that prevents spinning if the cover isn’t closed properly. Also, confirm you’re in the correct floor setting, as some hard floor modes disable the brush-roll. If issues persist, contact Shark support.
How long should I let the filters air dry?
It is crucial that filters are absolutely bone dry before reinserting them into your Shark vacuum cleaner. This typically takes a minimum of 24 hours, but can extend to 48 hours depending on humidity. Placing them near a fan can help, but avoid direct heat sources.
Gather Your Cleaning Arsenal
Before you start, gather your tools. Having everything ready makes the job easier. You probably have most of these items already. Here’s what you’ll need to effectively clean a Shark vacuum cleaner:
- Small scissors or a seam ripper: Great for cutting away tangled hair from brush-rolls.
- Microfiber cloths: Perfect for wiping surfaces clean without scratching.
- Mild dish soap: Use this for washing certain components.
- Soft brush: An old toothbrush works well for scrubbing tight spots.
- Compressed air (optional): Useful for blowing dust out of hard-to-reach areas.
- Large trash can or bag: For emptying dirt and debris.
- Protective gloves (optional): Keep your hands clean during the process.
- Your Shark vacuum’s user manual: Always a good reference for specific model instructions.
Step 1: Prioritize Safety – Unplug Your Shark!
This is the most important first step. Always, always, always unplug your Shark vacuum cleaner. Do this before you start any cleaning or maintenance. Why is this so crucial? It prevents accidental activation. It also protects you from electrical shock. Safety comes first. Make sure the power cord is fully disconnected from the wall outlet.
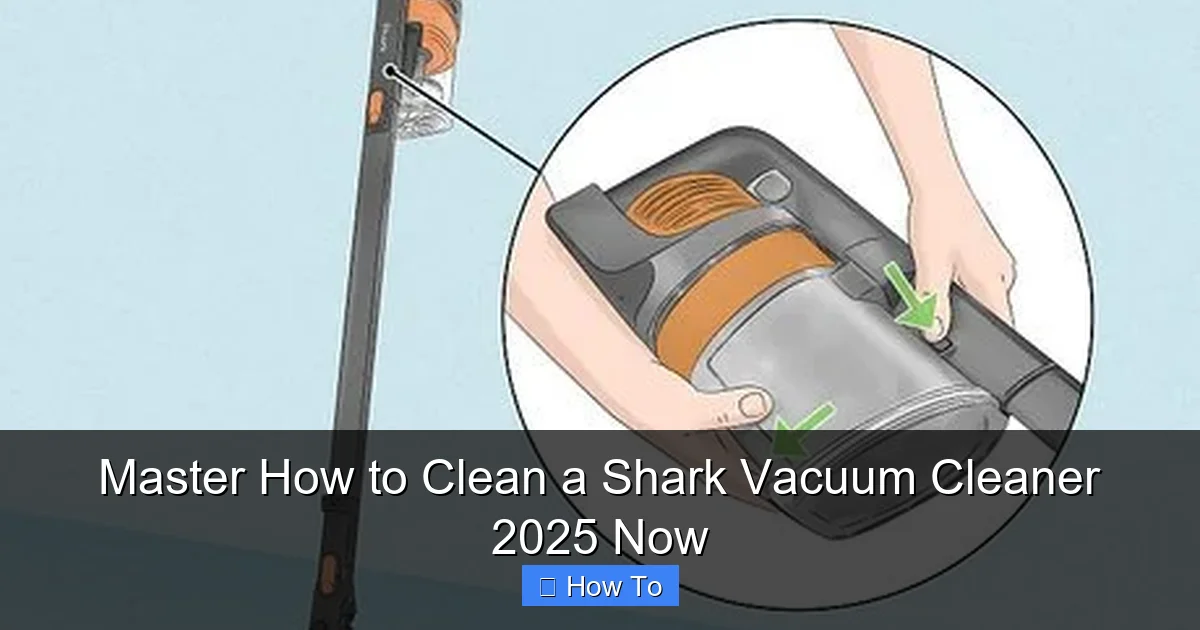
Visual guide about Master How to Clean a Shark Vacuum Cleaner 2025 Now
Image source: foodandwine.com
Step 2: Empty and Clean the Dust Cup/Canister
The dust cup is where all the dirt goes. Keeping it clean is vital for suction power. It also prevents unpleasant odors. This is a simple but critical part of learning how to clean a Shark vacuum cleaner.
Emptying the Dust Cup
First, remove the dust cup from your Shark vacuum cleaner. Most models have a release button near the top. Press this button. Lift the dust cup away from the main unit. Take it to a large trash can. Hold it over the can. Locate the bottom release latch. Press it. The bottom flap will open. All the dirt and debris will fall out. Close the flap firmly.
Wiping Down the Interior
After emptying, the dust cup might still look dusty. Use a damp microfiber cloth to wipe the inside. Get rid of any stubborn dust or grime. Pay attention to the cyclonic cone inside. This is where air spins to separate dirt. Make sure all surfaces are clean. Let the cup air dry completely before reattaching it. Moisture can lead to mold or mildew.
Deep Cleaning (If Needed)
For a really thorough clean, you can wash some dust cups. Check your Shark vacuum cleaner’s manual first. If it’s washable, rinse it under lukewarm water. You can add a drop of mild dish soap for extra cleaning. Scrub gently with a soft brush if needed. Rinse it again until all soap residue is gone. The most important step here is drying. Let it air dry for at least 24 hours. Place it upside down. Ensure it is bone dry. Never put a wet dust cup back on your vacuum. This can damage the motor.
Step 3: Revitalize Your Filters
Filters are the lungs of your Shark vacuum cleaner. They trap fine dust and allergens. Clean filters are essential for strong suction. They also ensure clean exhaust air. Shark vacuums typically have two types of filters: pre-motor and post-motor.
Locate Your Filters
Pre-motor filters: These are usually found near the dust cup. Most Shark models have two: a foam filter and a felt filter. They work together to protect the motor from larger dust particles.
Post-motor (HEPA) filter: This filter is often located at the base or side of the main unit. It traps microscopic particles, like allergens and pet dander. Not all Shark models have a HEPA filter, but many do.
Cleaning Pre-Motor Filters (Foam and Felt)
Remove both the foam and felt filters. Gently tap them over a trash can. This removes loose dust. Next, rinse them under lukewarm running water. Squeeze them gently to remove dirt. Continue rinsing until the water runs clear. Do not twist or wring them harshly. This can damage the material. Once clean, squeeze out as much excess water as possible. Lay them flat to air dry. This drying process is critical. They must be completely dry before you put them back. This usually takes 24 to 48 hours. Drying them in direct sunlight or using a dryer is not recommended. Heat can warp or damage the filters.
Cleaning/Maintaining the Post-Motor HEPA Filter
The HEPA filter’s cleaning instructions vary by model. Always check your user manual. Some HEPA filters are washable. If yours is washable, rinse it under running water until the water is clear. Do not use soap. Squeeze out excess water. Then, let it air dry for at least 24 hours. Ensure it is completely dry before reinserting. Other HEPA filters are not washable. For these, gently tap them over a trash can to dislodge dust. You might use a soft brush to carefully brush away surface dust. *Never wash a non-washable HEPA filter.* It will be ruined. These filters need to be replaced periodically. Shark recommends replacement every 6 to 12 months, depending on usage. Cleaning your filters properly is a major part of knowing how to clean a Shark vacuum cleaner for peak performance.
Step 4: De-Tangle the Brush-Rolls and Nozzle
The brush-rolls are essential for picking up debris from carpets and hard floors. Hair, string, and pet fur can easily get wrapped around them. This reduces their effectiveness. It can even cause the vacuum to stop picking up dirt.
Accessing the Brush-Rolls (Main Floor Nozzle)
Carefully flip your Shark vacuum cleaner’s floor nozzle over. You will see the brush-rolls. Some Shark models (like DuoClean) have two brush-rolls. Many newer models have easy-access covers or removable brush-rolls. You might need to use a coin or screwdriver to unlock the cover. Refer to your manual for specific instructions on how to access them.
Removing Hair and Debris
Use your small scissors or seam ripper. Carefully cut through any tangled hair or string. Be gentle. Avoid cutting the bristles or damaging the brush-roll itself. Once cut, pull the debris free. You might be surprised by how much comes off! Pay attention to the ends of the brush-roll. Hair often wraps tightly around the axles. Remove all obstructions. A clean brush-roll spins freely. This provides better agitation and pickup.
Inspecting the Soft Roller (DuoClean Models)
If you have a DuoClean Shark vacuum cleaner, you’ll have a soft roller at the front. This roller can also accumulate hair and debris. Remove it if possible. Wipe it down with a damp cloth. Check for any embedded dirt or particles. Ensure it’s clean and spins smoothly before putting it back.
Cleaning the Nozzle Inlet
After cleaning the brush-rolls, look into the inlet. This is the opening where debris enters the vacuum. Shine a flashlight into it. Look for any large blockages. Sometimes socks, paper, or larger items can get stuck here. Carefully remove any obstructions with your fingers or a long, blunt object. Never use sharp objects, as they can damage the internal components.
Step 5: Inspect and Clear the Hose and Wand
Hoses and wands are common places for clogs. A blockage here can severely impact suction. This step is crucial for restoring full power to your Shark vacuum cleaner.
Detaching Components
First, detach the hose from both the main unit and the floor nozzle. Also, remove the wand if it’s a separate piece. Lay all components out. This makes inspection easier.
Checking for Clogs
Hold each section of the hose and wand up to the light. Look through them. Can you see light clearly through the other end? If not, you have a clog. For flexible hoses, gently squeeze and manipulate the hose. This might dislodge a blockage. For rigid wands or more stubborn clogs, use a broom handle or a similar long, blunt object. Carefully push the blockage through. Be firm but gentle. Avoid forcing it, which could damage the hose. *Again, do not use sharp objects.* These can puncture the hose or scratch the interior.
Wiping Down Interior and Exterior
Once cleared, you can wipe the exterior of the hose and wand with a damp microfiber cloth. This removes surface dust. Ensure no moisture gets into any electrical connections if your hose has wires (for powered accessories). Let any damp parts air dry completely before reassembly.
Step 6: Freshen Up Attachments and Exterior
Don’t forget the smaller details! Your vacuum’s attachments and outer casing also need attention to keep your Shark vacuum cleaner looking and functioning its best.
Washing Attachments
Most non-electrical attachments can be washed. This includes your crevice tool, upholstery tool, and dusting brush. Rinse them under lukewarm water. Use a drop of mild dish soap and a soft brush for stubborn dirt. Rinse thoroughly. Then, let them air dry completely. Make sure they are bone dry before storing or using them again. This prevents mildew and ensures hygiene.
Wiping Down the Main Unit
Use a clean, damp microfiber cloth to wipe down the exterior of your Shark vacuum cleaner. Clean the motor housing, handle, and wheels. Dust can accumulate quickly. Pay attention to vents and seams. Avoid getting water into any electrical openings or vents. You want to clean the surface, not soak the internal components. A clean exterior not only looks better but also prevents dust from being recirculated.
Step 7: Reassembly and Final Checks
You’ve done a great job! Now it’s time to put your freshly cleaned Shark vacuum cleaner back together.
- Ensure all parts are dry: Double-check that all washable components (filters, dust cup, attachments) are completely dry. Reassembling with damp parts can lead to mold, odors, or damage.
- Reattach filters: Place the foam and felt filters back into their slots. Then, reinsert the HEPA filter. Make sure they are seated correctly.
- Reattach dust cup: Slide the dust cup back onto the main unit. It should click securely into place.
- Connect hose and wand: Reattach the hose to both the main unit and the floor nozzle. Reconnect the wand. Ensure all connections are firm and airtight. This prevents suction loss.
- Reinstall brush-rolls: If you removed the brush-rolls or their covers, reassemble them correctly. Make sure any locking mechanisms are engaged.
- Test run: Plug your Shark vacuum cleaner back in. Turn it on. Listen for any unusual noises. Check for good suction. Run it for a moment to ensure everything is working smoothly.
Maintenance Schedule for Optimal Performance
Regular maintenance will keep your Shark vacuum cleaner performing at its peak. This small schedule will guide you:
- After every use: Empty the dust cup.
- Monthly (or more often if you have pets): Wash pre-motor filters (foam and felt). Check brush-rolls for tangles. Inspect hoses and nozzles for clogs.
- Every 3-6 months: Perform a deep clean of the dust cup. Clean or replace the post-motor (HEPA) filter (check your manual for washability).
- Annually: Consider replacing all filters, even if washable, for optimal performance.
Troubleshooting Common Shark Vacuum Issues
Even after a good clean, you might encounter issues. Here are common problems and how to troubleshoot them, which ties into how to clean a Shark vacuum cleaner effectively.
Loss of Suction
This is the most common complaint. If your Shark vacuum cleaner loses suction, start by checking the simplest things first:
- Dust Cup: Is it full? Empty it.
- Filters: Are they dirty or wet? Clean and thoroughly dry them. Replace if necessary.
- Brush-Rolls: Are they clogged with hair? Clear them.
- Hose and Wand: Are there any blockages? Clear them as described in Step 5.
- Connections: Are all parts (dust cup, hose, nozzle) securely connected? A loose connection can cause air leaks and suction loss.
Brush-Roll Not Spinning
If your brush-roll stops spinning, your vacuum won’t pick up dirt effectively. Here’s what to check:
- Hair/Debris: The most frequent cause is excessive hair or string wrapped around the brush-roll. Clear it completely (Step 4).
- Brush-Roll Access Cover: Ensure the cover over the brush-roll is correctly closed and latched. Some models have a safety mechanism that prevents spinning if not properly secured.
- Mode Setting: For some models, ensure you are in the correct floor mode. For example, some hard floor settings might disable the brush-roll.
- Belt (rare for Shark): Most Shark vacuums use direct-drive brush-rolls and do not have a separate belt. If your specific model does, check if it’s broken or stretched.
Strange Noises
Unusual noises often signal a problem. A grinding, whirring, or rattling sound can mean several things:
- Blockage: A piece of debris caught in the brush-roll, hose, or motor path can cause strange sounds. Follow all the cleaning steps to find and remove any obstructions.
- Worn Bearings: Over time, brush-roll bearings can wear out. If the noise persists after clearing all debris, the brush-roll assembly might need replacement.
- Motor Issues: If the noise is coming from the motor housing and all other areas are clear, it might indicate a more serious internal motor problem. In this case, contact Shark customer support.
Conclusion
Congratulations! You are now a master in how to clean a Shark vacuum cleaner in 2025. You have learned how to clean every vital part. You know the importance of filters and clear brush-rolls. You understand how to prevent clogs and troubleshoot common issues.
Regular cleaning and maintenance are not just chores. They are investments. They extend the life of your Shark vacuum cleaner. They ensure it continues to deliver powerful, efficient cleaning for years to come. A clean vacuum means a cleaner home. Enjoy the satisfaction of a well-maintained machine and the pristine environment it helps you create. Keep your Shark in top shape, and it will keep your home shining!
🎥 Related Video: Shark vacuum cleaner NO SUCTION! Why?
📺 Vacuum Help
Customer was going to buy a new vacuum cleaner when her shark stopped sucking #sharkvacuum #sharkclean.